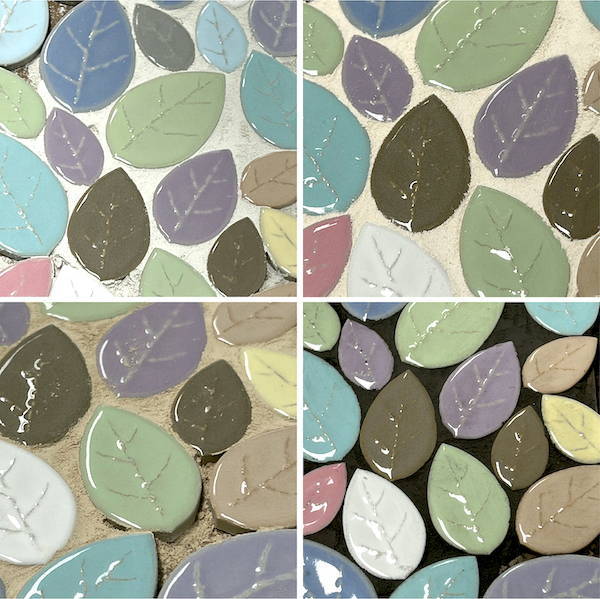
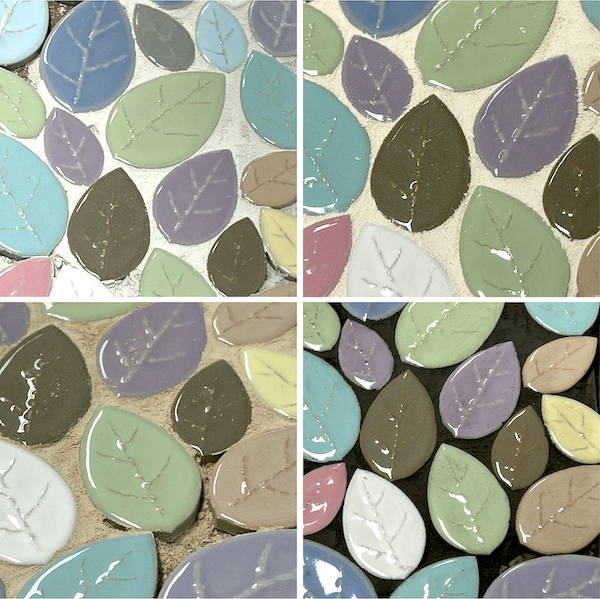
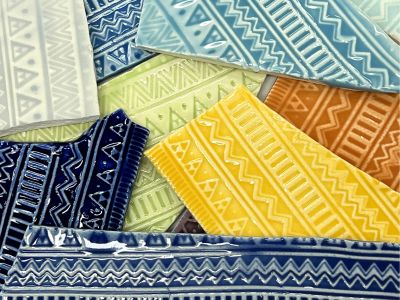
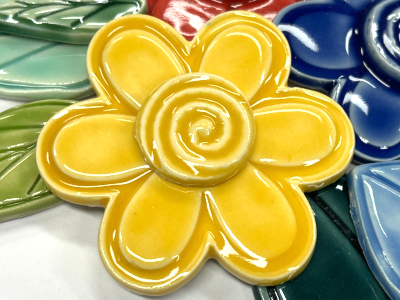
Mixed Aztec Porcelain Shards


Wed, Jun 04, 2014
How to Make Ceramic Flowers
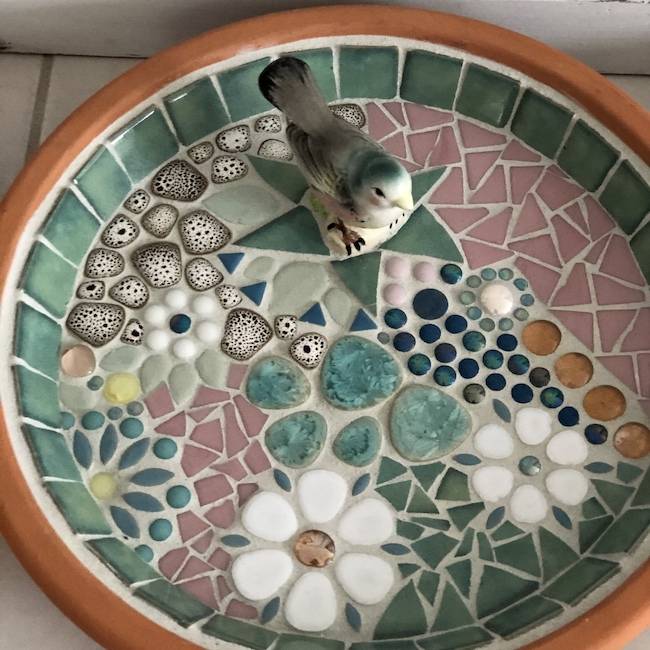
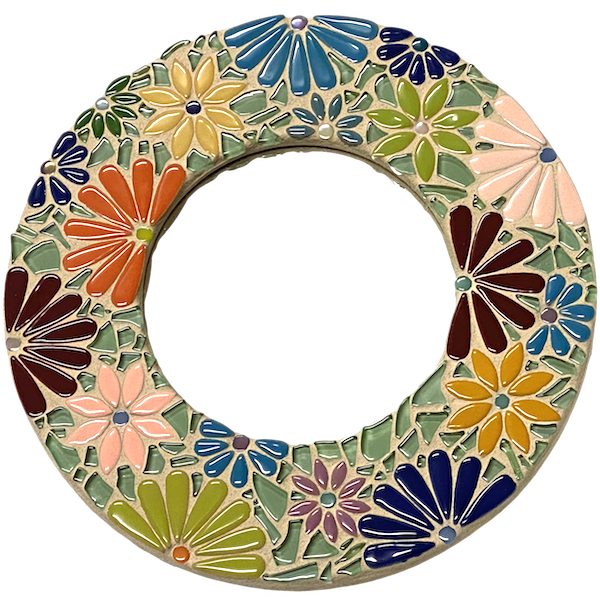
An outline pattern is all that is required to make your flowers. I've chosen a simple four petal flower design with interconnecting flowers, great for making a flower ring around the bottom of a birdbath. You can make your pattern as simple or complicated as your desire. Notice that I've numbered each shape, as the tiles are cut I will also be numbering them to keep the pieces organised.

Step 2 - Cutting Your Pattern
Make a photocopy of your pattern, this will be cut up to make the template for each flower piece.
I've used a thick marker to create the flower outline on purpose as I cut the pattern out on the inside edge of the line. This gives my ceramic pieces 'room to grow' so I don't have to make the shape sizes exact and also creates room for the grout.

Step 3 - Cutting the Circle Shapes
Draw the circle onto the back of the tile using the template created from your pattern. Slowly use your tile nippers to form the circle shape that is drawn on your tile. Try to nip as close as you can to the line to reduce the amount of filing you will need to do. Using a flat file work your way around the circle to smooth the lines, I rotate the circle evenly to ensure that no flat spots are created during filing. I also use the finer side of the file as the rough side can create chips in the glazed surface of the tile.

Step 4 - Cutting the petal (including the tricky concave curve)
The outer edges of the petal are created using the same technique as cutting the circle, the tricky part comes when cutting the concave curve (the part of the petal that sits next to the circle or centre of the flower). I use a pair of parrot beak nippers to nip carefully away at the tile. I prefer to chip away with the glazed surface face up to ensure I get an accurate shape. A round file or sandpaper can also be used to smooth the surface of the concave curve.


 1300 320 392

