1300 320 392
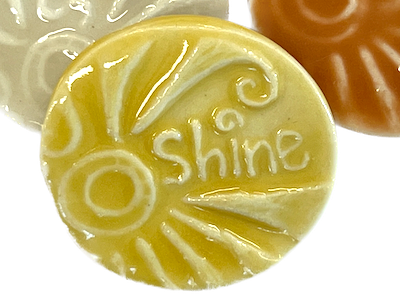
Yellow 'Shine' Porcelain Disc - 3cm
$2.99
VIEW ALL


Thu, May 16, 2013
Creating a mosaic house number is an extremely popular project. It's a reflection of your house and individual style so it's also a very personal project. This project provides instructions that can be adapted to any style to create your own house number.

Materials
Directions
1. Preparing Base
As it is an outdoor project that will be exposed to the weather compressed fibre cement (CFC) is used as the base. As a mosaic base its advantages are that it is weather resistant and is quite rigid. It is however difficult to cut and sold in sheet form. This piece was cut using a tenon saw. Once cut a single coat of primer should be applied to the CFC to give the adhesive something to stick too and to improve its weatherproofing. The remaining primer (sealer) was later used as an additive to the grout.
Wood based products, including Marine Ply, are not good options when selecting a base as they are prone to water damage.
2. Deciding on and drawing the design
The first place to start is choosing the design and size of your numbers. Numbers can be created using a word processing package, this project uses Arial font, 350 point.
Choosing the design and style of your house number is an individual decision. It's a reflection of your house and your own personal style. If you're looking for some references to get ideas, flickr has a 'Mosaic Numbers' group that will give you heaps of ideas. Another online source is google images, simply type 'mosaic house numbers' into a google search then click on 'Images for Mosaic House Numbers'.
3. Selecting the materials
You will need to ensure that you select materials that are suitable for outdoor environments, in terms of sun damage, frost resistance & water damage. Tiles which are not suitable include glitter glass tiles & silverfoil glass tiles. If you choose to use mirrors you will need to ensure that you protect them from de-silvering, by sealing the back & edges of the tiles to prevent moisture from pentrating.
If you are selecting any tiles from our range, click on the product photo's to go to the detailed product listing. It will specifically state if the products are not suitable for use outside.
4. Laying the tesserae (Tiles)
The direct method was used to lay the mosaic tiles, but given that it is a flat surface you could also use the indirect method. When using the direct method apply the adhesive in sections so it doesn't dry out while you work. The adhesive I've used is a waterproof cement based adhesive as the mosaic is going to be exposed to the elements. It is important that you choose an adhesive that is waterproof, not just water resistant. If you are confused ask weather the adhesive is suitable to be used in birdbaths or swimming pools, if the adhesive is suitable for these environments than anything else will be fine.
Once you have finished laying the tiles allow the adhesive to cure competely prior to grouting (normally 24 hours, check manufactures instructions). If you are in a hurry to finish a mosaic don't be tempted to use a hair dryer or place your mosaic in front of a heater. Adhesive needs time to cure properly and speeding up the process may weaken it. Cure time refers to the time it takes for the chemical bond to activate and strengthen.
5. Grouting
Adding a primer to the grout will increase its flexibility and reduce the porosity and staining of the grout. Once grouted allow 24 hours for the mosaic piece to dry thoroughly. Sealing the grout will help with its stain proofing.
Click here for more information on grouting
Legal Disclaimer: No warranty is implied by these instructions. Use at your own risk. The Mosaic Store and its proprietors are not responsible for the results of any actions taken on the basis of this information, or for any omission in the advice. Please wear appropriate safety equipment when cutting mosaic materials and using grouts and adhesives. Keep out of reach of children. This project is copyrighted and is made available for personal use only. Please ask permission if you wish to copy any part of it.