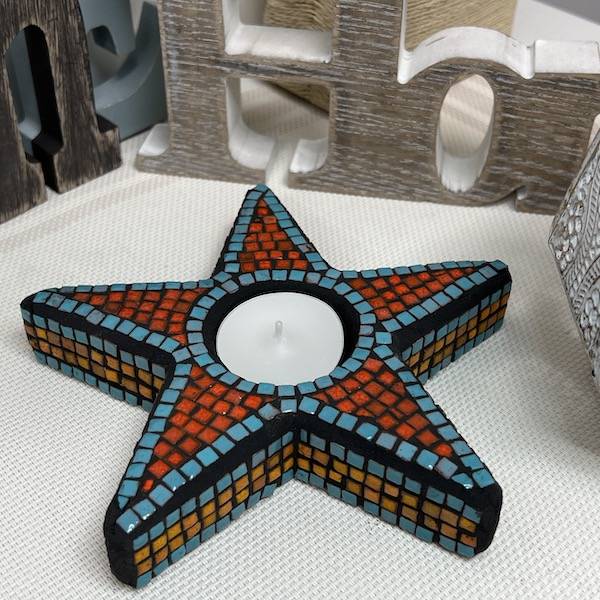
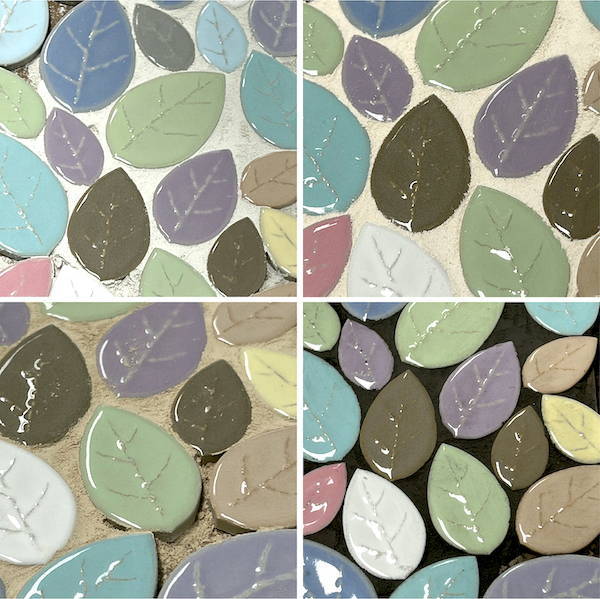
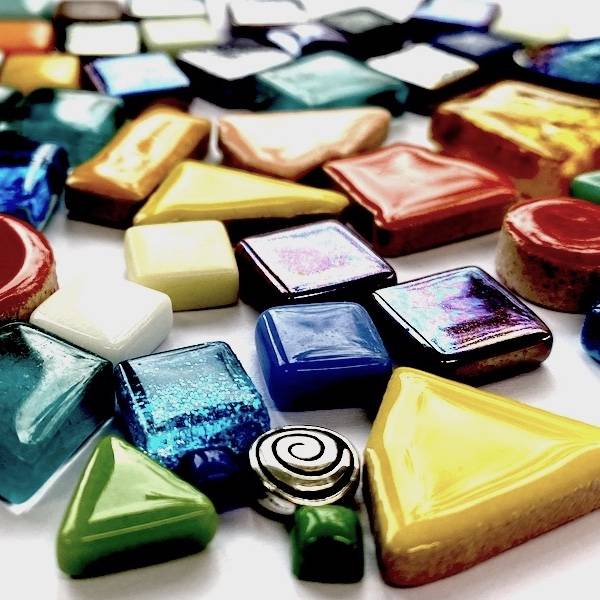
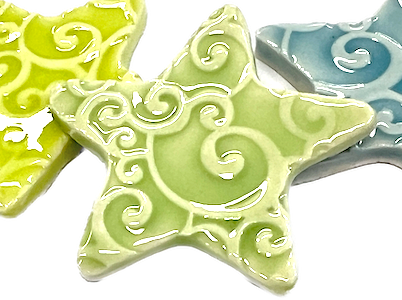
Bright Green Swirl Porcelain Star - 5cm


Tue, Apr 17, 2012
How to Make a Mosaic Clock
Fun to make and functional, this Mosaic Clock is a great way to add a personal touch to your home! Why not customise your design to accent the colour scheme and decor of the room.

Materials
- Round ceramic plate (this one was 26cm in diameter)
- Clear Liquid Nails or a cement based adhesive
- A selection of blue tiles & tesserae
- Grey Grout
- Supplies for grouting and cleanup
- A drill and diamond tipped glass hole cutter drill bit
- Clock movement (available from craft shops including spotlight)
Directions
1. Find the centre of circle and drill a hole large enough for the clock movement to fit through.
This sounds easy enough but for me it was the most difficult part of the project, so here are a few pieces of advice;
2. Choose your materials, colour palette and pattern. A good mix of colour shades, sizes and textures will add interest to your design.
3. Lay your tiles. I've used liquid nails and the direct method for laying the tiles, but you could also use a cement based adhesive and the indirect method for the centre of the clock face.
- Be aware of the height of the clock hands when laying your tiles, the hands can't be obstructed. If in doubt check this by assembling the clock movement.
- Within your design you may want define some or all of the hours points. I've used blue glass gems at the 3, 6, 9 and 12 mark. You can also buy clock numbers which as made by the same manufacturer as the clock movement (Shamrockcraft).
- Allow the adhesive to dry for 24 hours before grouting
4. Grout your clock, I've used a dark grey for this project. Make sure you leave enough room for the clock movement to fit through and the washer to be tightened, test this before the grout dries. Clean up the grout and allow it to dry for 24 to 48 hours.
Get detailed information on grouting your mosaic by click here.

Legal Disclaimer: No warranty is implied by these instructions. Use at your own risk. The Mosaic Store and its proprietors are not responsible for the results of any actions taken on the basis of this information, or for any omission in the advice. Please wear appropriate safety equipment when cutting mosaic materials and using grouts and adhesives. Keep out of reach of children. This project is copyrighted and is made available for personal use only. Please ask permission if you wish to copy any part of it.
 1300 320 392

