Mon, Feb 16, 2015
Learn How to Make Your Own Picture Tiles
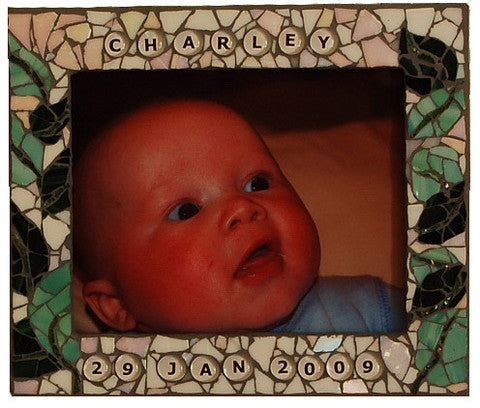
This week's 'How To Mosaic' demonstrates just how easy it is to make your own picture tiles. They are a fantastic way to incorporate special memories, words or designs into your projects. You can really let your creativity go wild these tiles. Other ideas include making your own glass pendants, magnets or special decorations to hang from the Christmas tree.
Materials
- Clear glass tile
- Piece of cardboard to be used as matt
- Scissors or sharp craft knife
- Good quality clear drying glue
- Plastic bag to be used as a drying area
- Image to adhere to tile (make sure the quality is good)
Step 1:To setup your workspace you will need a piece of cardboard to be used as a matt, the glass tiles, scissors, a good quality clear drying glue (in this case I've used Weldbond), a plastic bag to sit the glass tile on when drying and the image you wish to adhere. The image could be a photo or some good quality printed paper. For the tile that is displayed I've printed a photo on some good quality card.
Step 2Cut the image to the size of the tile. You can either do this by measuring the tile and cutting the image or holding the tile down and cutting the image with a sharp craft knife.
Step 3Apply a good amount of glue to the textured side of the tile, then place the tile glue side down on-top of your image. Make sure you push down hard on the tile then move it around to get rid of any air bubbles. All the corners and edges need to be adhered well.
Step 4Pick up your pendant and wipe off any excess glue from the sides, take care not to move the image. Don't worry if there is still some glue remaining on the tile as you can clean this up once the glue has dried.
Step 5Set the tile down on the plastic bag to dry, the weight of the tile will stop any curling of the paper. The glue will need 24-48 hours to cure. If you have any paper over hanging the tile trim it off neatly using a pair of scissors.
Step 6Seal the back of the tile; I have applied 3 coats of Weldbond adhesive to the back (allowing each coat to dry completely before applying the next). Pay particular attention to the edges when sealing. I'd imagine that you could also use a craft varnish to seal the tile (I have to wait for my next trip to Canberra before trying this out!).
 1300 320 392