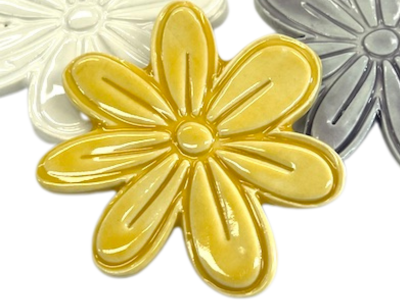
Yellow Porcelain Flower No. 2 - 7cm


Wed, Mar 12, 2014
How to Prepare a Paper-Mache Base for Mosaics
Paper-Mache shapes make a great mosaic base, but need to be prepared correctly to ensure they maintain their integrity during mosaicing. In this 'How To Mosaic' we look how you can prepare a paper-mache torso to mosaic. This technique can be applied to any form including animals, letters, numbers and heads, just to name a few possibilities.
Step 1: Source your paper-mache form. This technique can be applied to a form which is completely enclosed.
Step 2: Cut a hole into the form to insert expanding foam. The expanding foam strengths the form and improves its ability to hold the weight of the mosaic. You can choose to make a nozzle-sized hole or cut a larger hole as shown in the photo below. Beware, when using expanding foam it expands to twice its size. Half fill the form with foam and leave it in a place where it won't matter if it overflows. Read the manufacturers instructions carefully and take care not to get it anywhere, it is a messy clean up. Any excess gap filler can be cut away once it has dried. The hole will also need to be repaired, as the paper-mache is suitable for indoor use only you could use duct tape.
Step 3: Apply a mixture of 50:50 PVA adhesive to water with a paint brush. This will seal the paper-mache.
When mosaicing your form give consideration to the weight it will be bearing. If the base is going to bear a lot of weight and it has points where it is vulnerable consider mosaicing and grouting this section first. It will give strength to the structure and assist with its weight bearing capacity.
Just in case you didn't see the newsletter story, here it is:
Occasionally in preparing this newsletter things go wrong. This week I had a disaster with gap filler and our brand new outdoor setting, which if I hadn't permanently stained it would have been quite funny in retrospect.
The lesson, which is a simple one, is always read the manufacturers instructions. I say it over and over again but for some reason choose to ignore my own advice.
This week's 'How to Mosaic' looks at preparing a paper-mache shape for mosaics, the example being a paper-mache bust. Everything was going alone according to plan until I filled the bust with gap filler. Believe me when I say that gap filler doubles in size, as not reading the instructions I completely fill the bust and left it propped up on our new outdoor setting to dry. Horror struck 20 minutes later when I came back and found gap filler flowing out all over the chairs and table. Trying to contain the mess I then picked the gap filler up with my bear hands and dropped it over the BBQ and patio. Gap filler is not something that you want to be touching, it's a sticky messy chemical until it dries. In trying to contain the mess I made it much bigger, realising that I was late to pick the kids up from school drove to the school with gap filler all over me and now the car.
Suffice to say the clean up has now taken place, my hands recovered after a few days and the 'How to Mosaic' is now complete.

 1300 320 392


