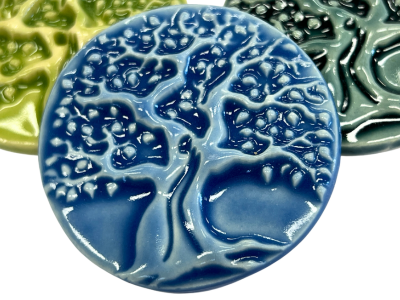
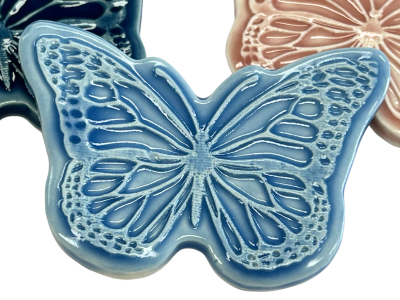
Sky Blue Tree Of Life Round Porcelain Tile


Wed, May 14, 2014
A Gorgeous Mosaic Mirror Project
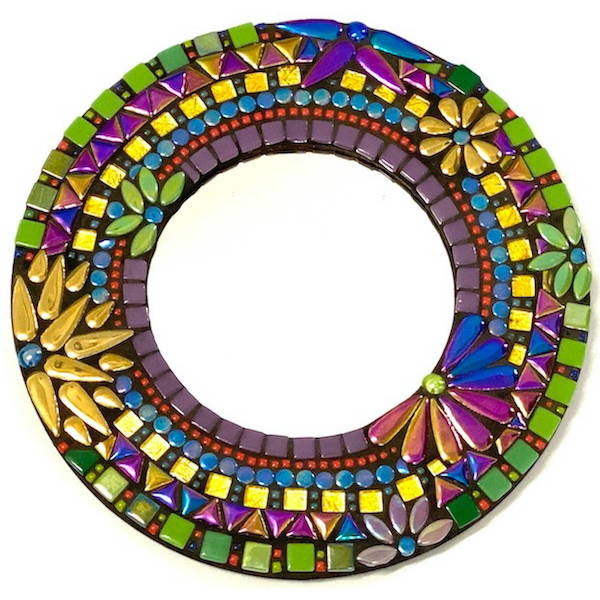
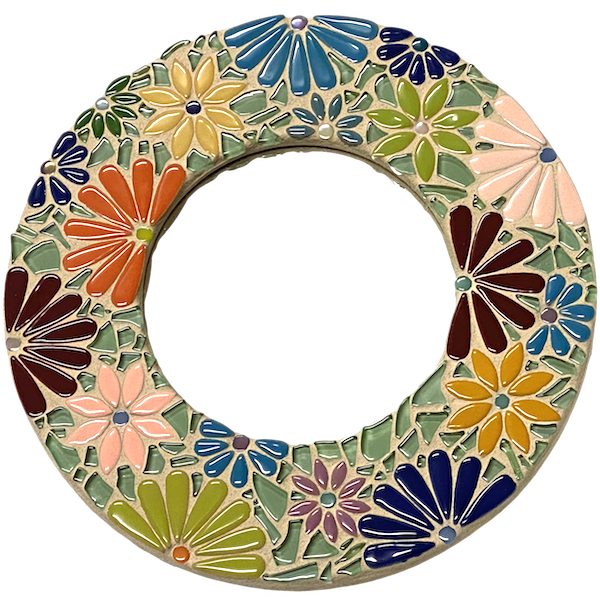
Last weekend I was fortunate enough to be able to escape to the coast for a few days with my family, which was just wonderful (although a little too short!). We stayed at a little cottage right on the water and just hung out. The kids got to play at the beach, my husband got to fish (well tried to anyway) and I was able to enjoy some creative 'me time'. I never go too far without some tiles & my nippers, just something to keep me busy. This time I took a daisy mirror and some crystal glass tiles as my daughter is after a colourful mirror for her bedroom. I'm so pleased with the finished piece that I've decided to share it with you and create a kit, just in case anyone is interested in making one. So here it is, hope you like it too! I've called it the 'Carnival Mosaic Mirror Kit' because it's so bright and fun.
Materials
- Small Wooden Daisy Mirror
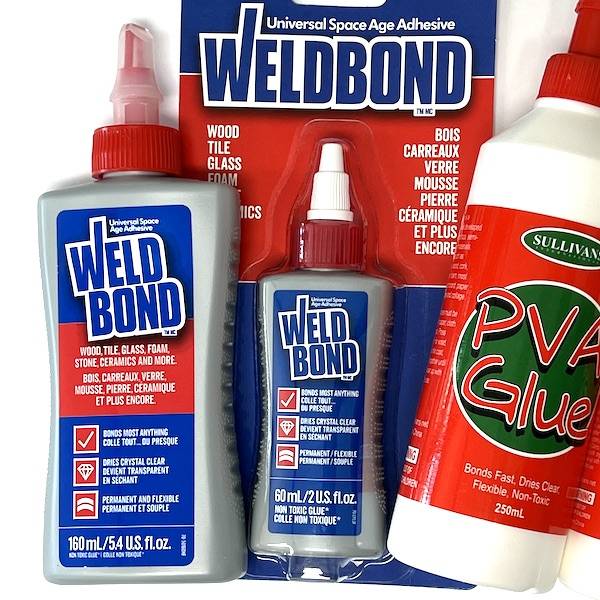
- Weldbond Adhesive 60ml
- Black grout
- A packet of each - Red Crystal Glass Mosaic Tiles 1cm, Green Crystal Glass Mosaic Tiles 1cm, Dark Blue Crystal Glass Mosaic Tiles 1cm, Yellow Crystal Glass Mosaic Tiles 1cm and Orange Crystal Glass Mosaic Tile 1cm
- Mirror Tiles - 1 cm
- Black Mix Glass Droplets
- Paint brush - for applying adhesive
- Leponitt Glass Mosaic Cutter
- Gloves, containers, rags or sponge for grouting
Note: You can purchase all of the tiles, base, adhesive, grout plus step by step instructions in the Carnival Mosaic Mirror Kit.
There will be plenty of spare tiles to allow for a few mistakes.
Steps:
1. Sealing wooden mirror base
This is an indoor project that is not suitable for areas where it will be exposed to moisture or water, as it is not waterproof. As MDF is porous the mirror base needs to be sealed before tiling. A mixture of Weldbond adhesive & water can be used as the sealer in a ratio of 1 part Weld bond to 5 parts water, apply two coats allowing each coat to dry thoroughly (30 minutes to 1 hour).
2. Tiling the Face of the Mirror
The Weldbond adhesive can be applied either directly to the mirror base or painted individually onto the back of the tiles. By far the quickest method is to paint the adhesive onto the mirror base. When using this method apply to small sections at a time to avoid the adhesive drying out.
The design was created using a variety of different cuts:
- Cut the tiles in half to make rectangles
- Cut the tiles into quarters to make squares
- Cut the tiles diagonally to make triangles, cut again to make small triangles
The Silver 1cm mirrors on the outside of the flower have been kept whole; with the exception where the petals intersect these tiles have been cut diagonally. To begin your design drawn some long flowing lines around your mirror, then start laying the tiles. The flowers have been created using a black glass droplet in the center, surrounded by alternating rectangles and triangles.
When the tiles have been laid allow the adhesive to cure for 24 hours before applying the grout. Run you hand over the tiles to ensure they are all firmly adhered before grouting. If any are loose, remove them and re-adhere.
3. Grouting Time
Click here for detailed instructions and grouting tips.
4. Finishing of your Mosaic
Once the grout has dried (24 hours) clean your mirror removing any excess grout from the back and inside edges of the mirror base. You could use a sharp implement or a Stanley knife to do this. You might also choose to paint the back of your mirror.

Legal Disclaimer: No warranty is implied by these instructions. Use at your own risk. The Mosaic Store and its proprietors are not responsible for the results of any actions taken on the basis of this information, nor for any omission in the advice. Please wear appropriate safety equipment when cutting mosaic materials and using grouts and adhesives. Keep out of reach of children.
 1300 320 392

