1300 320 392
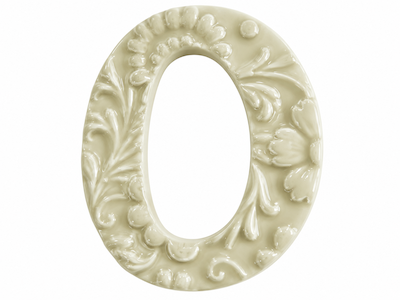
White Floral Porcelain Number Tile - No. 0
$7.50
VIEW ALL


Sun, Nov 10, 2013
Now its spring its time to start thinking about your garden again. Mosaic glazing balls make a beautiful addition to any garden or patio. Hang them from the roof or pile them up near to your garden pots, either way they are stunning. The curved surface of the ball allows mirror and silverfoil glass tiles to catch the light, adding sparkle when the sun is shining.
With Christmas on the way you could make smaller balls into christmas tree decorations, hang them from the ceiling or make a beautiful Christmas table decoration. They also make lovely handmade gifts for friends and family.

Materials
Go to Tools & Supplies
Instructions:
1. Sealing the polystyrene ball
Before you start to mosaic you will need to seal the polystyrene with a 50:50 mix of PVA and water and leave it to dry.
If you are going to hang the glazing ball in your back yard then you need to consider making it weather proof. One way you can do this is to coat the ball in a layer of cement based adhesive prior to mosaicing it.
2. Attach the hook to the ball
To attach a hook to the polystyrene ball I've used a 30 mm screw eye and a screw gauge (pictured below). The screw gauge is inserted into the top of the polystyrene ball first than the screw eye is screwed into the screw gauge. While this provides a really firm hold make sure you go one step further by squeezing a good amount of adhesive around the hook and screw gauge.


3. Tiling the polystyrene ball
The polystyrene ball will have a faint line around its circumference, this represents the middle. You will also find that the centre point of the top is indicated on the ball. Use these points as a guide when tiling.
When selecting tiles you need to think about what will sparkle and shine, adding life to your garden. Mirrors and silverfoil glass tiles are great but you do need to remember to seal them with an adhesive to prevent damage by moisture. I'd recommend hanging glazing balls made with these materials in an area that is protected from the weather (a patio or deck). Another shiny options are iridised glass tiles.
Designs can be simple (like the glazing ball pictured) or complexed; your imagination is your only limitation. For more complicated designs you can use paper cutouts of the shapes and trace the outline directly onto the ball.
Apply the adhesive directly onto the ball using either a paintbrush or pallet knife, small sections at a time so it doesn't dry out. You can use a bowl to hold the ball into position; as it can be difficult to tile if it is moving around.
4. Grouting Time
Go to the Beginners Guide to Grouting for more information.