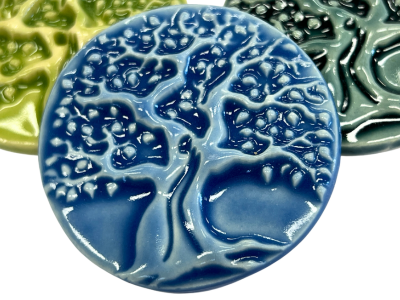
Sky Blue Tree Of Life Round Porcelain Tile


Wed, Mar 23, 2016
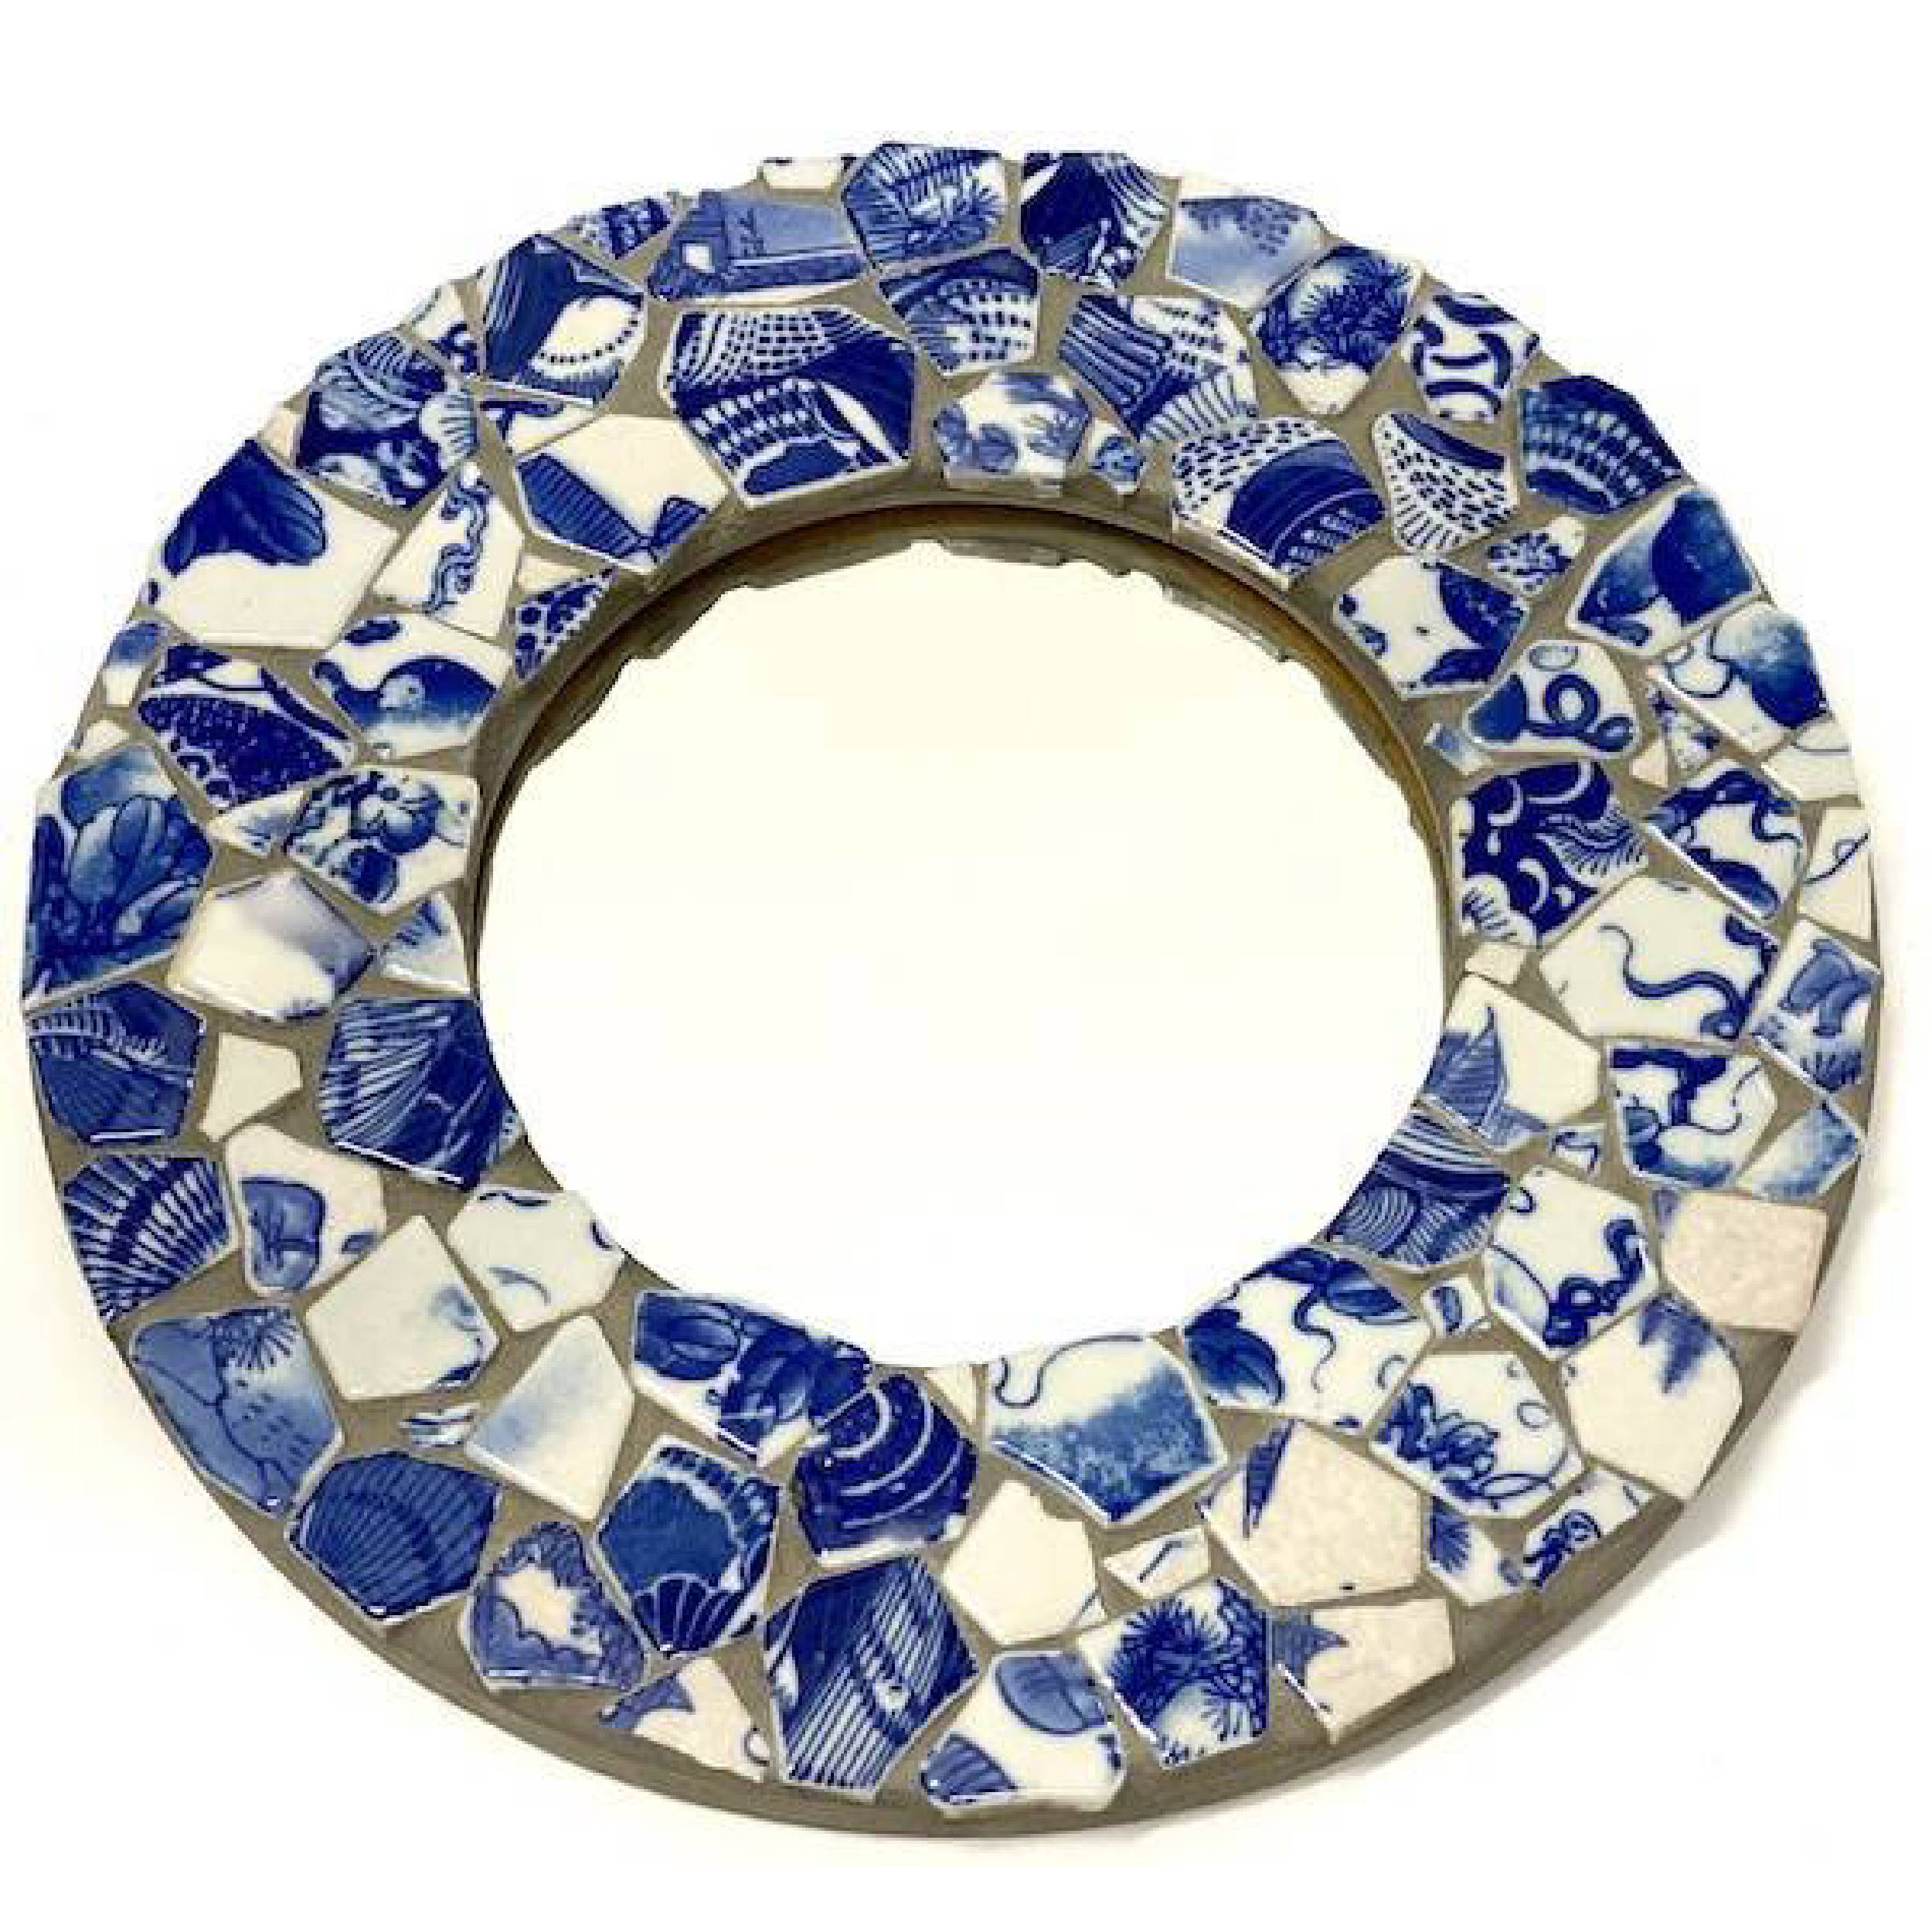
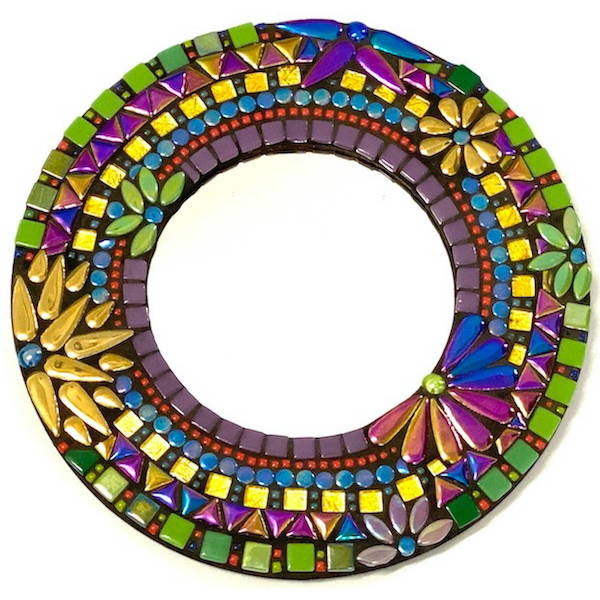
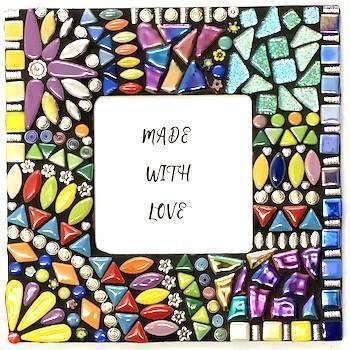
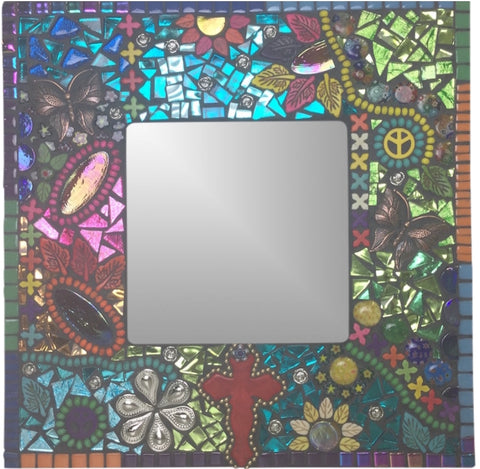
Learn How to Make This Mixed Media Mosaic Mirror
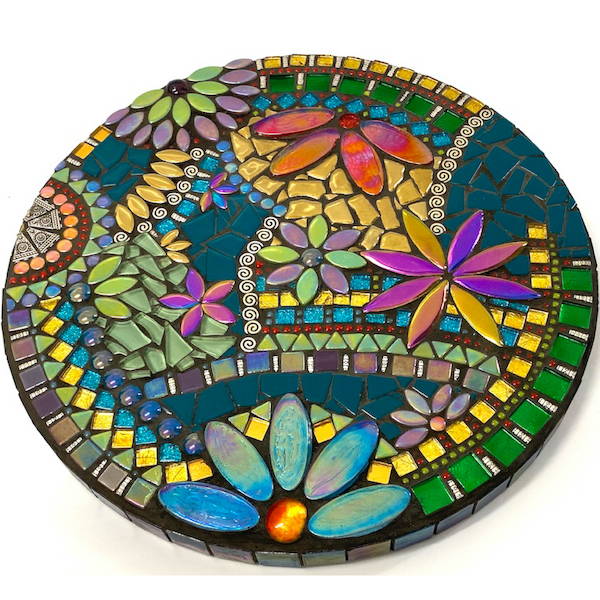
Believe it our not, this mosaic is fairly easy to make. The trick to creating a mosaic like this is in gather lots of lovely colourful materials to add detail, colour and texture. Going over the top is all part of the fun!
Here are the project instructions plus techniques for you to create a mosaic in the same style.
Materials
- Mosaic base - in this case it is a 30x30cm mirror
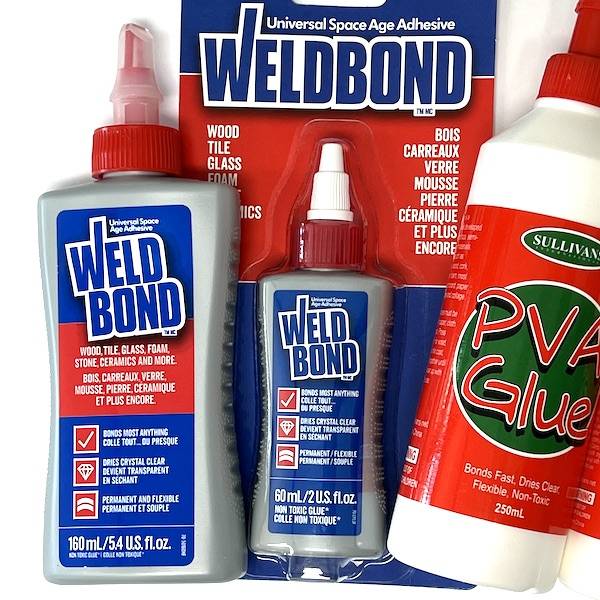
- Adhesives - this will be detailed in the project instructions, but I have used a cement based adhesive and Weldbond Adhesive
- Black grout
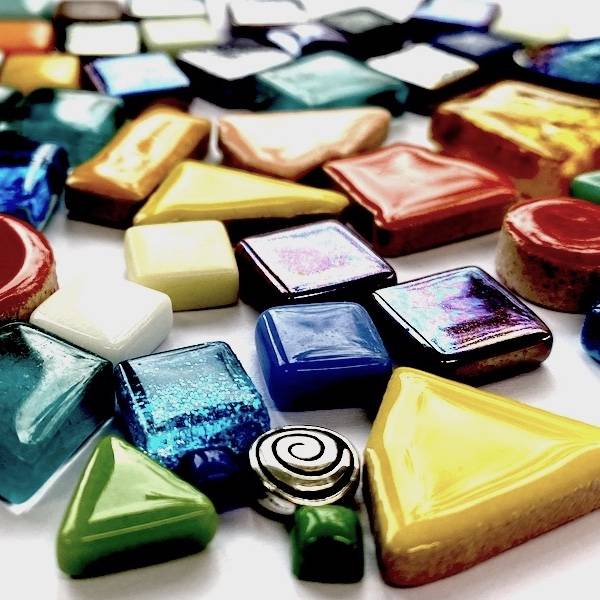
- A selection of colourful materials in different shapes, sizes and textures
- Paint brush - for applying adhesive or pallet knife
- Glass Mosaic Cutters
- Gloves, containers, rags or sponge for grouting
Steps
1. Sealing wooden mirror base
This is an indoor project that is not suitable for areas where it will be exposed to moisture or water, as it is not waterproof. As wood is porous the mirror base needs to be sealed before tiling. A mixture of Weldbond adhesive & water can be used as the sealer in a ratio of 1 part Weld bond to 5 parts water, apply two coats allowing each coat to dry thoroughly (30 minutes to 1 hour). Coat the area where you will be tiling by using a paint brush.
2. Tiling the Face of the Mirror
The Weldbond adhesive can be applied either directly to the mirror base or painted individually onto the back of the tiles. By far the quickest method is to paint the adhesive onto the mirror base. When using this method apply to small sections at a time to avoid the adhesive drying out. When the tiles have been laid allow the adhesive to cure for 24 hours before applying the grout. Run you hand over the tiles to ensure they are all firmly adhered before grouting. If any are loose, remove them and re-adhere.
The majority of the tiles / materials have been applied to this mirror using Weldbond but some tiles / materials required cement adhesive to be used.
Adhering the Metal Butterflies and Millefiori Cabochons
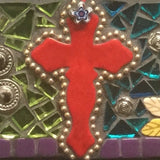
You can add height to objects by applying cement based adhesive to the back of the object or some liquid nails. For this project I 'buttered' the back of the metal butterflies with cement based adhesive and gently placed them onto the base until the height was level with the other tiles.
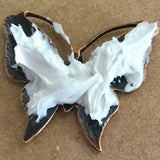
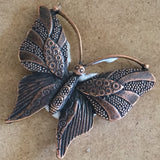
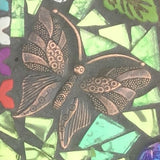
The same technique was used to give height to object and a white background for semi transparent objects.
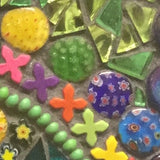

Using Chain Ball
Chain Ball is a fantastic mosaic material because when it is covered in grout all you see is a line of balls protruding through the grout. It's very effective for creating boarders, outlining shapes or just lines. To apply the chain ball I have added two rows to bring it to the height of the cross. Apply the first row with Weldbond, let it dry and them apply the second row.

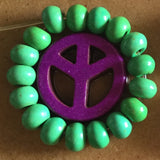
Applying the Rounded Beads
Rounded beads are a colourful and fun material to add to a mosaic. To apply them I kept the beads on the strand and set them into a bead of cement based adhesive. Keeping the beads on the strand allows you to create a nice uniformed line without too much effort.
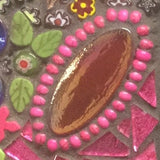

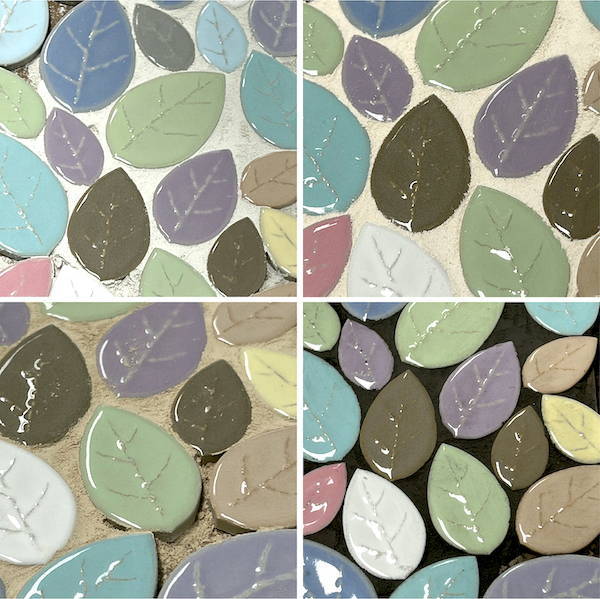
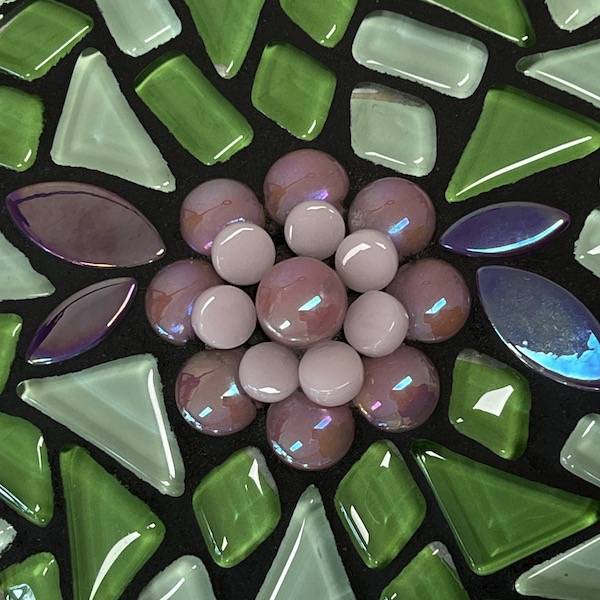
Use leaf shaped materials and circles are great for makingbeautiful flower like designs.

Acrylic drops make a stunning pattern.

3. Grouting Time
This mosaic can be grouted as usual, no special techniques are required. If you need help with grouting click here to get detailed instructions.
Legal Disclaimer: No warranty is implied by these instructions. Use at your own risk. The Mosaic Store and its proprietors are not responsible for the results of any actions taken on the basis of this information, nor for any omission in the advice. Please wear appropriate safety equipment when cutting mosaic materials and using grouts and adhesives. Keep out of reach of children.
 1300 320 392

