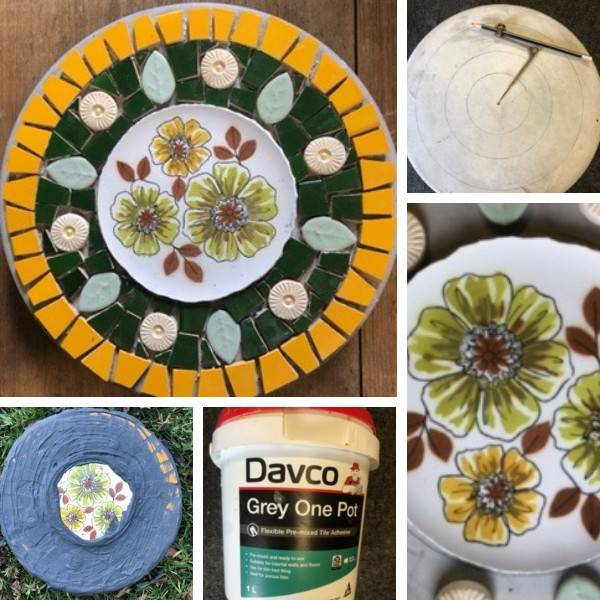
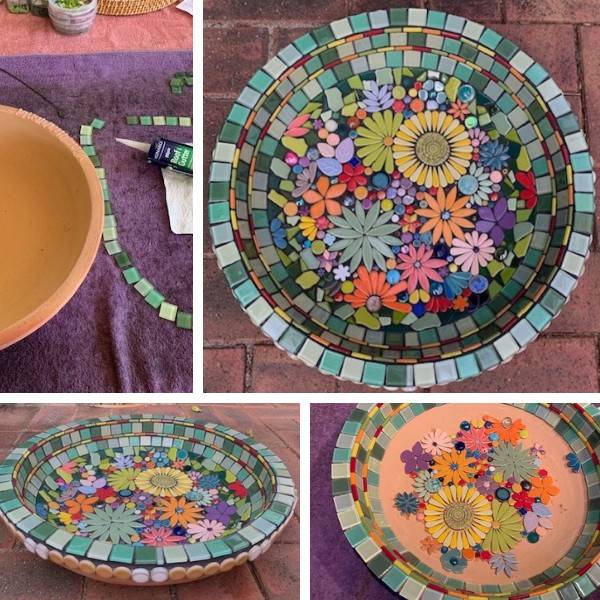
1. Clean your ceramic teapot in the dishwasher and let it dry. For aluminium, one wash by hand with warm soapy water. If the teapot is shiny, I give it a good going over with sandpaper to rough the surface.
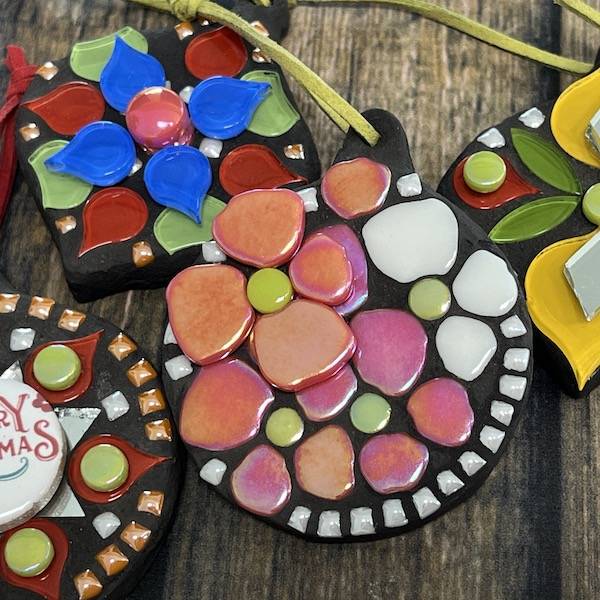
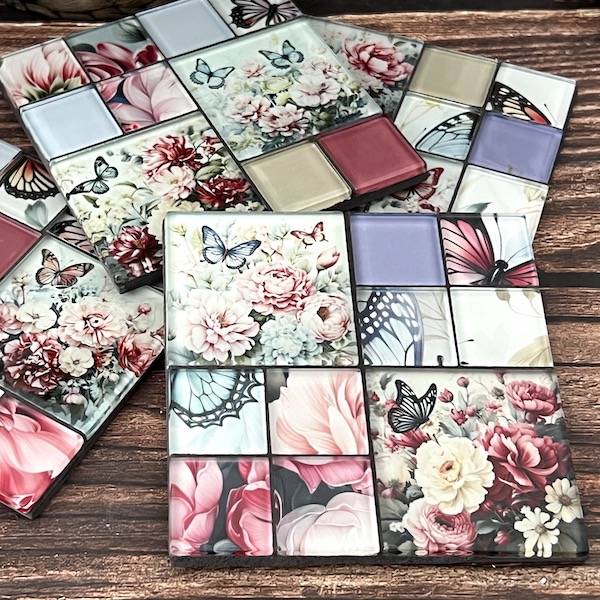
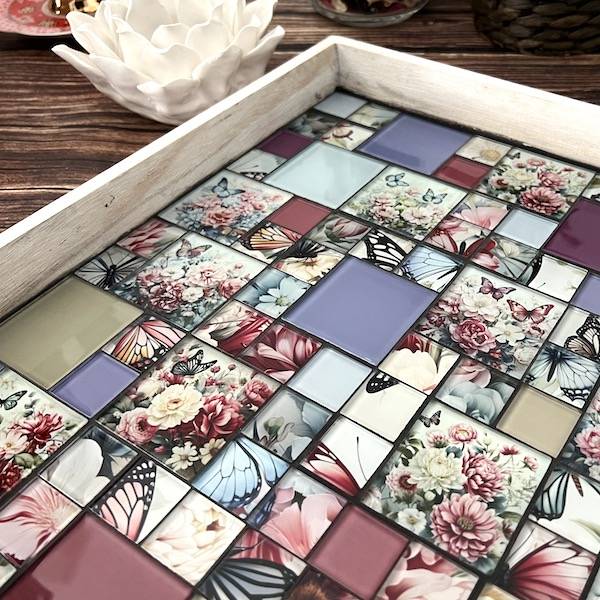
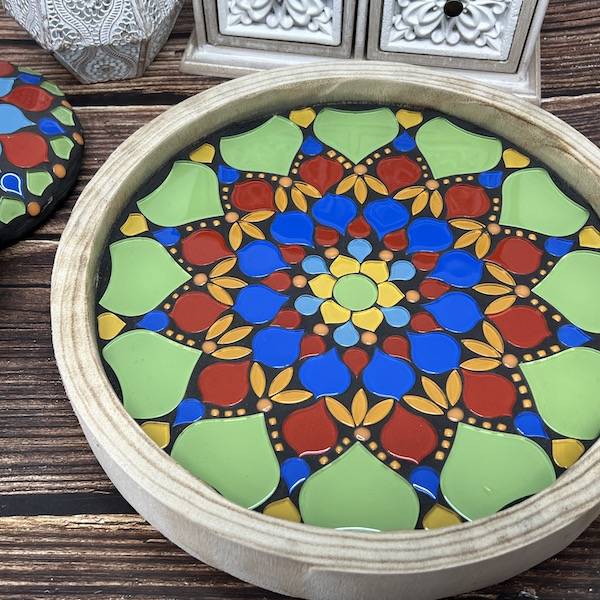
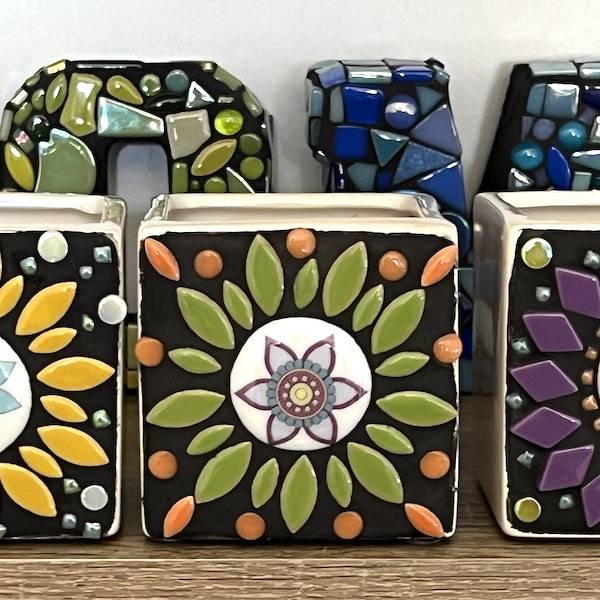
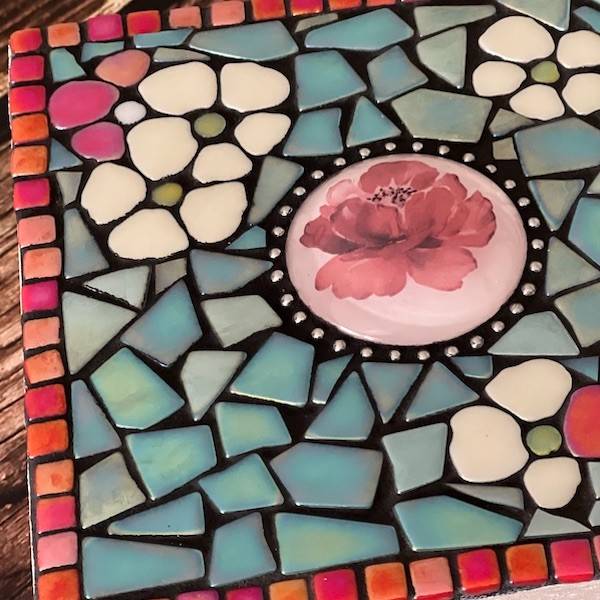
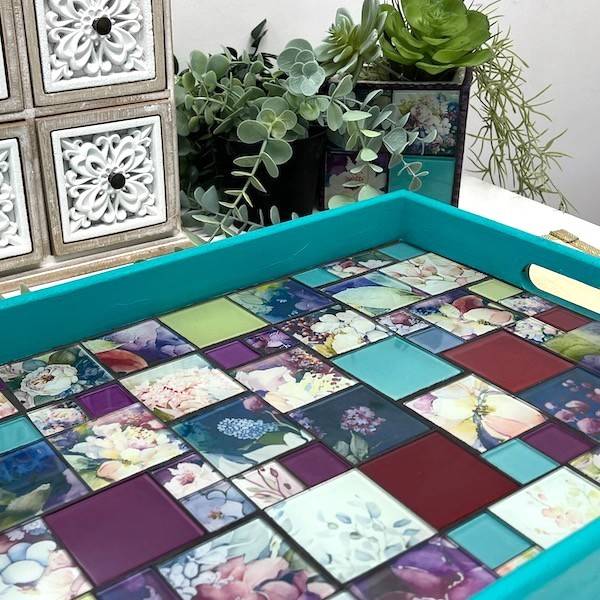
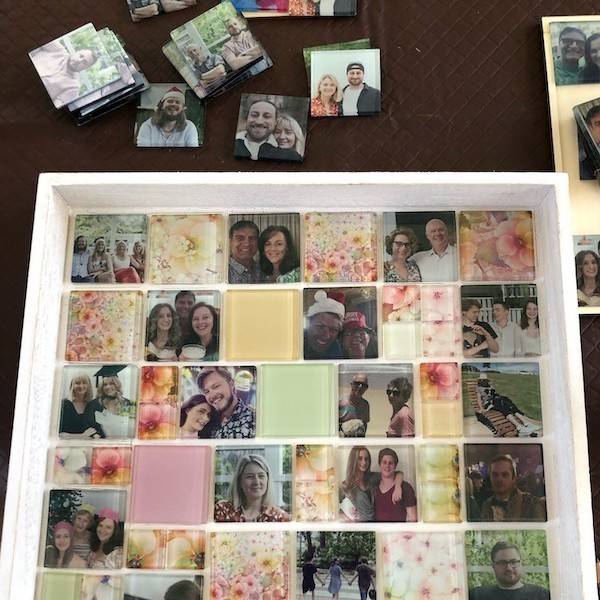
2. Decide on the pattern and colour theme. With this example, I started with the round feature tile and worked my way outwards in a circular pattern with various green and purple tiles. Once the circular pattern had reached the lid, I started to fill in the rest with the iridised glass snippets and ceramic shapes. I complete the lid separately and will silicone it into the teapot once grouted.
With a 3D substrate, I work on it over many days, working on one side at a time and allowing drying time between so as not to knock off tiles when moving the item. I leave the handle until last, as it is easier to move the teapot around by it.
I allow the silicone to cure for a few days before grouting. Usually, five, but lately, my grouting queue is a few months long!
3. I mix the Davco Grout Additive at a 1:1 ratio in a separate container. I then mix the white grout and Violet Grout Colourant while dry. I used a mix of around 10 to 15% Grout Colourant to dry the grout. Then add your wet mixture to the dry mix until you get the right consistency.
I grout using gloved hands, or you can use a spatula.
I also prefer dry grouting to clean up with water and a sponge. I use rags to wipe the excess grout off into an old box, so I can quickly dispose of it in the bin.
I let the grout cure for about half an hour before giving it a final wipe-down with baby wipes. These are also fabulous for cleaning any purple on your skin or through the gloves whilst grouting (I only discovered this tip).
Once the grout has cured overnight, I glue the teapot lid into place with silicone.
I don’t seal the final product as I use the grout additive.
 1300 320 392