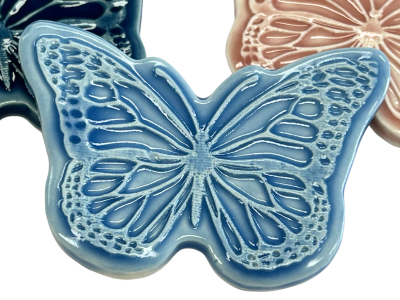
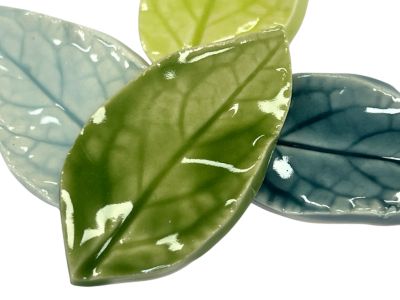
Materials & Supplies
- Tortoise gardens sculpture – mine is from Bunnings but I’ve seen very similar ones at Aldi
- Roof & Gutter Silicone
- Davco Grout – Black #2
- Avista Colour Oxide – Jet Black
- Davco 4 in 1 Grout Additive
Tools
- Tile Nippers
- Skewers (for slightly moving petals when necessary)
- Ziplock Bags (I use the piping bag method for applying silicone)
- Container and wooden spoon for mixing grout
- Sponge
- Gloves
- Masking Tape
Tiles
Steps
1. No prep was needed for the tortoise, so I started by gluing the 1cm tiles around the edge of the shell using the piping bag method to apply the silicone.
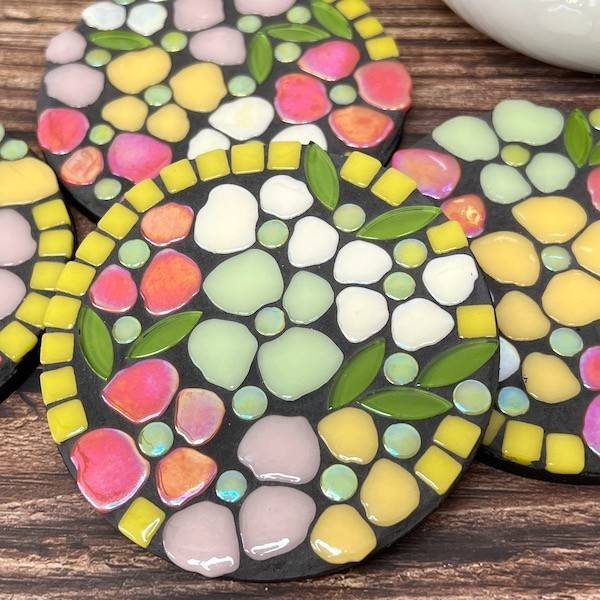
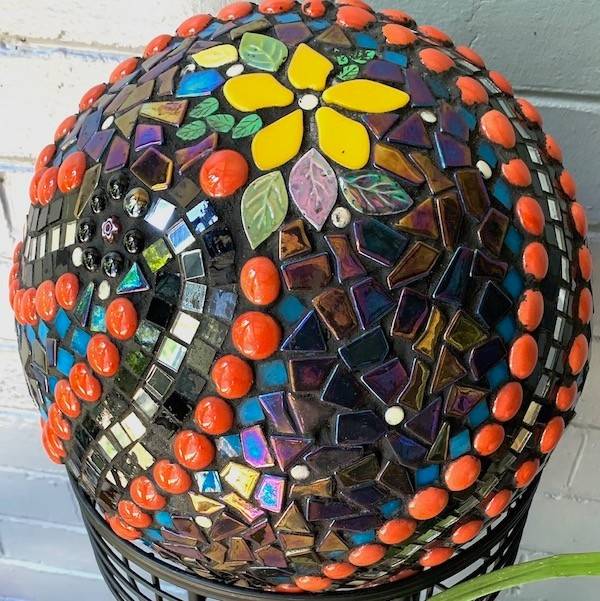
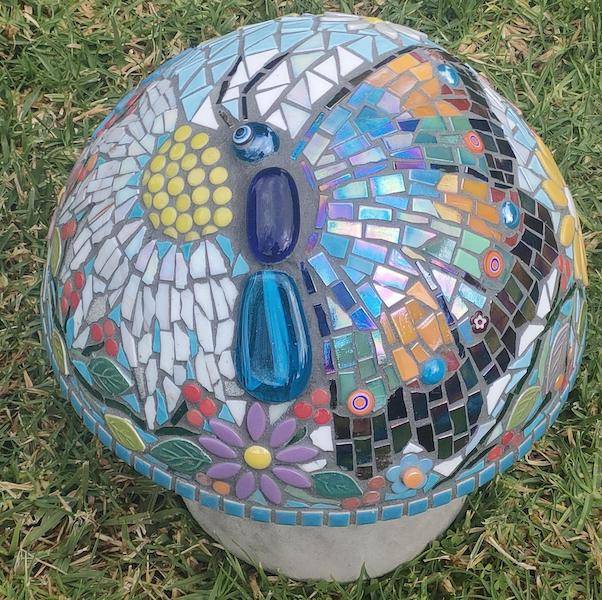
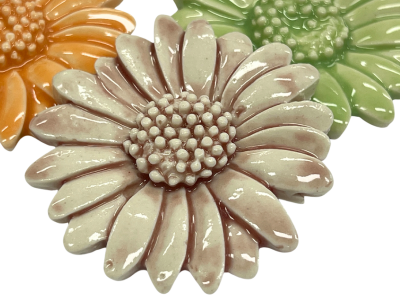
2. Start adding the flowers; I added the big 'showstopper' flower to the shell and built out around it, filling it with smaller flowers and vines. I made some designs and held them together with clear contact, making it easy to move around and see what would fit.
3. Fill in any gaps that are too large to leave, I used millefiori in floral shapes, but the Mosaic Store's new range of tiny tiles would be perfect. Let the silicone dry completely before moving on to grouting.
4. Tape the head and legs using masking tape to protect these areas from the grout.
5. Grout – I wanted a very dark grout to make the flowers pop, and I knew it would be outside in the full sun, so I tried to account for some fading. I used Davco grout in black and added a couple of tablespoons of Avista Jet Black colour oxide. I also added Davco 4 in 1 Grout Additive to the water before mixing grout – follow the manufacturer's instructions on the bottle. Clean with a sponge and polish tiles with a microfibre cloth. Remove masking tape once the grout has dried.
6. My tortoise has been sitting in full sun for about 16 months in a very hot north QLD climate; the grout has faded to a dark grey with no cracking.
Thank you so much Jacqui, for sharing your lovely mosaic with us ❤️
 1300 320 392


