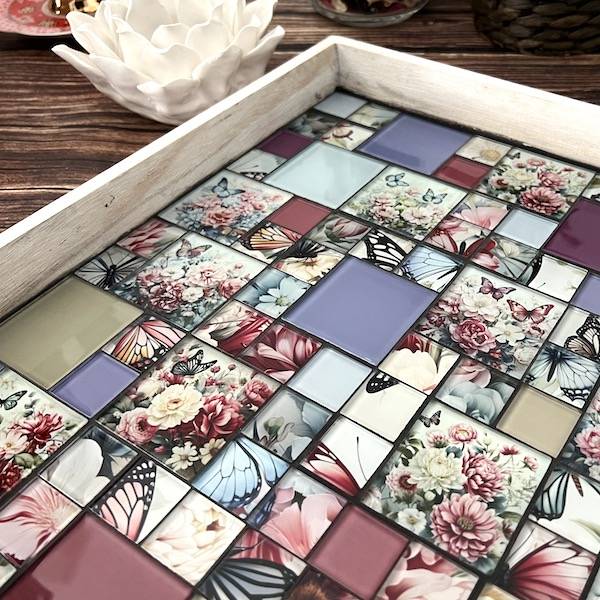
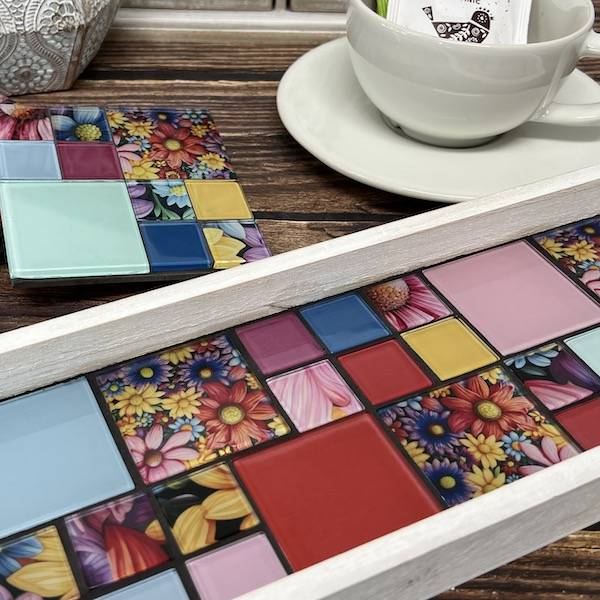
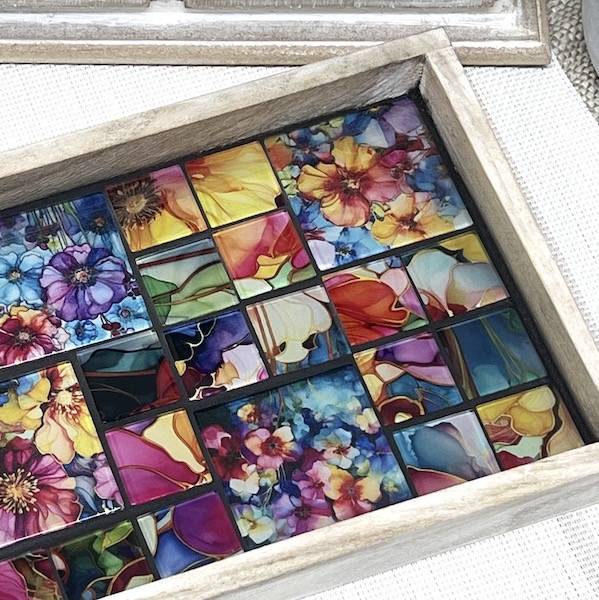
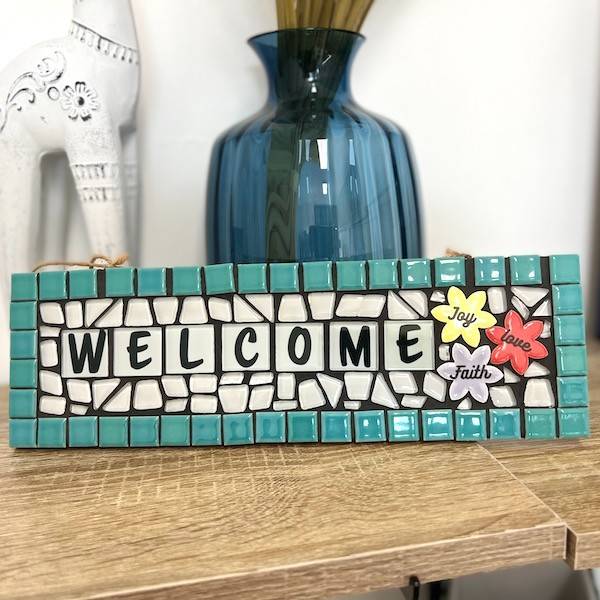
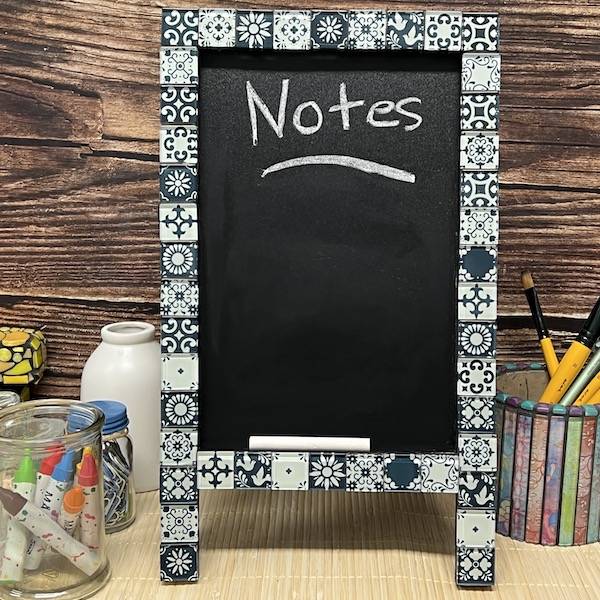
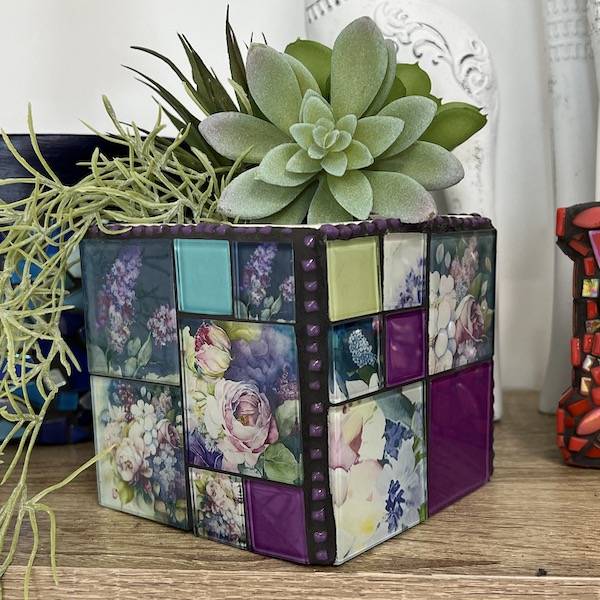
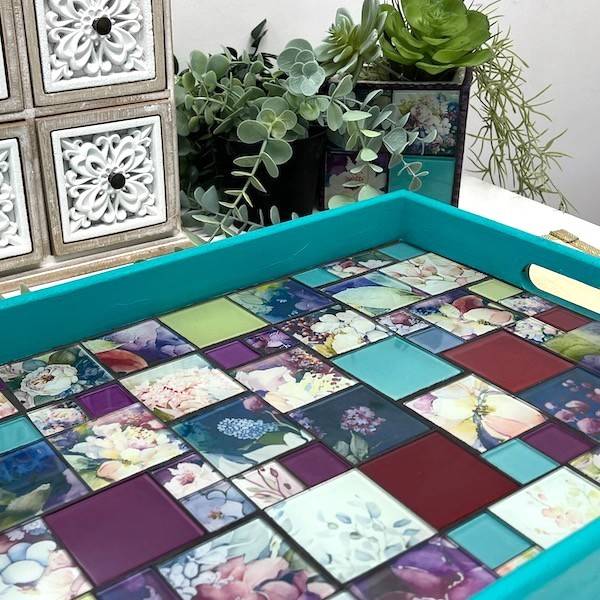
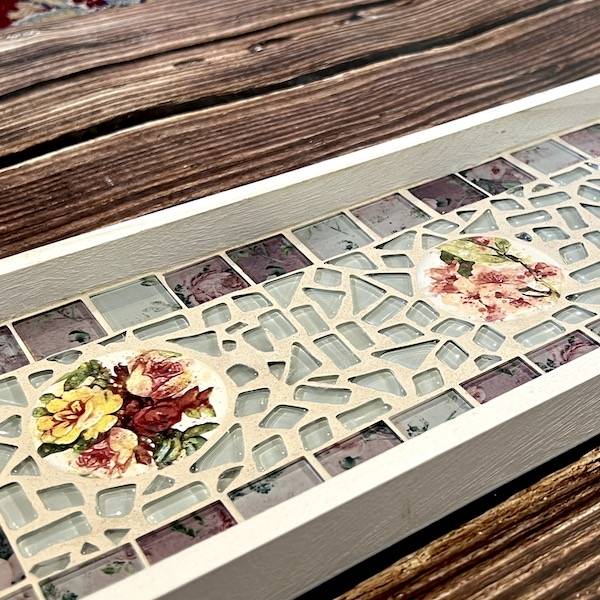
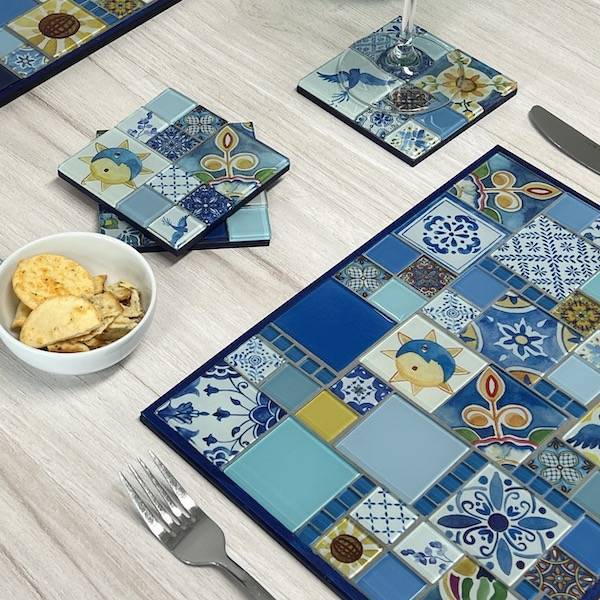
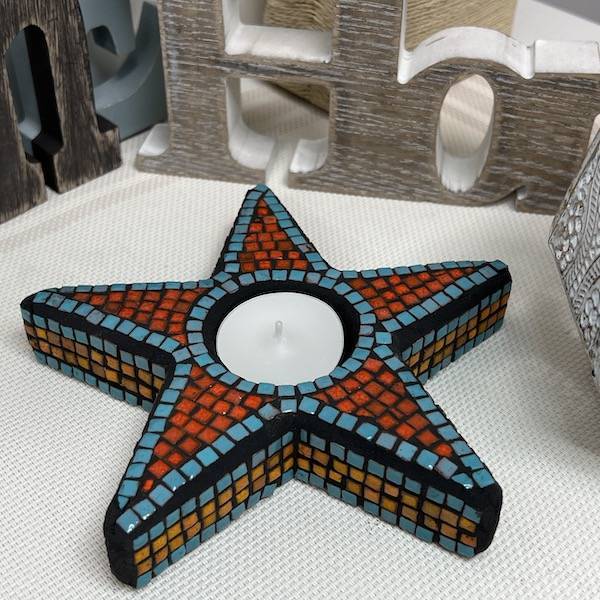
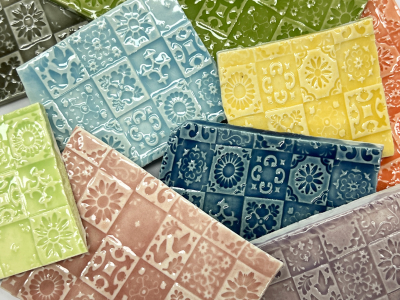
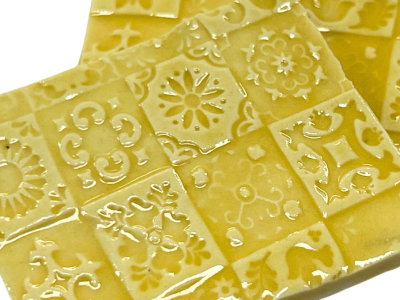
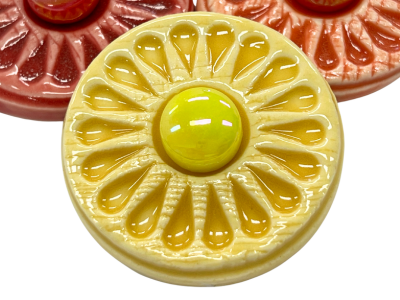
Chalkboards are more popular than ever! You see them everywhere, from restaurants to weddings and in the home where they are used to jot down shopping lists to leaving little messages of love and inspiration. This project shows you how to make a fun and inexpensive chalkboard that you can customise to your home's decor.
MATERIALS
- Wooden base - We've used the Monte Marte board 30.5 x 40.6cm
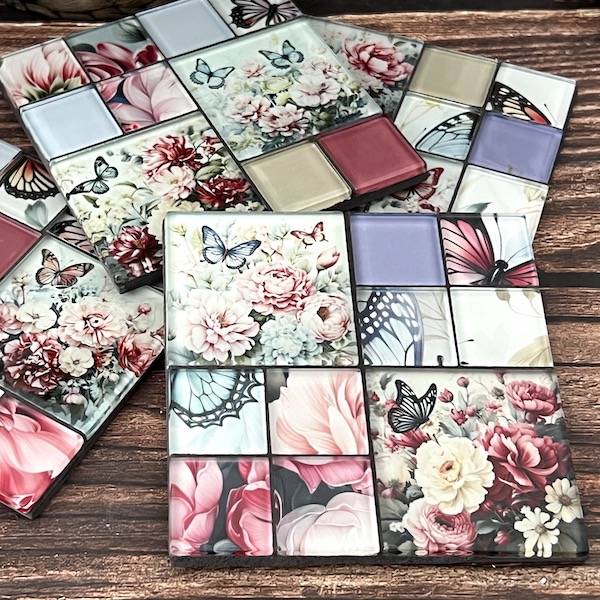
- Clear glass tiles - a packet of each of the rectangles
- Adhesive - Sullivans adhesive 120ml
- Chalkboard paint
- Paper patterns
- Grout - Black
- Instructions
- Paintbrush
- Scissors for cutting paper
This project requires no cutting of tiles. If you choose to cut tiles, however, you will need a pair of glass tile cutters.
Buy the 'Enjoy The Little Things' Chalkboard Kit >>
INSTRUCTIONS
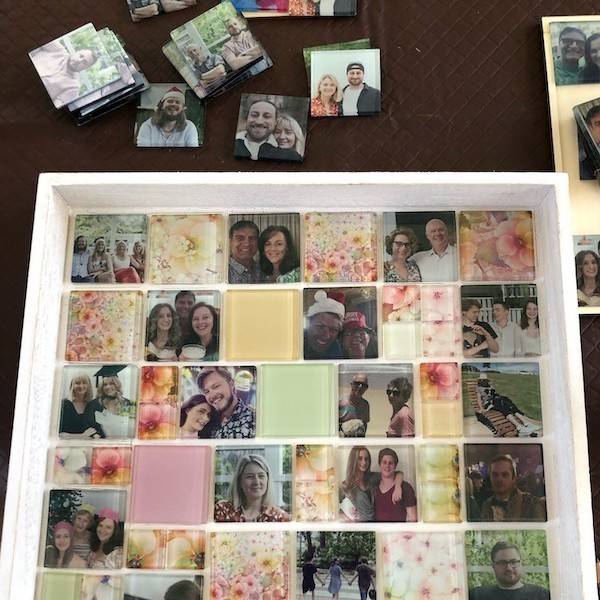
1) Making the paper-backed tiles
Use your brush to apply the adhesive directly to the back of the tiles, making sure that you cover the entire tile, including the edges. Once you’ve done this, apply the paper to the tile and turn it over. Work the excess glue from under the tile. You could use a small ruler or squeegee to do this by gently rubbing it over the tile. Leave it to dry completely, then using a pair of sharp scissors, cut the excess paper from around the tile.
2) Laying the Tiles
Apply a coat of PVA adhesive directly to the base, work in small sections, so the glue doesn’t dry out. Then apply the tiles, to the board. Once they are laid down, don’t change the placement as you could wreck the tiles with the backing coming off. Keep the tiles close together to minimise the amount of grout you will need.
3) Grouting Time
- Mix your powdered grout with water to create a thick paste – THIS IS IMPORTANT. This is to reduce the amount of water, these tiles are paper backed, and water is not their friend. If you use too much water, it will creep under the tiles creating watermarks. Mix the grout to a smooth paste with no lumps. Keep some of your grout aside just in case you need to thicken the grout later.
- Spread the grout all over the top of the tiles and sides, making sure to work it into the gaps.
- Once you have applied the grout, you will need to wipe it off straight away; we recommend using wet ones for this as they contain just the right amount of moisture. If you use a sponge, you will have too much moisture.
- Once you have wiped away the excess grout, allow it to dry for 20 minutes, use a soft cloth, and wipe the mosaic clean.
As these tiles are paper backed, the mosaic shouldn’t be exposed to moisture.
4) Painting the chalkboard
Apply 2-3 thin coats, ensuring sufficient drying time between each coat.
Tips
- A foam roller is recommended for a smooth finish.
- Regular chalk works well and removes with a damp, wet cloth.
- Constant washing overtime may compromise the finish, and a top-up coat suggested.
 1300 320 392


