Project Instructions
Materials list:
Or purchase the complete 'Watercolour Garden Mosaic Pot Kit'.
Step 1 - Lay Your Tiles
- It is advisable to wear disposable gloves when working with cement-based adhesive.
- Begin by mixing half of the cement-based adhesive with water until it reaches a consistency similar to oatmeal. Add a small amount of water gradually, rather than pouring it all at once. If you accidentally add too much water, use some of the adhesive you set aside to correct the consistency.
- Place the pot on its side and use a flat tool, such as a palette knife, to spread the adhesive evenly over it. Press the tiles into the adhesive bed, and then carefully rotate the pot to work on the next side.
- Once you have laid all the tiles on each side, allow the adhesive to dry before applying the micro tiles. Prepare another batch of cement-based adhesive and use your finger to apply a small amount along the sides and top of the pot, securing the micro tiles. Tweezers are recommended for this step, as it can be a bit intricate. If any micro tiles fall off during the process, apply more adhesive and reattach them.
- After completing the tiling process, let the adhesive cure for 24 hours before proceeding to grouting. Run your hand over the tiles to ensure they are firmly adhered. If any tiles are loose, remove them and reattach them securely.
2. Grouting time
- Prior to grouting, ensure that the surface of the base is clean and free from any loose particles or debris. Additionally, check that there is no dried adhesive on the face of the tiles.
- Take a clean mixing bowl and pour a small quantity of water into it. Gradually add the grout while stirring continuously until you achieve a smooth and lump-free mixture. The consistency of the grout should resemble that of oatmeal. Allow the mixture to stand for 10 minutes, then restir it before applying it onto the tiles.
- It is recommended to wear gloves, and you can apply the grout using your hands. Apply the grout in a diagonal motion, ensuring that it fills the entire depth of the joints. Remove any excess grout using your gloved hands or a sponge. Keep a container of water nearby to rinse the sponge as you work.
- After applying the grout, allow the piece to sit for 20-30 minutes or until the grout becomes hazy. Then, take a slightly damp sponge or cloth and wipe off the haze from the tiles. Use a dry cloth to buff and shine the tiles. It's important to remove as much grout as possible from the tile surface at this stage, as it will be more difficult to remove later. Avoid using paper towels, as they tend to flake off and stick to the grout.
- After grouting, it is essential to allow the mosaic piece to dry completely for 24 hours. If you happen to spot any imperfections in the grout, you can easily address them. Prepare a small batch of grout and apply a small amount to the affected area, covering the imperfections. Additionally, you can buff and shine the surface once again to achieve a flawless finish.
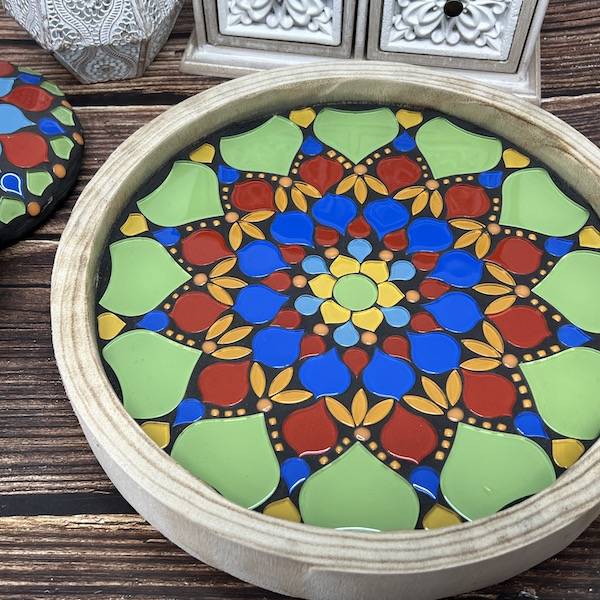
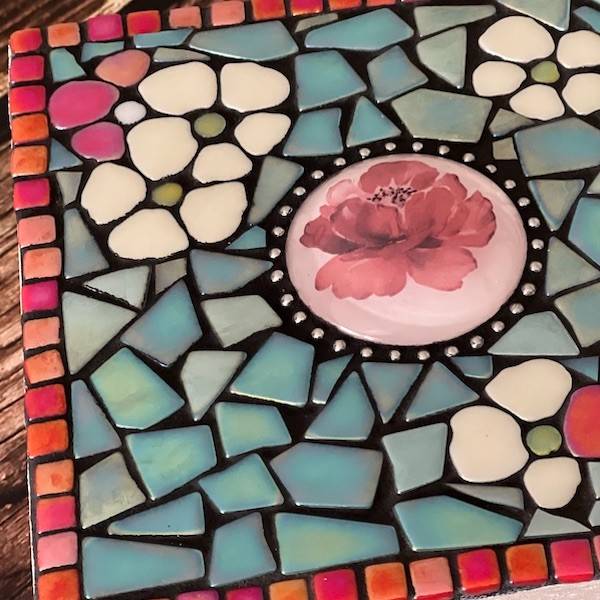
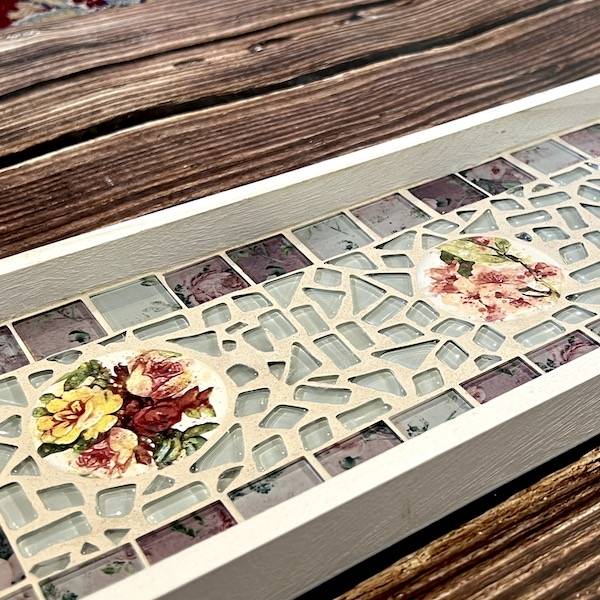
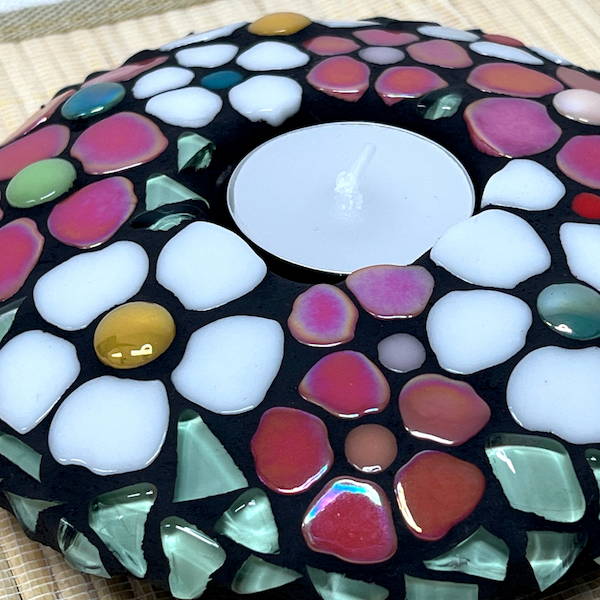
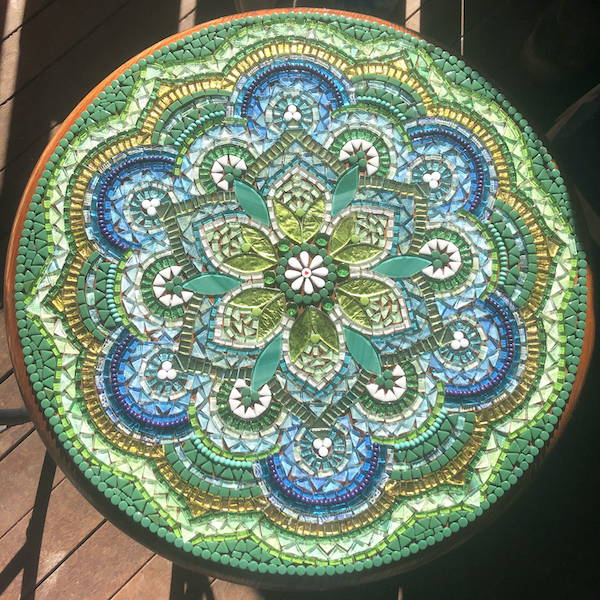
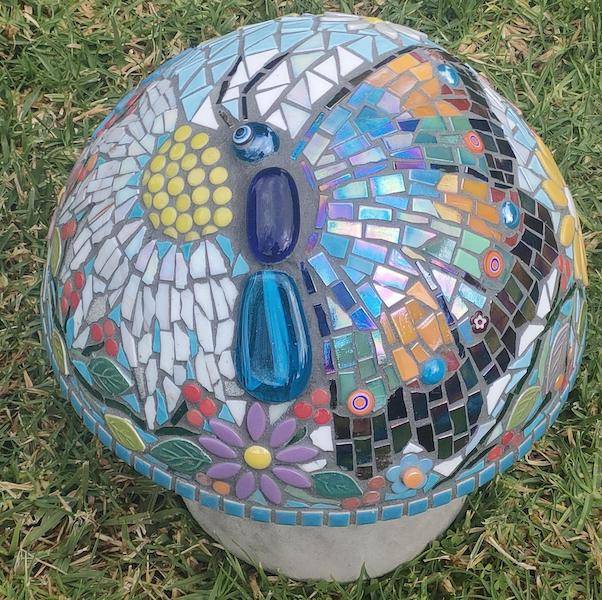
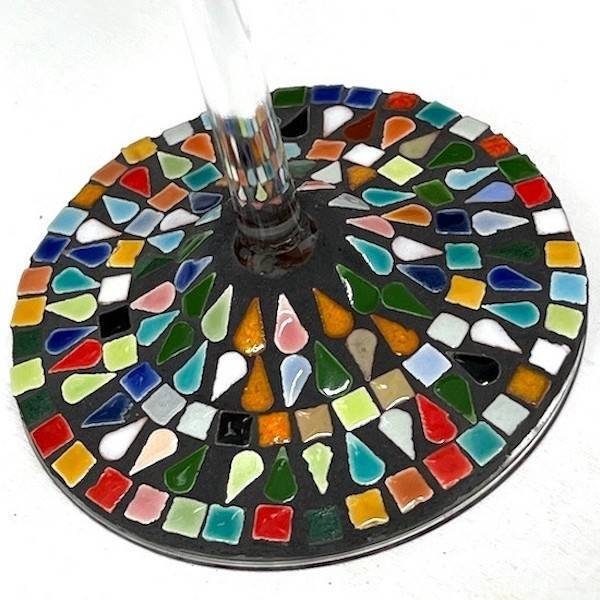
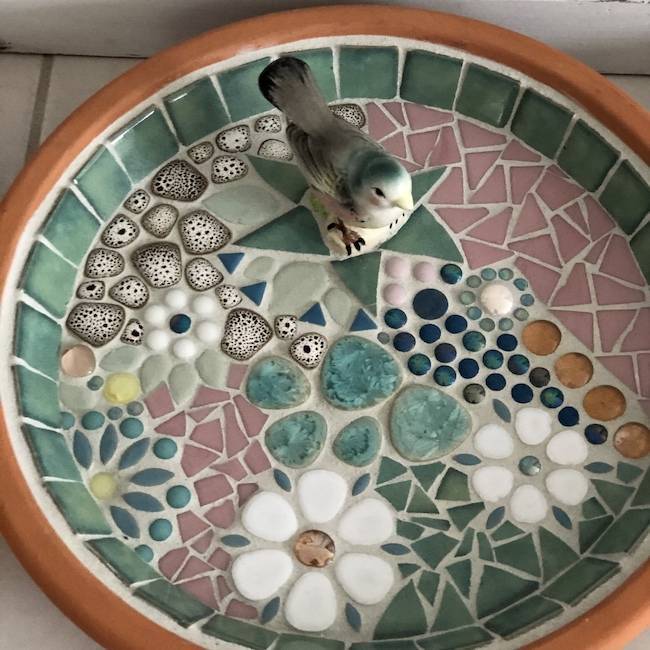
We've used black grout to make the colour pop. If you haven't grouted before, click here to get step by step instructions.
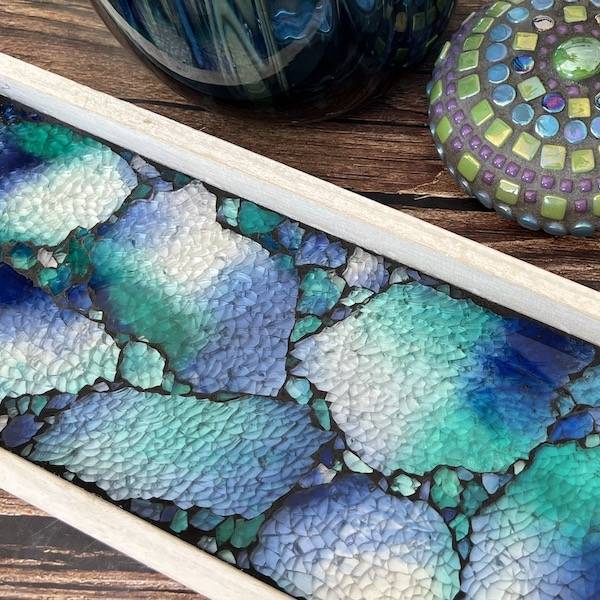
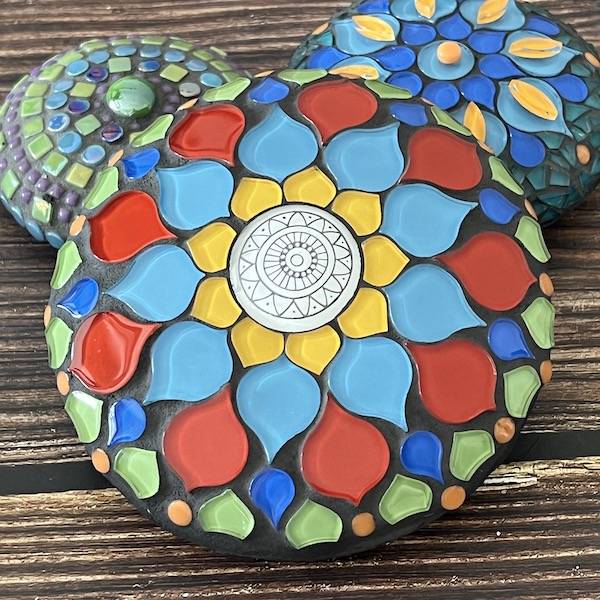
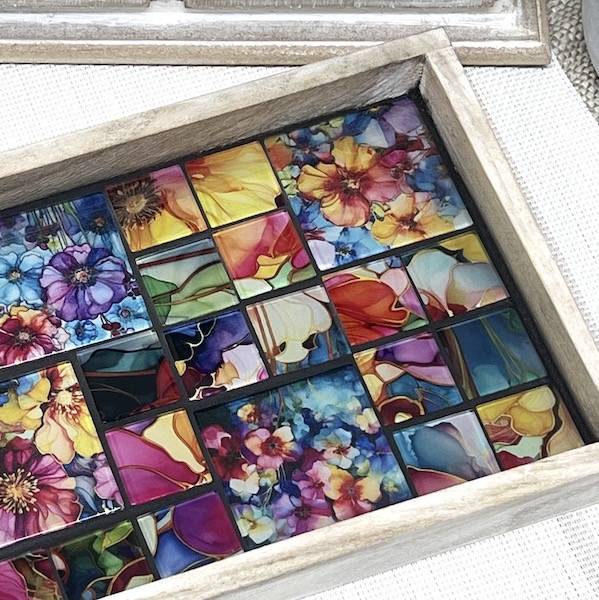
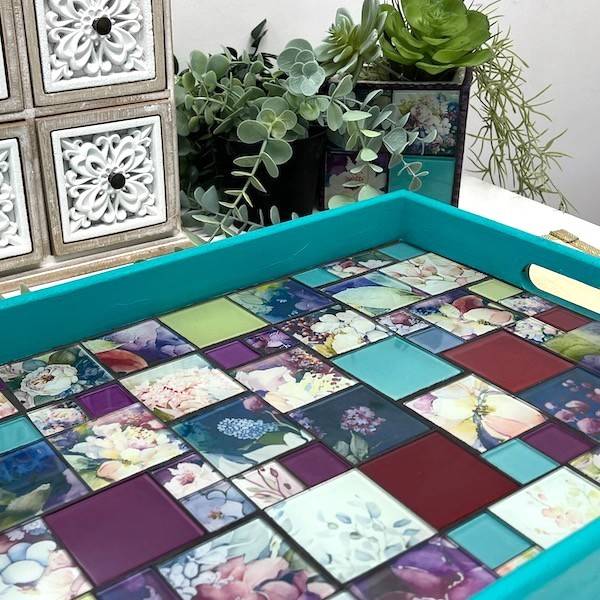
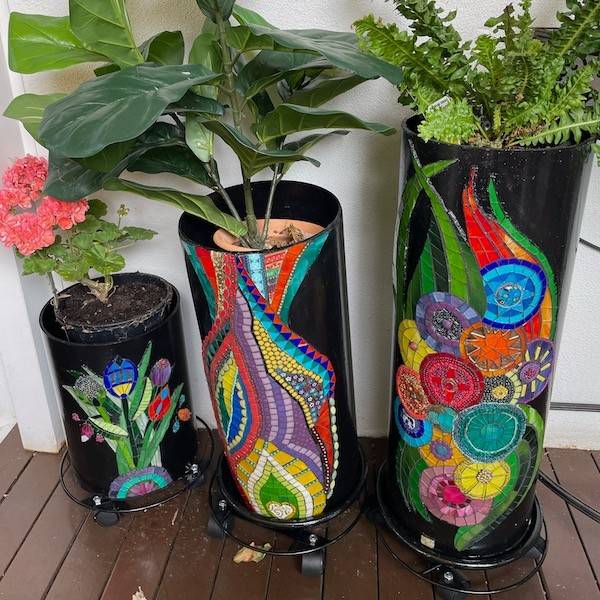
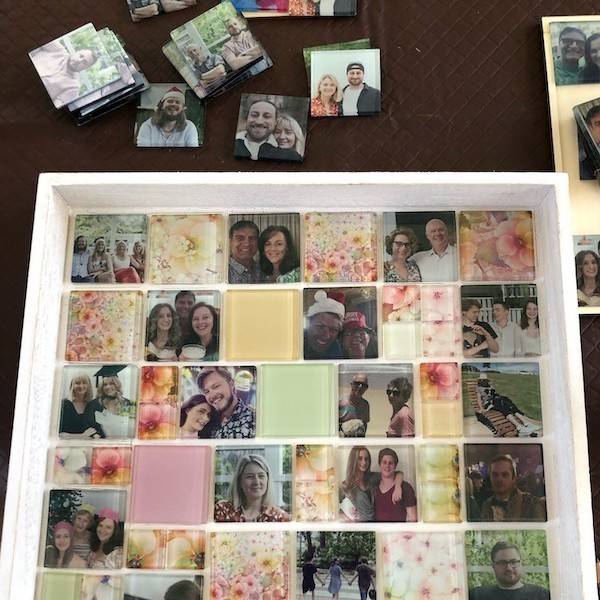
This mosaic has been created as an indoor piece, as the handmade tiles aren't suitable to be displayed in direct sunlight.
Handy Tips
- Safety first – use protective eyewear when nipping glass
- Never dispose of grout down the drain
- Mix grout in a disposable container for an easy clean-up
- We suggest that you use gloves when working with grout. While it is non-toxic, it can dry out your hands. You will go through a few pairs whilst grouting.
 1300 320 392