1300 320 392


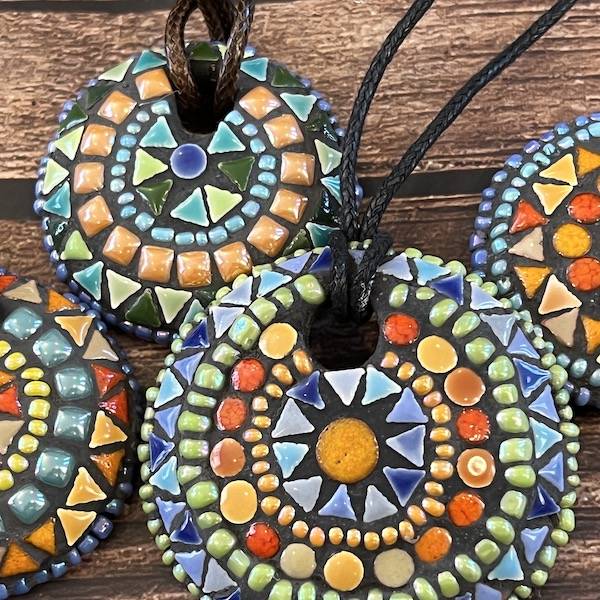
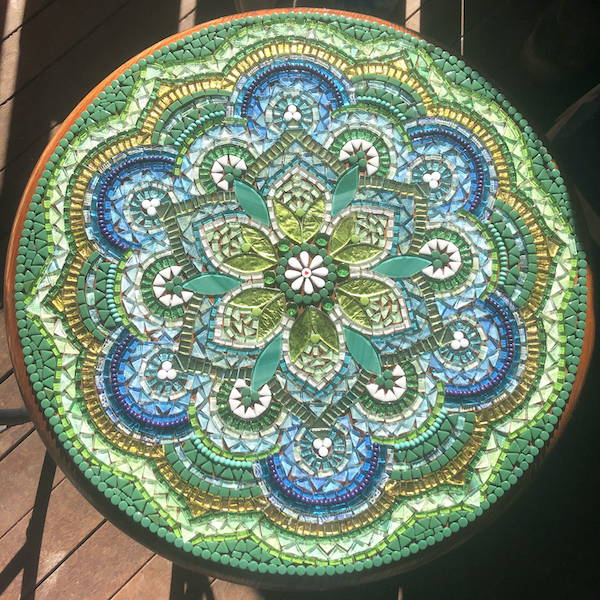
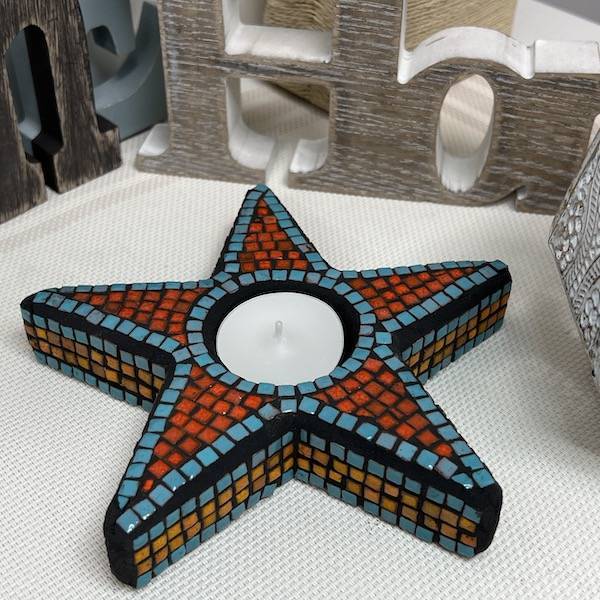
Make Your Own Magical Mandala Mosaic Stone: Explore Peace and Fun!
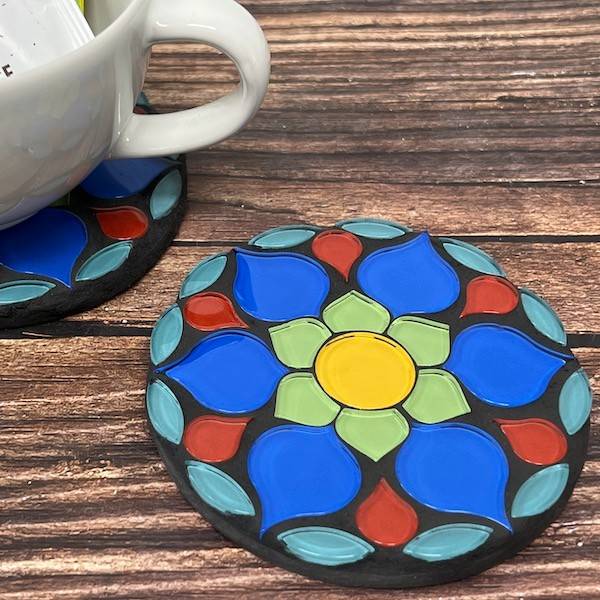
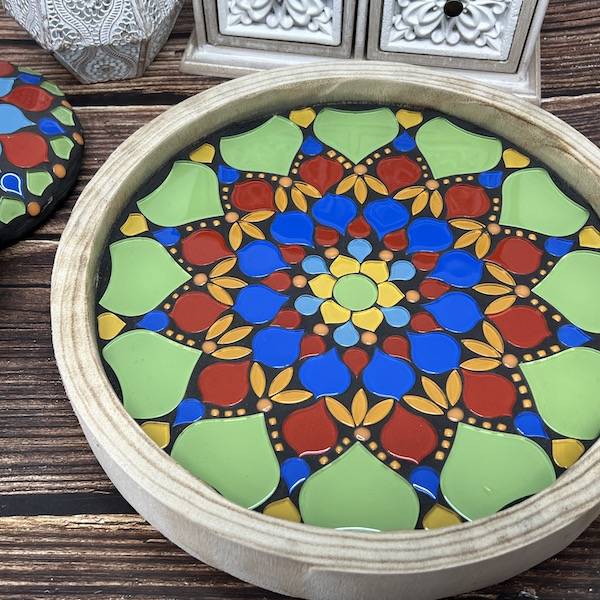
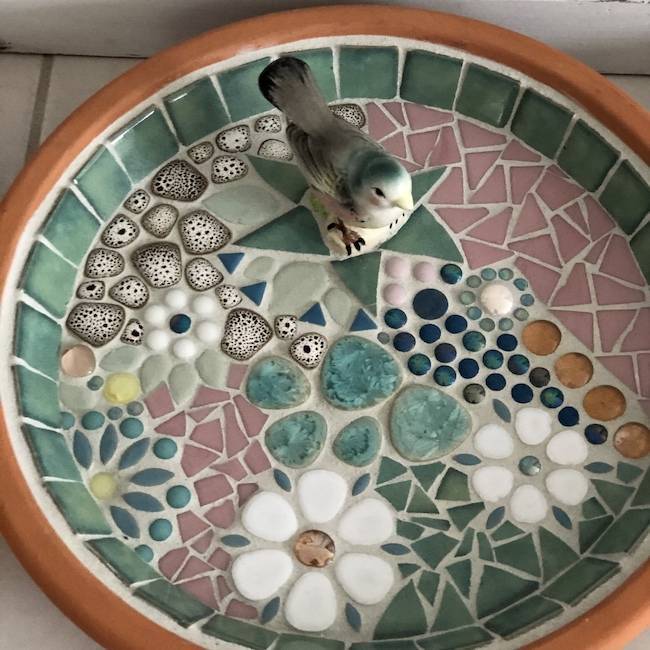
Create a fantastic mandala stone with a lovely handmade glass centrepiece and pretty mandala-shaped tiles. It's a unique art project that's easy and brings a sense of peace.
The Mandala Stone Mosaic project is super cool and lets you have fun with mandalas. Mandalas are special designs with shapes and colours that bring calm and balance to your art. Making mosaic stones with mandala designs is easy, even if you're new to it. So, enjoy crafting and feel the peaceful vibes!
Project Instructions
Materials
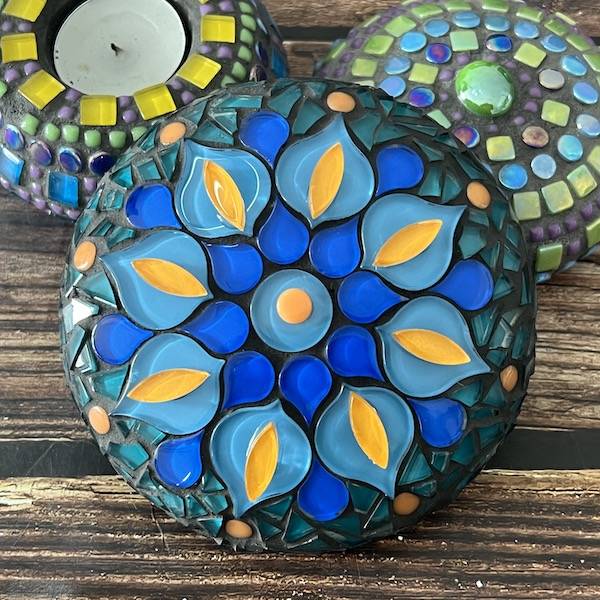
- XL Round Mosaic Stone
- White Silicone Adhesive or White Cement Based Adhesive
- Black Grout
- 1 x Patterned Glass Cabochon
- Tiles - Mandala Glass Shapes
We used these tiles, but you could also choose to make your own design or buy one of our Mandala Kits.
-
-
- 9 x Orange Pointed Glass Petals
- 9 x Blue Peacock Eye Glass Tiles
- 9 x Red Peacock Eye Glass Tiles
- 9 x Cobalt Blue Pointed Drops
- 18 x Green Pointed Petals
- 18 x Orange Glass Dots
-
- Tweezers
- Pallet knife or tool for spreading the adhesive
- Gloves, containers, rags or sponge for grouting