1300 320 392


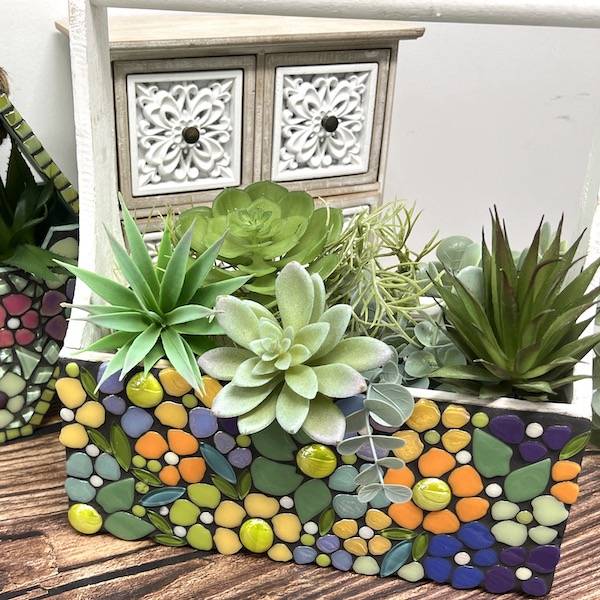
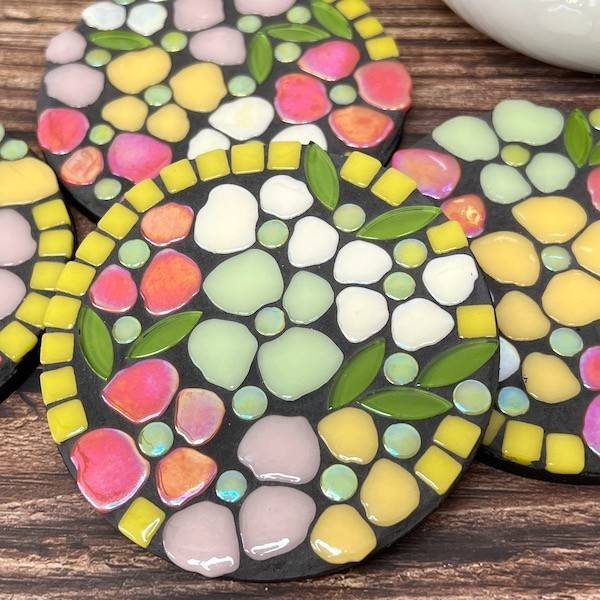
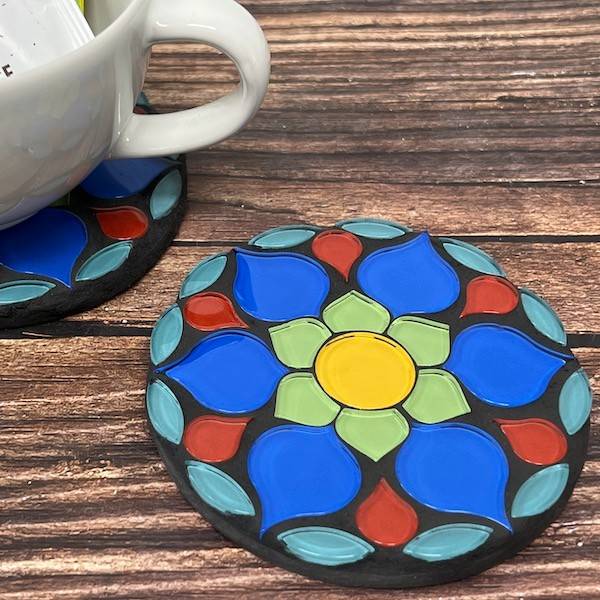
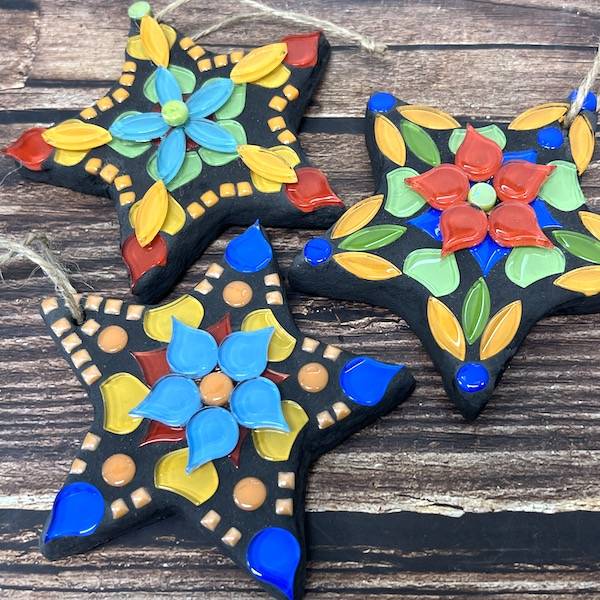
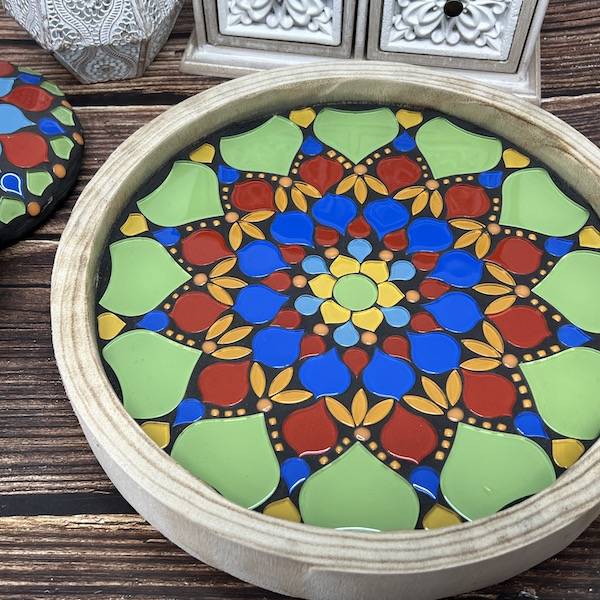
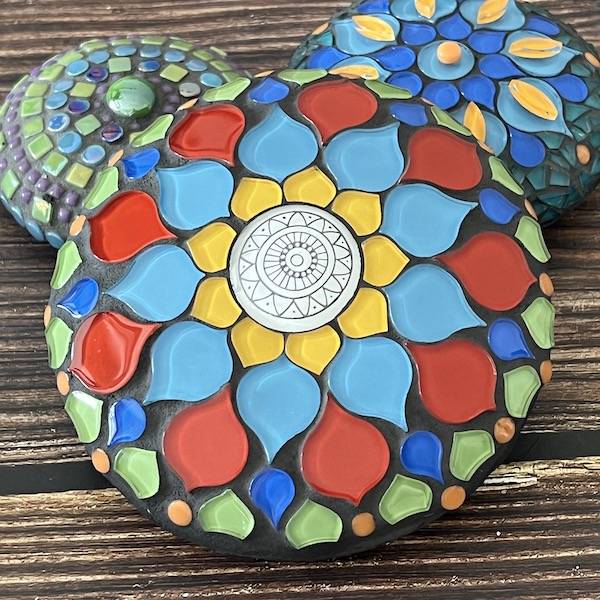
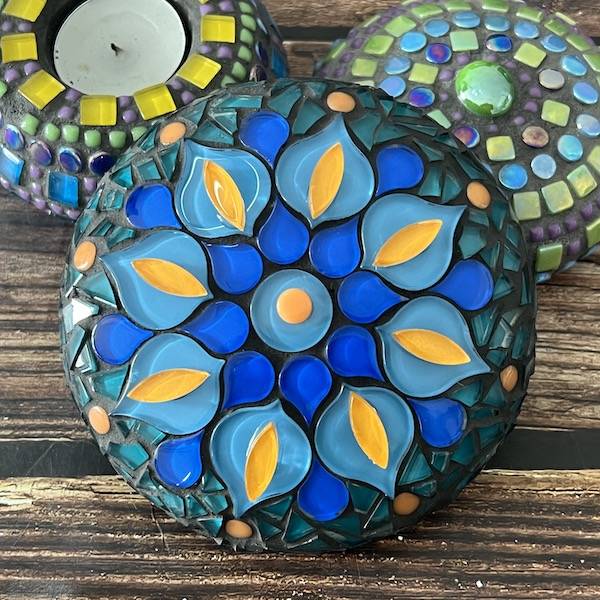
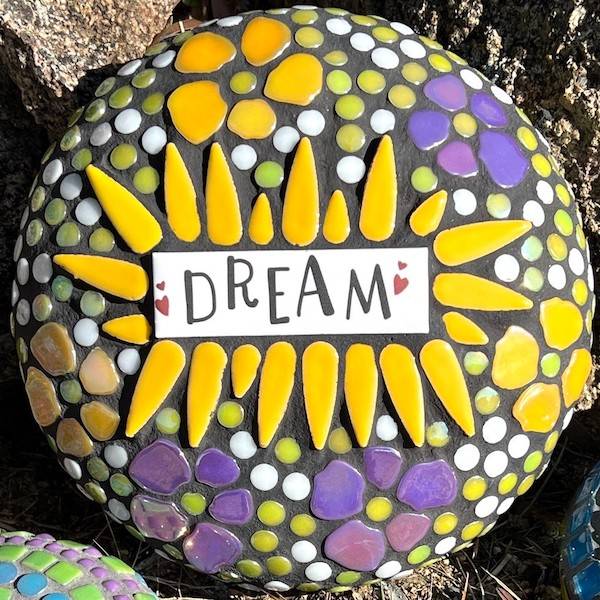
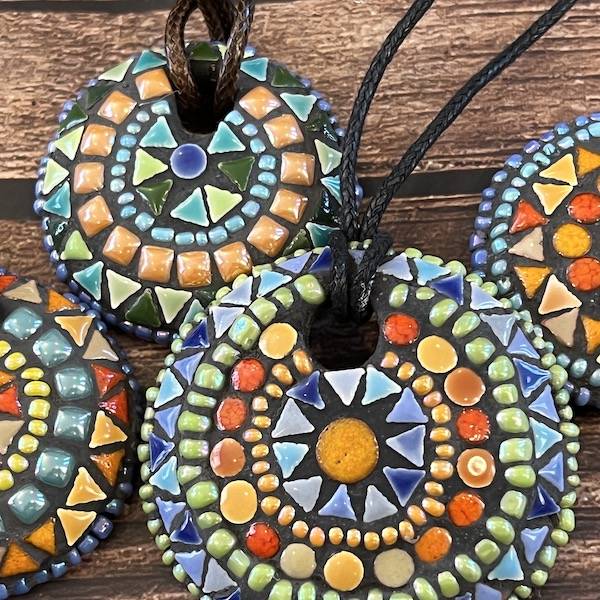
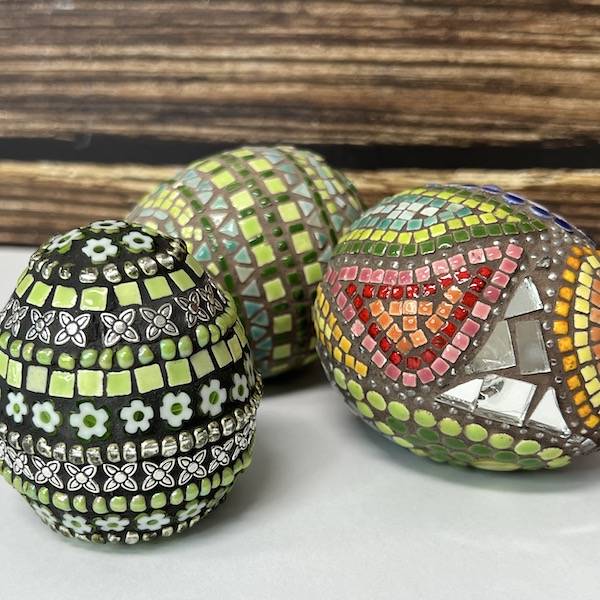
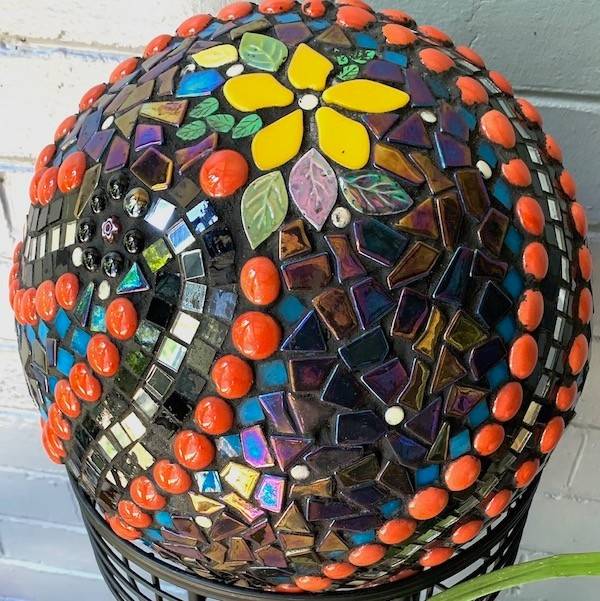
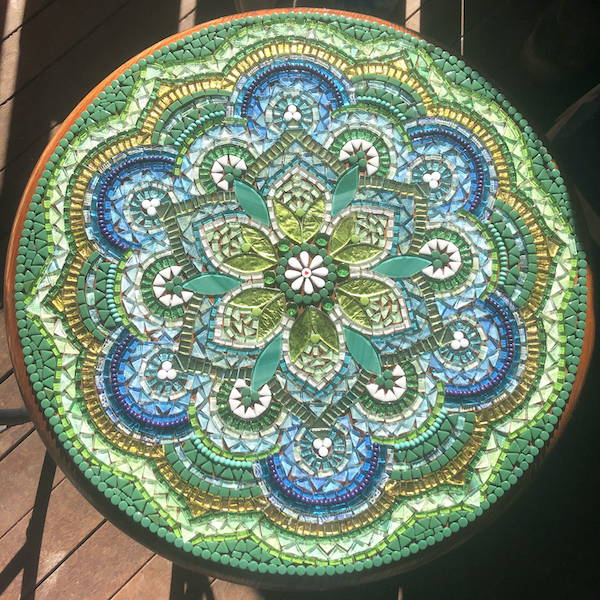
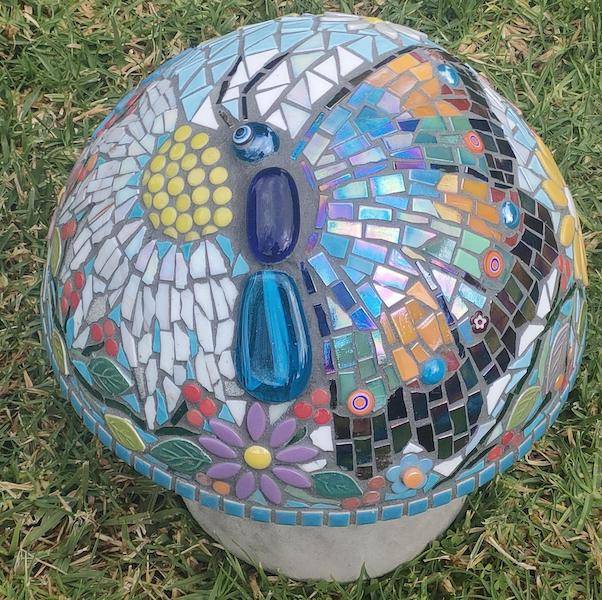
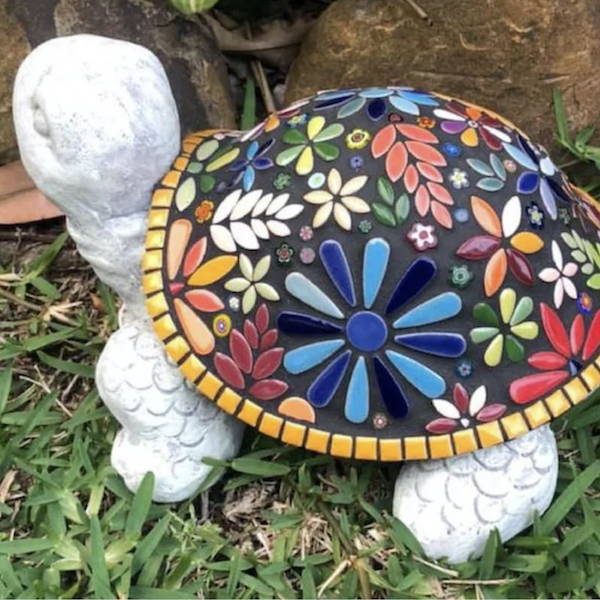
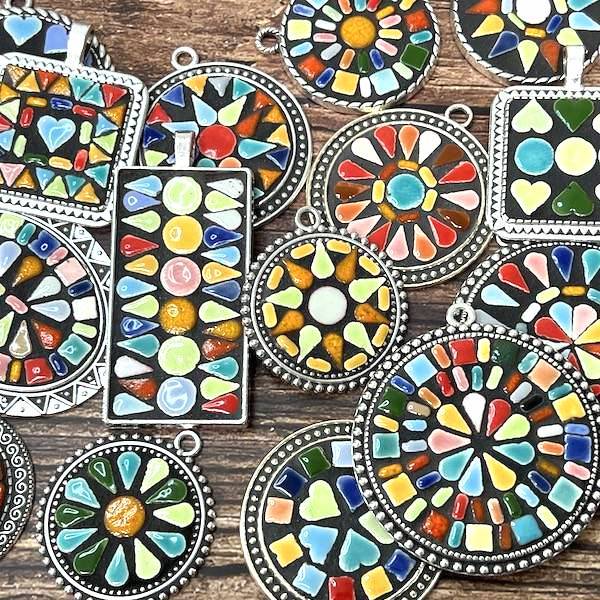
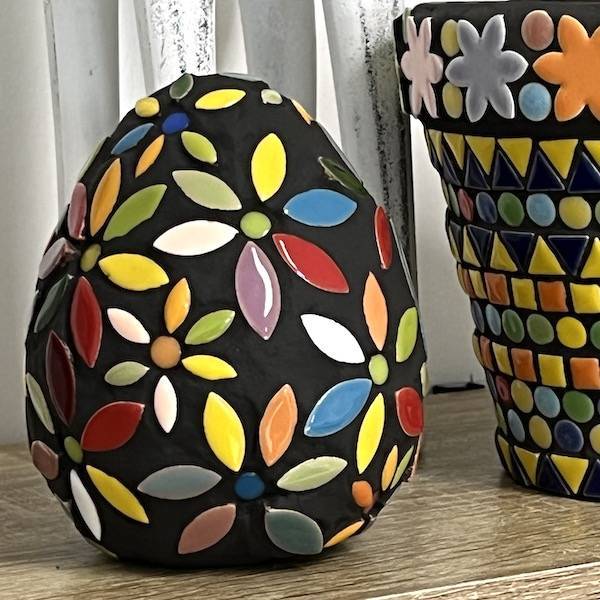
The Mandala Stone Mosaic project is really awesome and introduces you to the wonderful world of mandalas! A mandala is a special design made of geometric patterns that represent peace and unity. It's like a beautiful circle filled with intricate shapes and colors. When you create mandala designs on these mosaic stones, it adds a sense of calm and beauty to your artwork. Mandalas have been around for a long time and are found in different cultures. They're like a symbol of balance and mindfulness. So, let's have fun making mosaic stones with mandala designs and enjoy the peaceful vibes they bring!
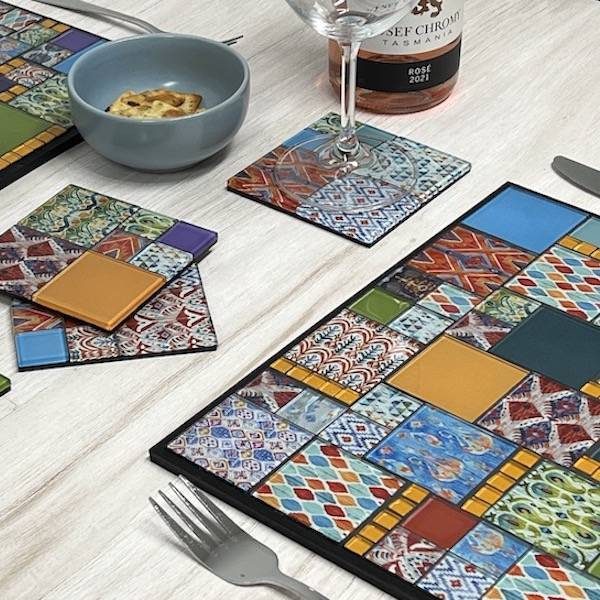
This project is perfect for both beginners and experienced mosaic enthusiasts, as it doesn't require any cutting of tiles. Whether you're new to mosaics or have some prior experience, you can dive right into this project and create stunning artwork without the need for cutting tiles. It's a great opportunity to explore your creativity and enjoy the art of mosaic-making with ease.
Get the Mosaic Mandala Stone Kit and start creating your own beautiful mosaic >>
Project Instructions
Materials
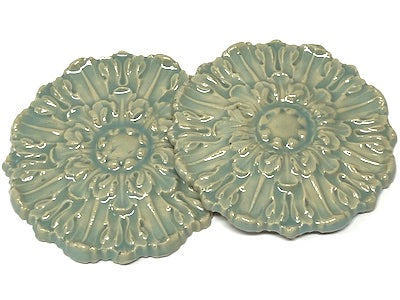
- Medium Round Mosaic Stone
- Cement Based Adhesive
- Black Grout
- Tiles
- Tweezers
- Pallet knife or tool for spreading the adhesive
- Gloves, containers, rags or sponge for grouting