img img img img

Fri, May 05, 2023

Cherry Blossom Mosaic Planter

Cherry Blossom Mosaic Pot


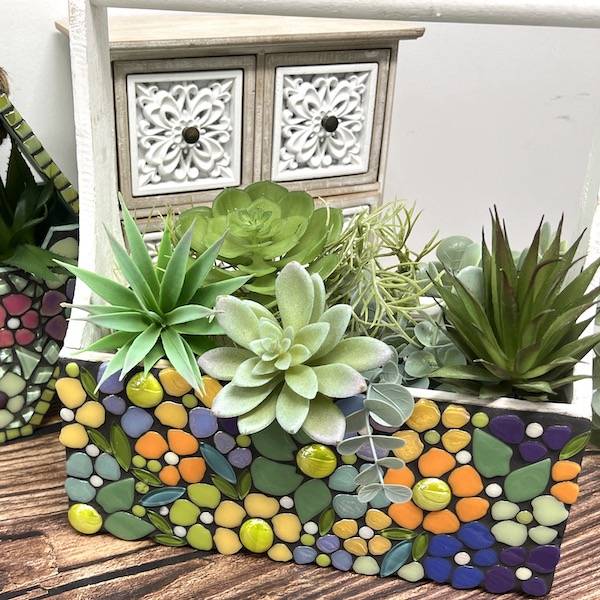
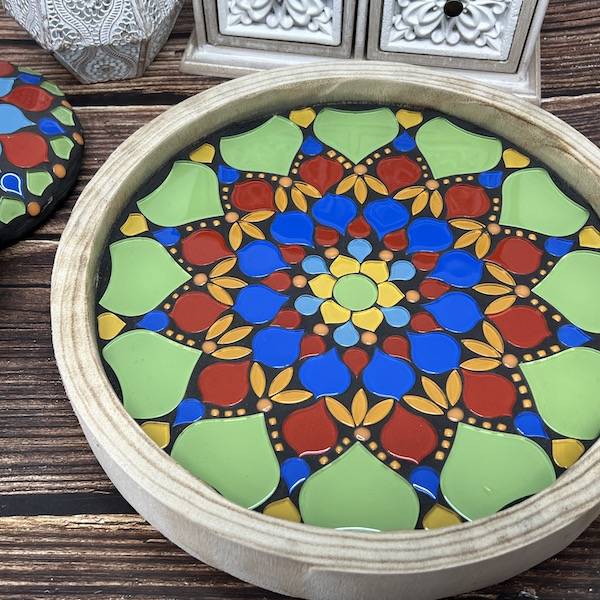
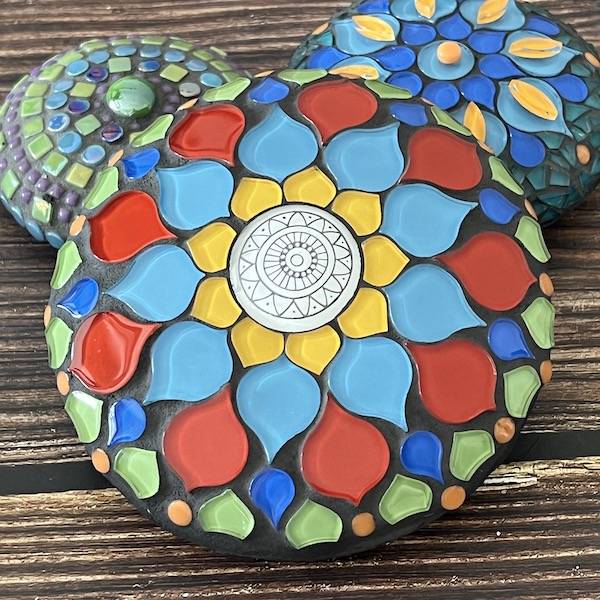
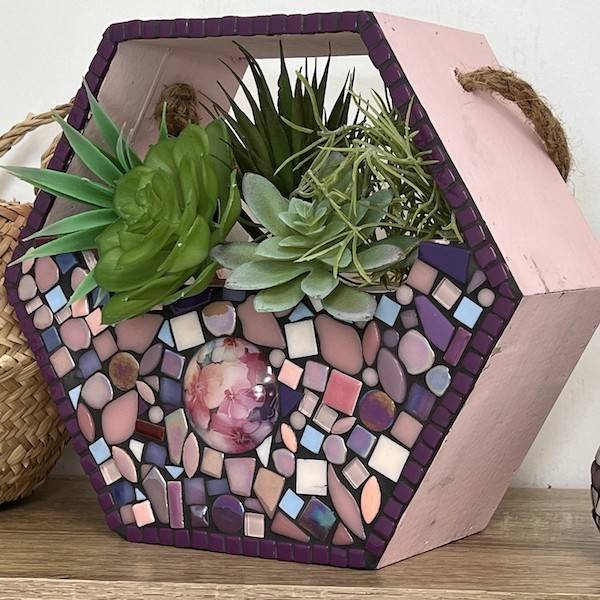
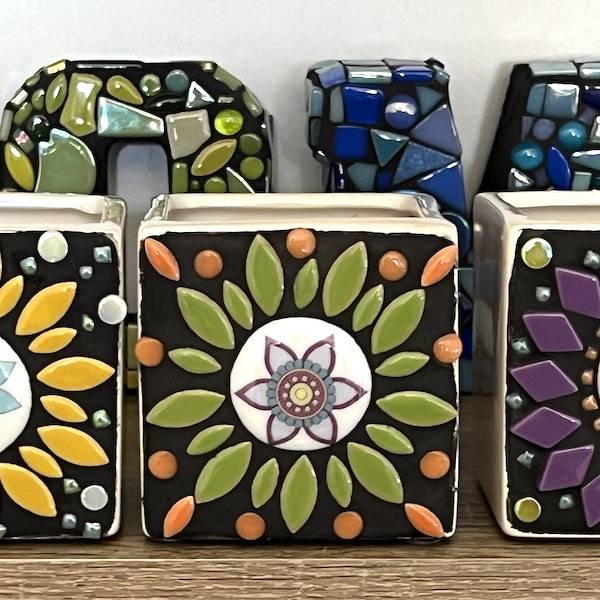
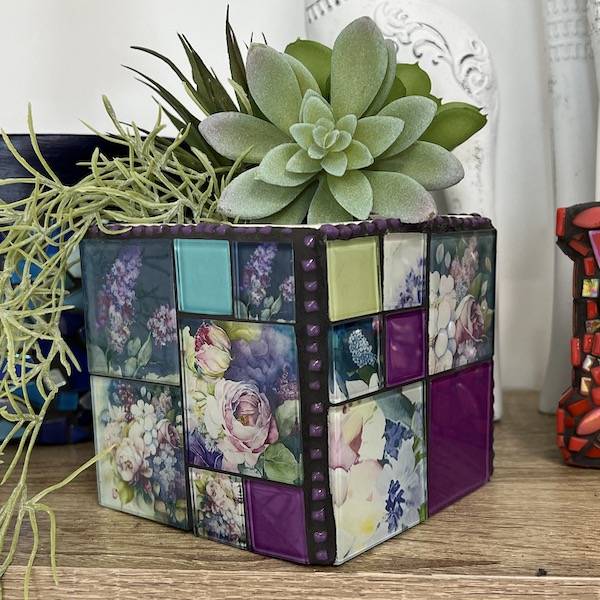
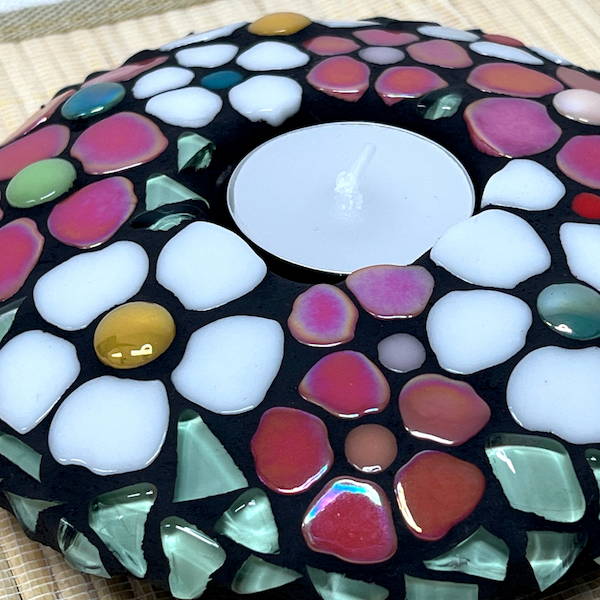
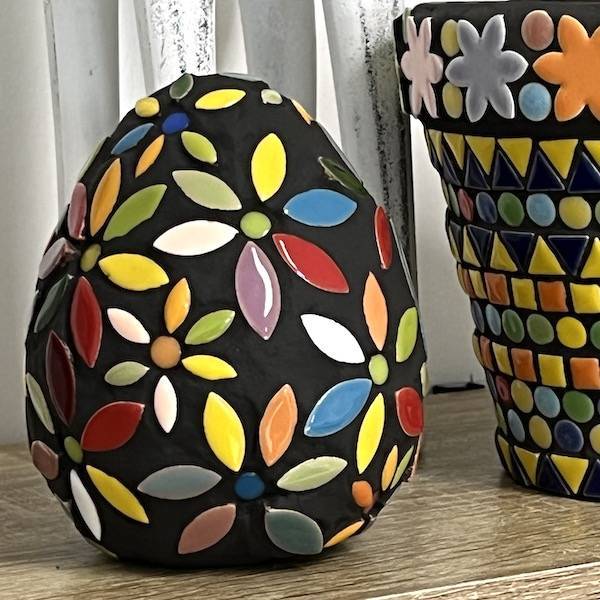
Add a vibrant burst of colour to your home with our fantastic Cherry Blossom Mosaic Planter! This eye-catching planter is designed to liven up the interior of your home, serving as the perfect decorative item to add a pop of colour to any space. The best part? You don't need to be a mosaic expert to make this project. Simply let your creativity flow and have a blast with the process. Once you've finished, you'll be left with a delightful and lively planter that will effortlessly enhance your window sill or side table. And why not spread the joy by surprising your loved ones with one of these charming planters as a thoughtful present? Get ready to unleash your artistic talents and create something beautiful.


Get the Cherry Blossom Mosaic Planter Kit and start creating your own beautiful mosaic >>


Get the mosaic bird feeder kit and start creating your own beautiful bird feeder >>


Project Instructions


Materials list:


Step 1 - Lay Your Tiles


  • Apply the adhesive onto the surface of the planter using a paintbrush, focusing on small sections at a time.
  • For precise placement of the tiles, it is advised to cut the irregular crystal glass tiles. If you're new to tile cutting, refer to our blog post titled "Tools & Tips For Tile Cutting."
  • When laying the 8mm tiles, it is recommended to use tweezers for better control, as it can be a bit tricky.
  • Once the tiling process is finished, allow the adhesive to cure for 24 hours before proceeding to grouting. Confirm the tiles' firm attachment by running your hand over them. If any tiles are loose, remove and securely reattach them.


Step 2 - Grouting time


  • Before starting the grouting process, ensure that the base surface is clean and free from any loose particles or debris. Also, check that there is no dried adhesive on the tile surface.
  • Take precautions to avoid getting grout on the unprotected wooden base. To help with this, keep the planter stationary during grouting. Place it on a piece of paper and rotate the paper as needed. Remember to replace the paper regularly.
  • Grab a clean mixing bowl and pour a small amount of water into it. Gradually add the grout while continuously stirring until you achieve a smooth and lump-free mixture. The consistency should resemble that of oatmeal. Let the mixture stand for 10 minutes, then stir it again before applying it onto the tiles.
  • It is recommended to wear gloves when working with grout. You can apply the grout using your hands. Apply it in a diagonal motion, ensuring that it fills the entire depth of the joints. Use your gloved hands or a sponge to remove any excess grout. Keep a container of water nearby to rinse the sponge as you work.
  • After applying the grout, let it sit for 20-30 minutes or until it becomes hazy. Then, take a slightly damp sponge or cloth and wipe off the haze from the tiles. Use a dry cloth to buff and shine the tiles. It's crucial to remove as much grout as possible from the tile surface at this stage, as it will be harder to remove later. Avoid using paper towels, as they may flake off and stick to the grout.
  • After grouting, allow the mosaic piece to dry completely for 24 hours. If you notice any imperfections in the grout, you can easily address them. Prepare a small batch of grout and apply a small amount to the affected area, covering the imperfections. Additionally, you can buff and shine the surface once again to achieve a flawless finish.


We've used black grout to make the colour pop. If you haven't grouted before, click here to get step by step instructions.


This mosaic has been created as an indoor piece or it can be positioned outdoors in a protected area.


Handy Tips


  • Safety first – use protective eyewear when nipping glass
  • Never dispose of grout down the drain
  • Mix grout in a disposable container for an easy clean-up
  • We suggest that you use gloves when working with grout. While it is non-toxic, it can dry out your hands. You will go through a few pairs whilst grouting.


Sold out

Sold out

Sold out

NEW ARRIVALS

VIEW ALL
img

Purple Porcelain Butterfly - 7.5cm

$7.00
VIEW ALL
img

Green Porcelain Butterfly No. 1 - 6.5cm

$6.00
VIEW ALL
img

Green Porcelain Butterfly No. 2 - 3.5cm

$4.75
VIEW ALL
img

Yellow Porcelain Butterfly No. 1 - 4.5cm

$4.75
VIEW ALL