1300 320 392


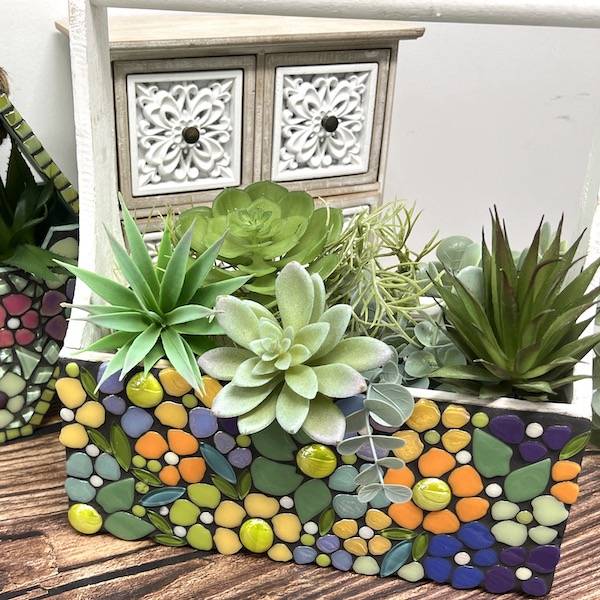
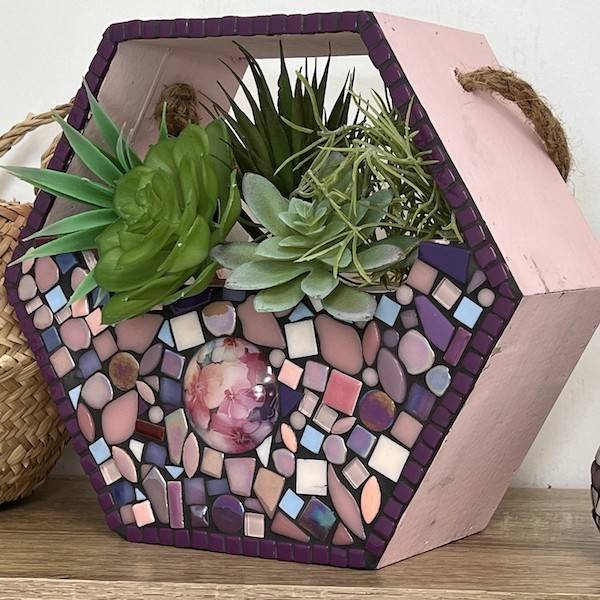
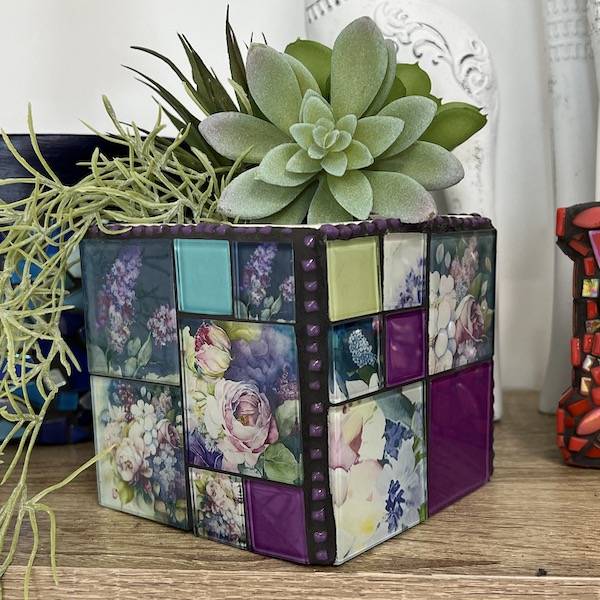
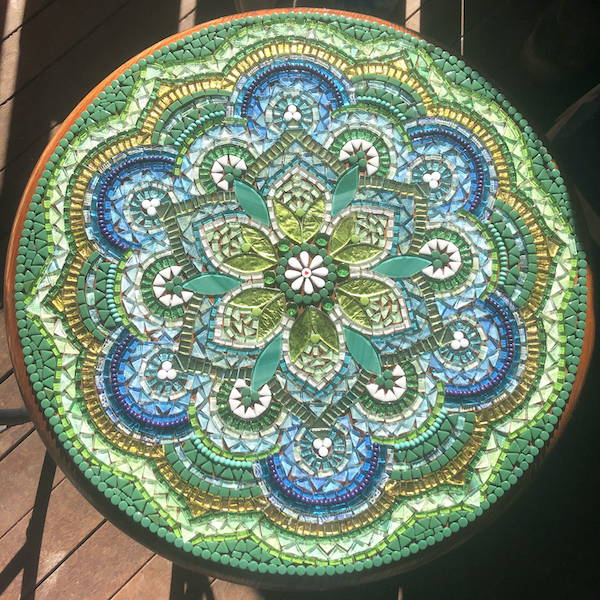
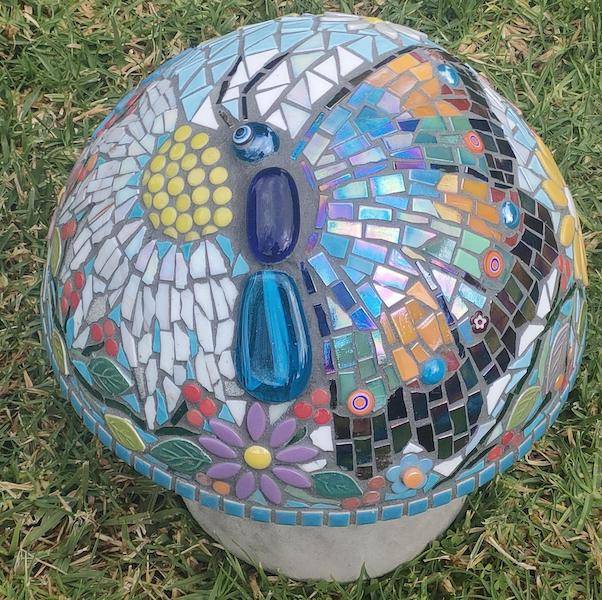
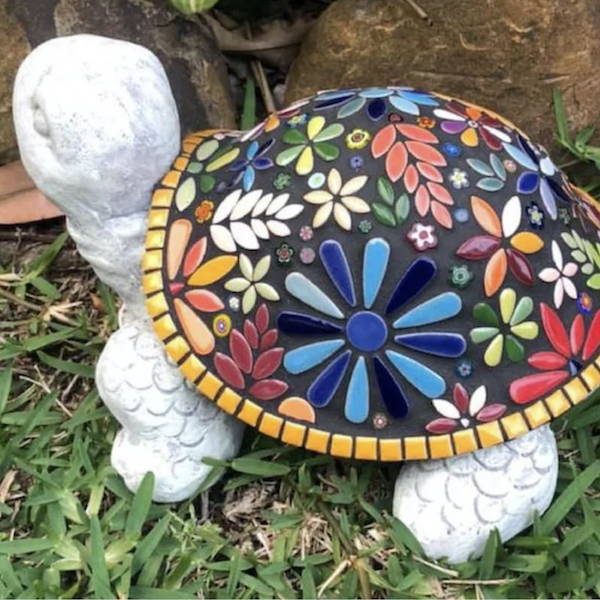
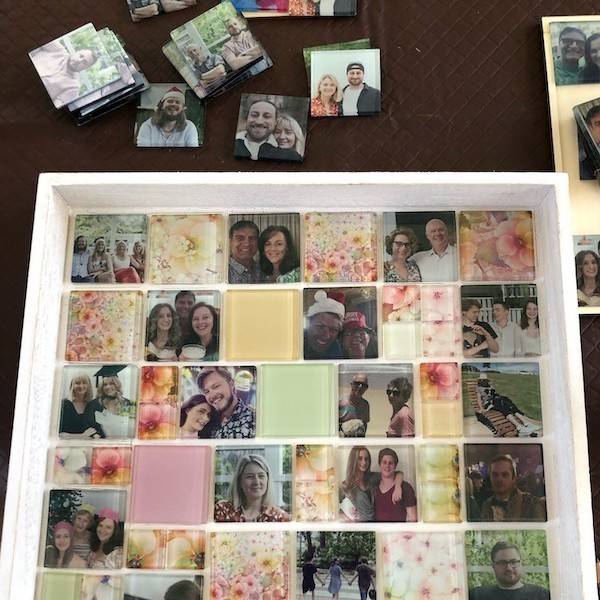
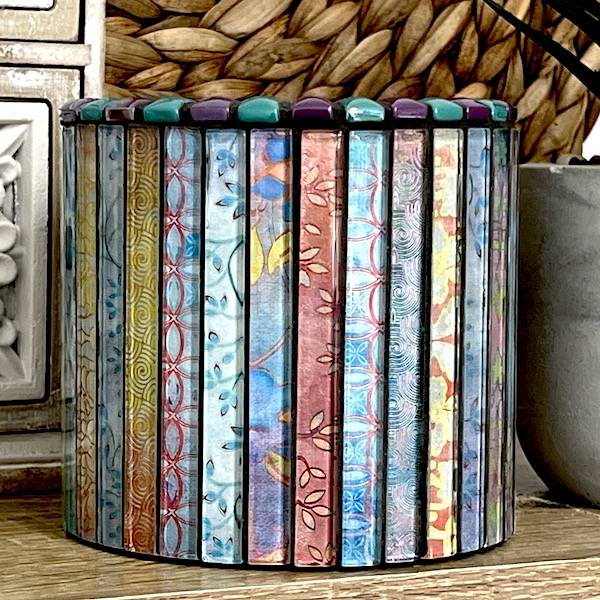
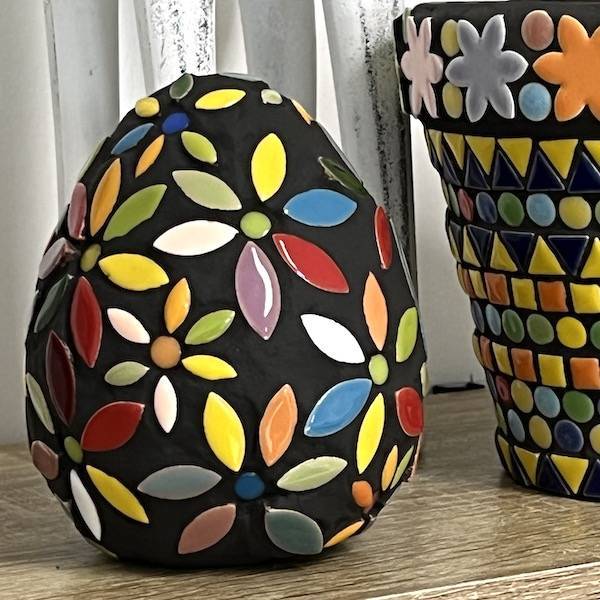
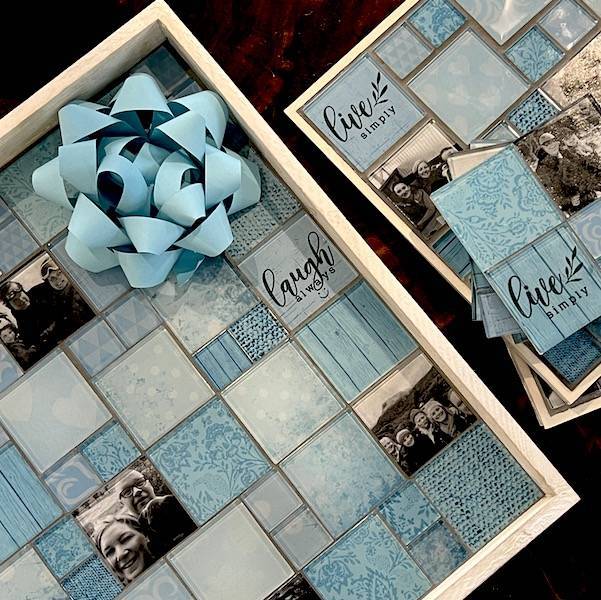
In this blog post, Tina Van Raay details how she made these unique pots from poly pipe. The advantage of using poly pipe is that you can cut the tube to the height you desire.
Thank you, Tina, for sharing your beautiful mosaic pots with us.
Supplies
- 1.5 metres of poly pipe (25 cm diameter)
- 1.5 metres of poly pipe (20 cm in diameter (from Reece Plumbing)
- Marine ply for the bases
- Dulux Precision Surface Preparation – maximum strength Adhesion Primer (from Bunnings)
- Ardex 56 adhesive (from tile shops)
- Containers for glue (the adhesive is mixed with water)
- A selection of stained glass ( marking pens to draw shapes on the glass, glass cutters, running pliers)
- Beads, glass/ceramic shapes (from The Mosaic Store)
- Dulux (indoor/outdoor/flexible) grout (from Bunnings)
- Diggers Black Oxide (cement colouring) (from Bunnings)
- Matte Black paint and black gloss enamel paint
- Pot plant bases with wheels (from Bunnings)
Instructions
Making The Poly Pipe Pots
The pot plants were made from poly pipe cut into three lengths.
- 25cm Diameter Poly Pipe - cut into 60cms, 40, and 30 cm lengths.
- 20 cm Diameter Poly Pipe - cut these 15 cm shorter than the outside pipe. (i.e., 45cm, 25cm and 15cm)
Internal ones can be one or two sizes smaller in diameter, depending on your pot plants.
I then sealed them with Dulux Precision Surface Preparation sealer (maximum strength) and adhesion primer.
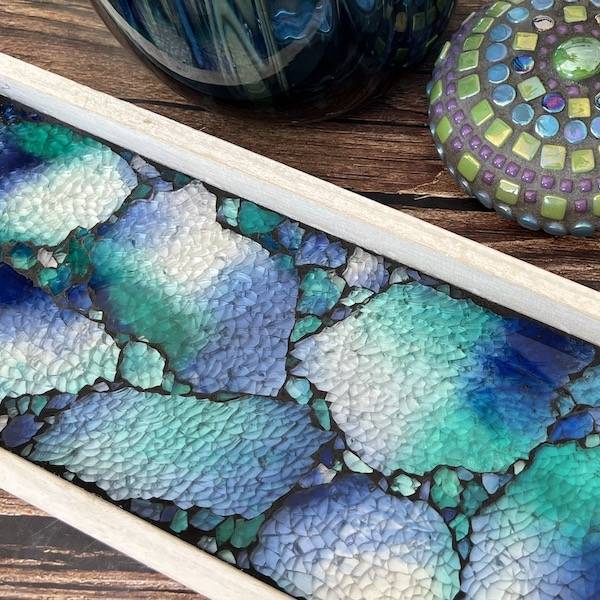
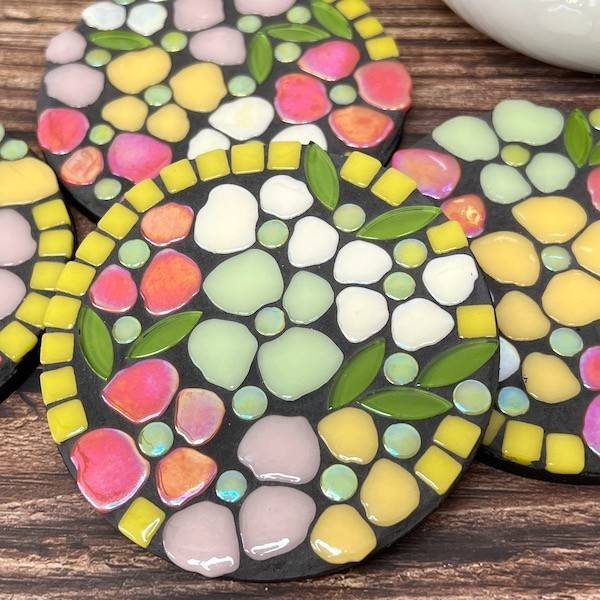
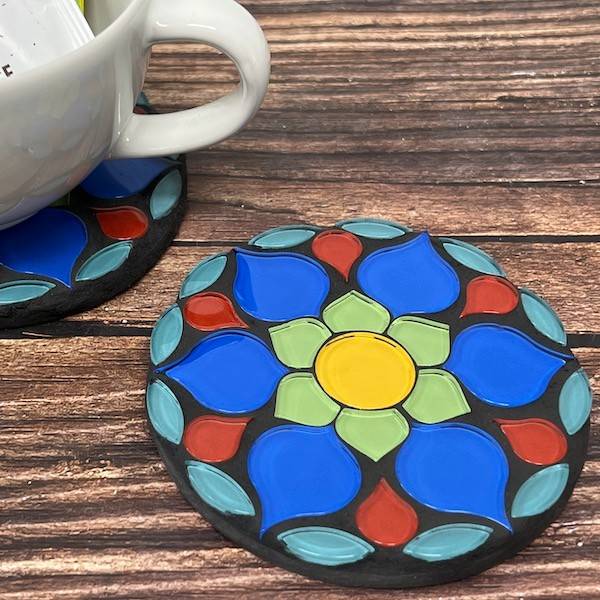
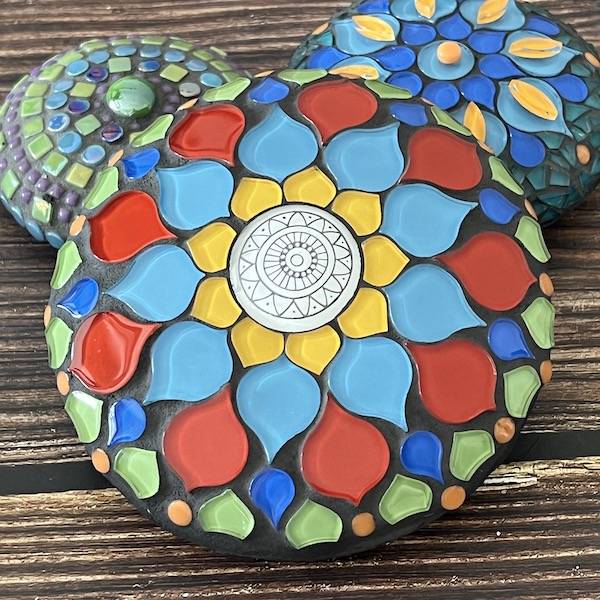
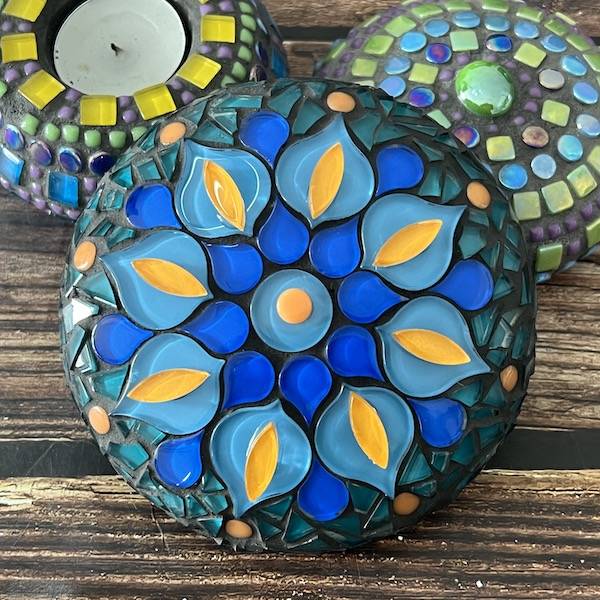
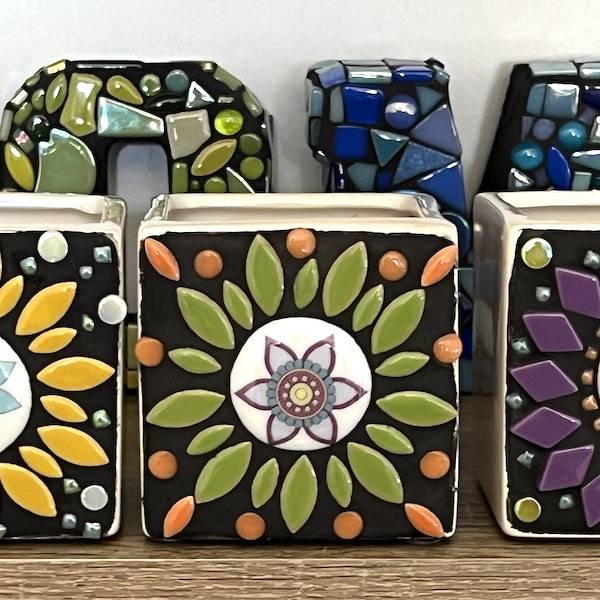
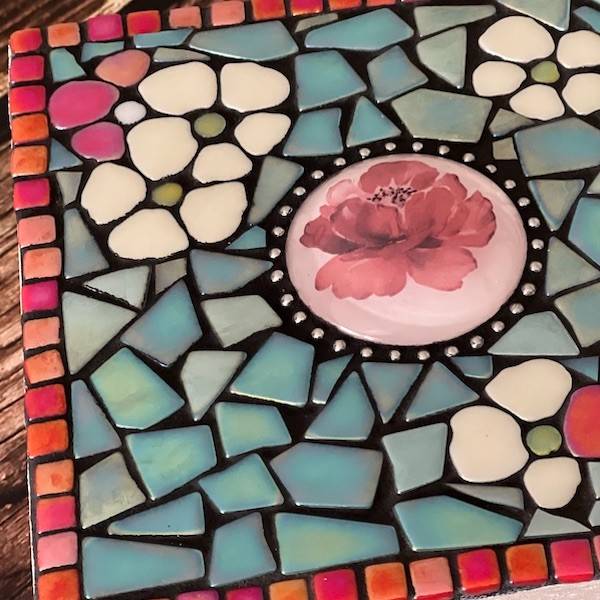
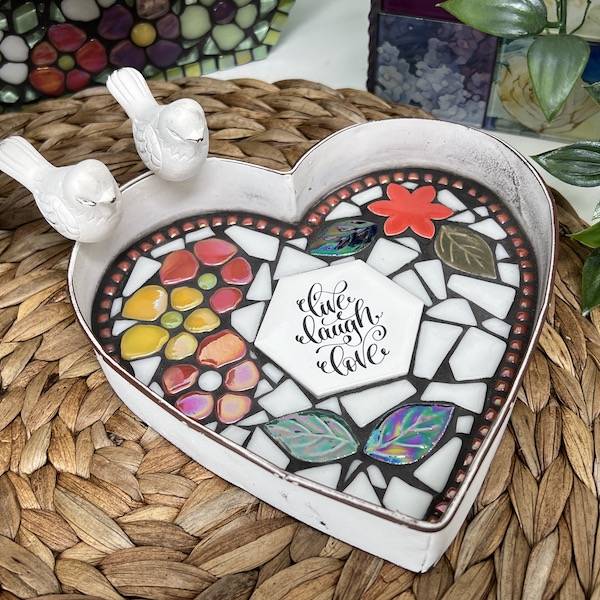
The Designs
The designs are drawn freehand but mainly made up as I went along. Great fun (albeit a tad frustrating at times) with beads and other embellishments.
Mix up Ardex 56 adhesive (I always use Ardex 56 when not working on a glass surface). The materials used for the mosaic include:
- Glass (cut to shape)
- Beads
- Some small round glass circles
- Other doodads (beads and other ceramic, glass shapes).
Grout with Dulux (indoor/outdoor/flexible) grout into which you add 10% black oxide. I didn't use masking tape around the edges as I wanted a smooth edge to the mosaic.
After grouting, I painted the background with enamel paint. Paint the background in matte black paint and then two coats of black gloss enamel.
Finishing The Pots
Cut out round bases from marine ply, drill holes in them (for drainage), and glue them to the bottom of the pipes. Seal these with the adhesion primer.
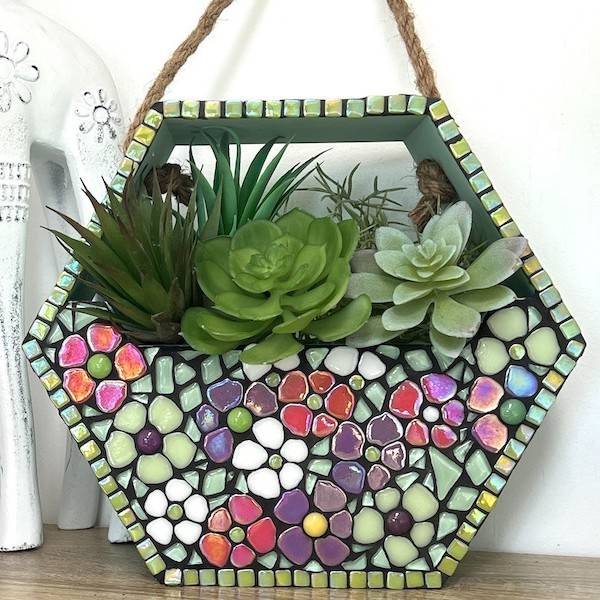
When finished, place the thinner pipe inside, resting on the base. The pot plant rests inside the inner pipe, so the foliage is level with the external pot.
Pop them on a base with wheels (easy to get from Bunnings), and they can be moved wherever you want.
The poly pipe supplier (Reece plumbing) cut the pipe for me, but they are easy to cut if you have a circular saw.