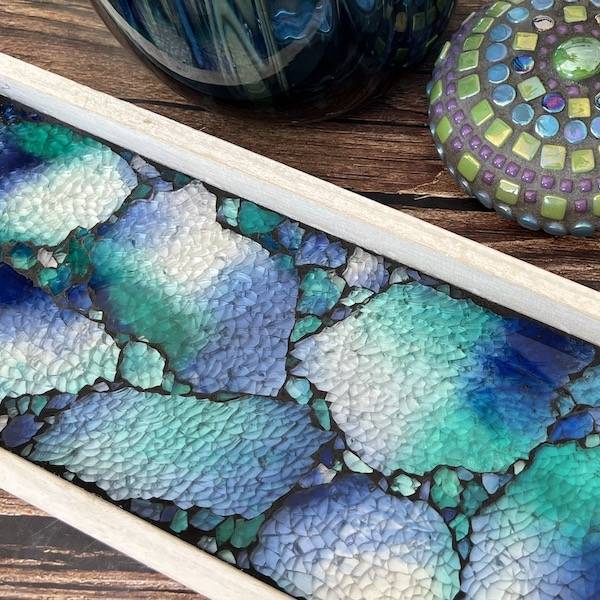
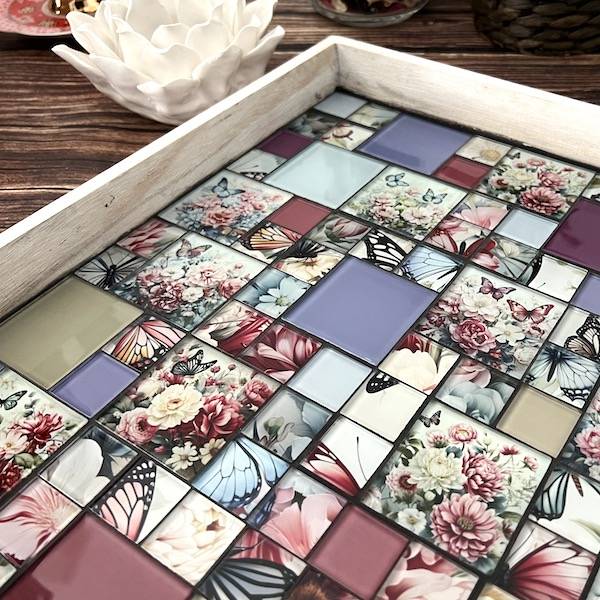
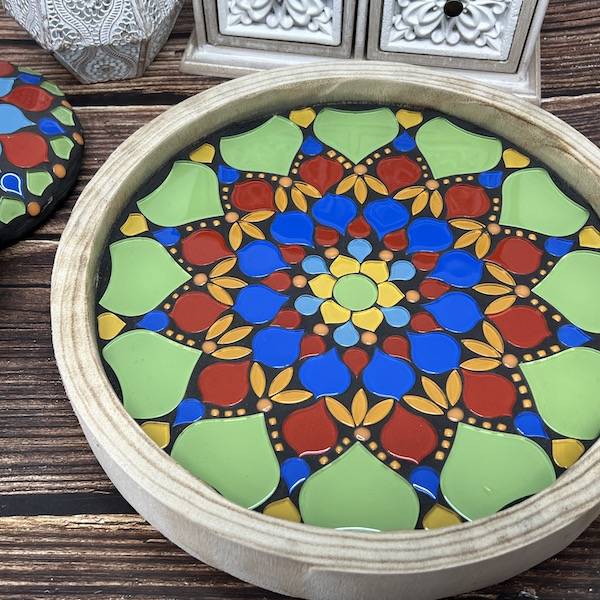
1. Sealing the MDF Tray
This indoor project is not suitable for areas where it will be exposed to moisture or water, as it is not waterproof. As wood is porous, you will need to seal the tray before tiling. Use a mixture of PVA adhesive & water as the sealer in a ratio of 1 part adhesive to 4 parts water; apply two coats allowing each coat to dry thoroughly (30 minutes to 1 hour). Coat the area where you will be tiling by using a paintbrush.
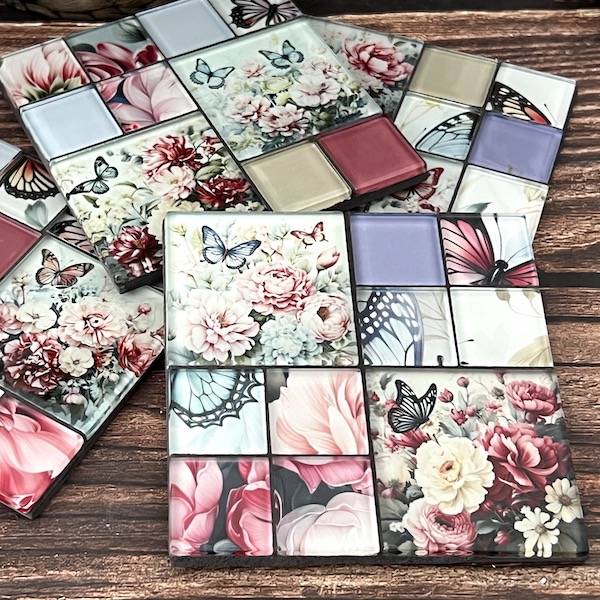
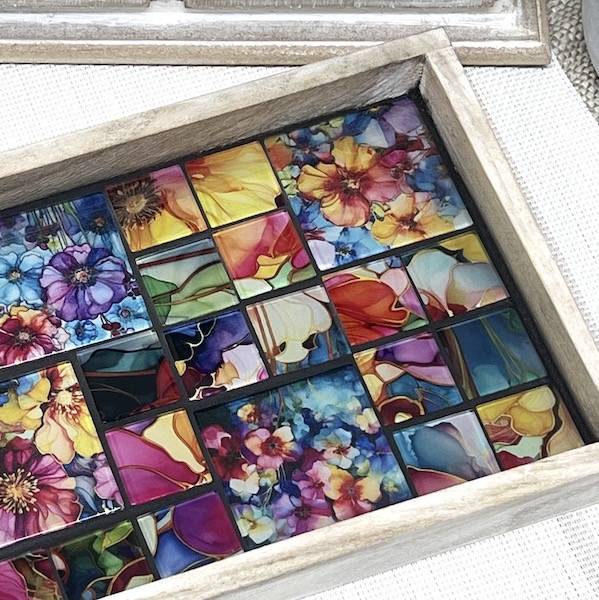
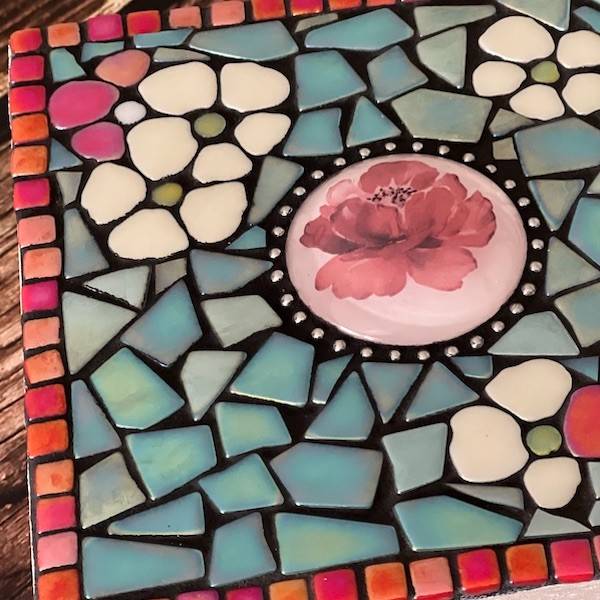
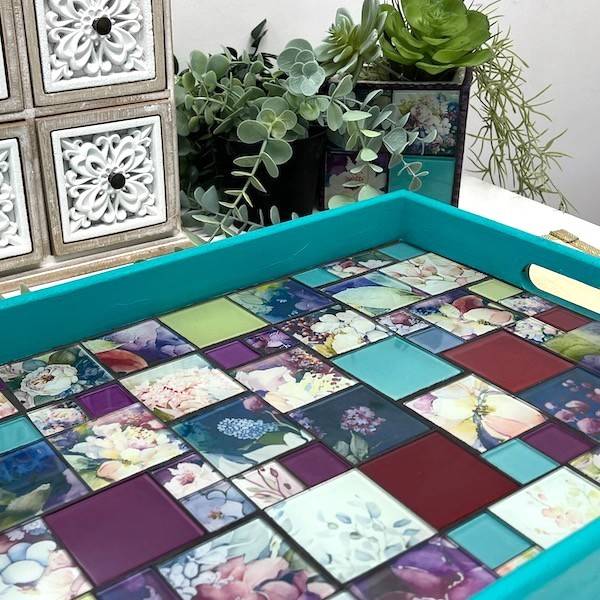
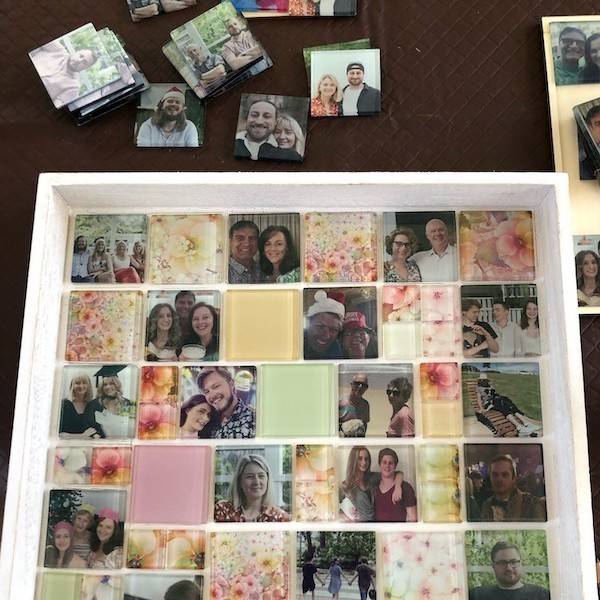
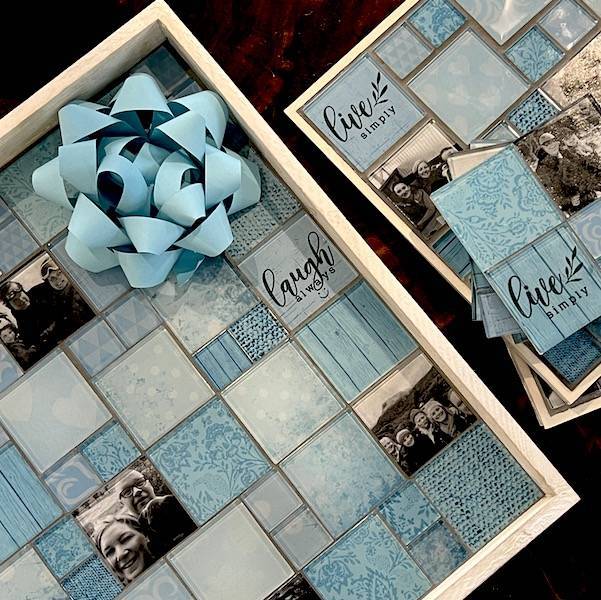
2. Laying Your Tiles
Take some time and plan the layout of your tiles; you can do this on your table and then transfer them to the tray when adhering to the tiles.
The adhesive can be applied directly to the tray (the quickest method) or painted individually onto the tiles' back. When using the adhesive on the tray, apply to small sections at a time to avoid the adhesive drying out. When the tiles have been laid, allow the adhesive to cure for 24 hours before applying the grout. Run your hand over the tiles to ensure they have firmly adhered before grouting. If any are loose, remove them and re-adhere.
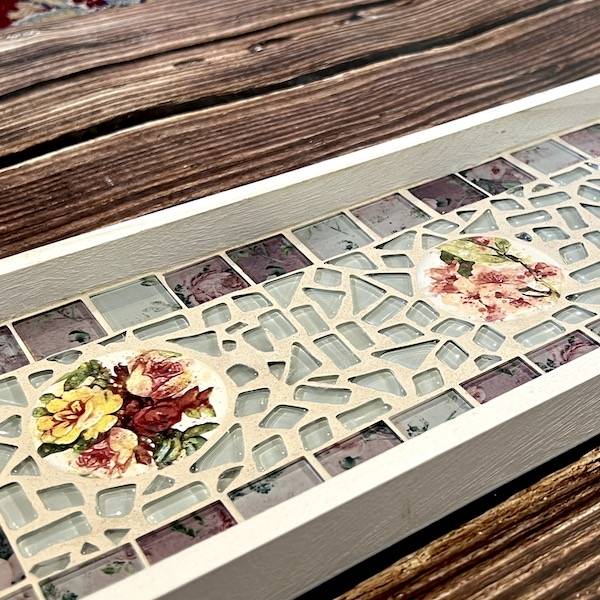
3. Grouting
To protect the tray, run some masking tape around the exposed areas of the tray.
When mixing the grout, it should be the consistency of thick oatmeal before it is applied. If you accidentally add too much water, let it sit for a few minutes, and it will thicken up, or you can add more grout. Stir until smooth. If mixing your colour, mix enough grout to cover the mosaic to ensure colour consistency. Allow the mix to stand for 10 minutes, re-stir and then the grout onto the tiles.We suggest you use gloves when working with grout; while it is non-toxic, it can dry your hands. You will go through a few pairs whilst grouting. Apply the grout in a diagonal motion, ensuring that the grout goes into the entire depth of the joint. Sculpt it on your edges, and remove the excess grout with your gloved hands or sponge. Keep a water container next to you to wash off the sponge as you go.
Once you have covered your entire piece, wipe off as much excess grout as you can with your gloves or hands. After doing this, allow it to sit for 20-30 minutes or until the grout becomes hazy. Then take a slightly damp sponge or cloth and wipe off the haze. Buff and shine the tiles with a dry cloth. Remove as much grout as possible from the tile surface, as it will be much harder to remove later. Do not use paper towels as they flake off and stick in your grout.
A grout sealer can be applied once the grout is dry to keep the grout clean and protected (optional).
Tips:
· Safety first – use protective eyewear when nipping glass
· Never dispose of grout down the drain
· Mix grout in a disposable container for an easy cleanup
4. Paint
Paint the edge of the tray with acrylic paint and seal if desired.
 1300 320 392