img img img img

Fri, May 19, 2023

Bird Water Feeder Project


Bird Water Feeder Mosaic Project

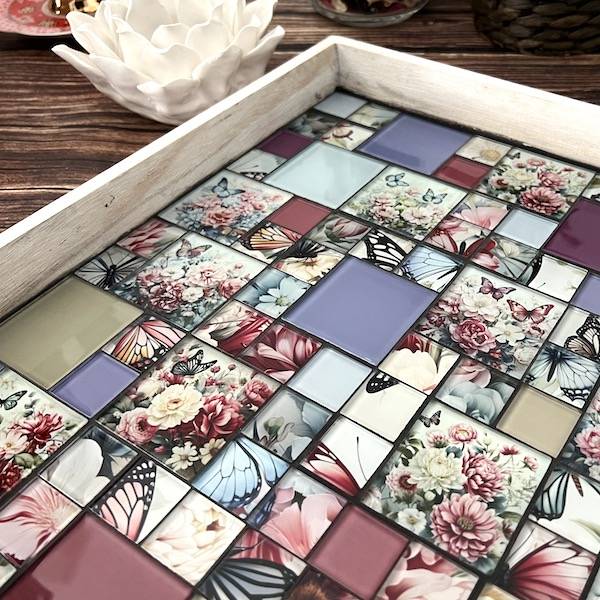
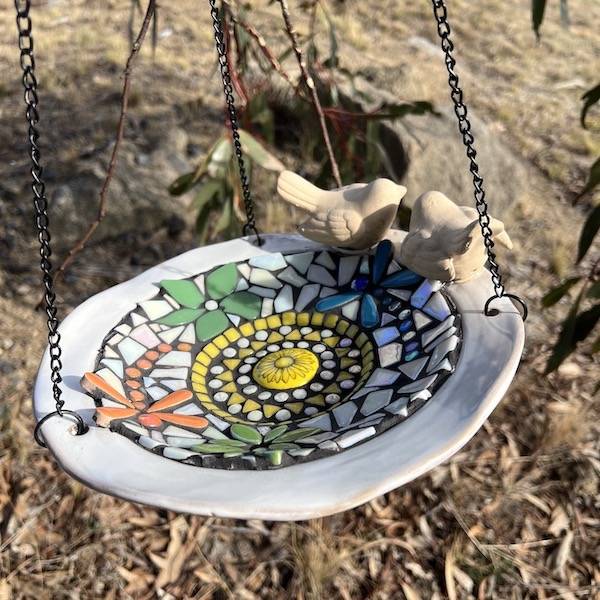
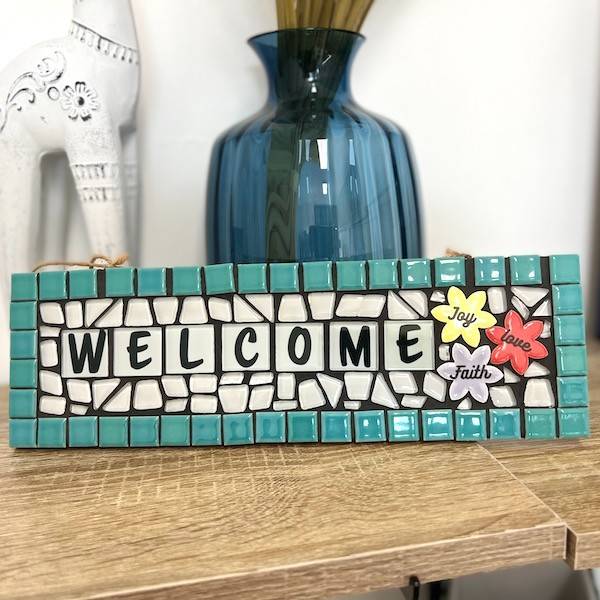
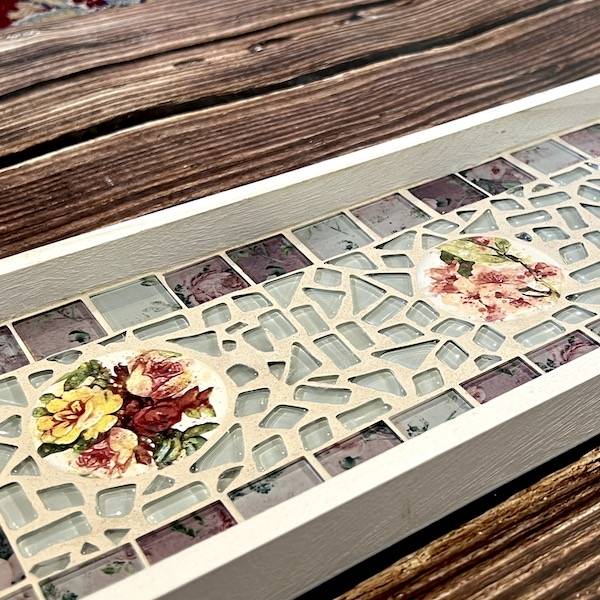
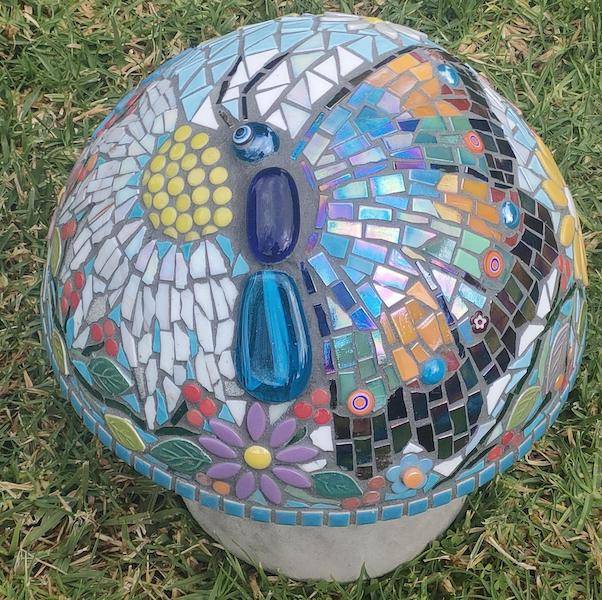
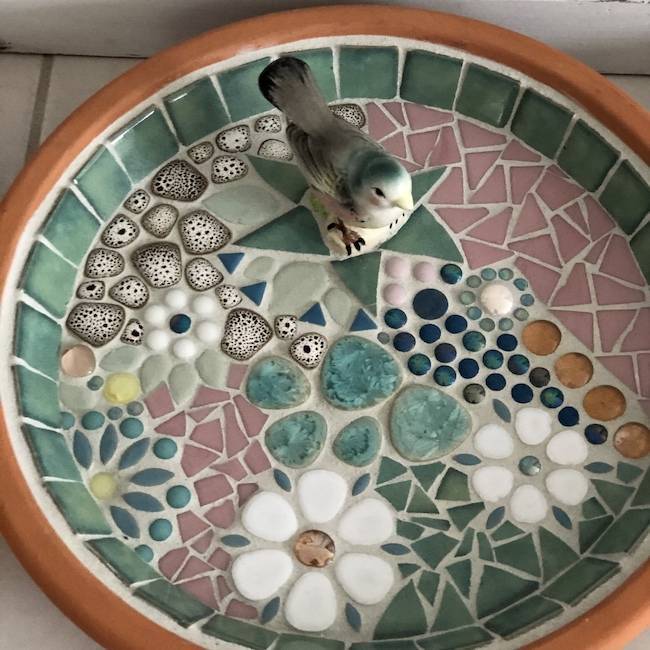
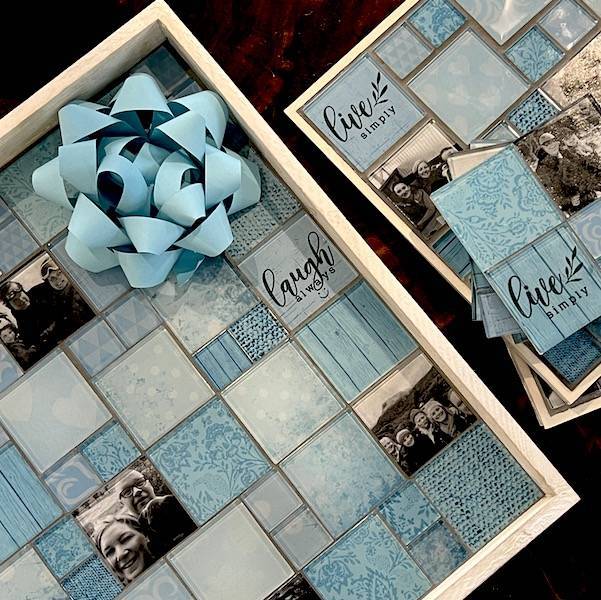
We're thrilled to introduce our new Bird Water Feeder Mosaic project! This special tray features our beautiful new handmade tiles with the words 'live, laugh, love.' It's a stunning piece of art that also serves as a water feeder for birds, creating a lovely spot for them to drink and relax. Suitable for mosaic enthusiasts of all skill levels.


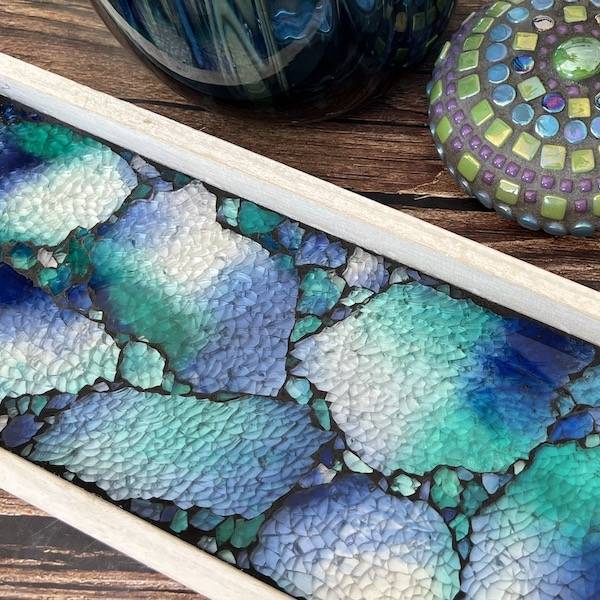
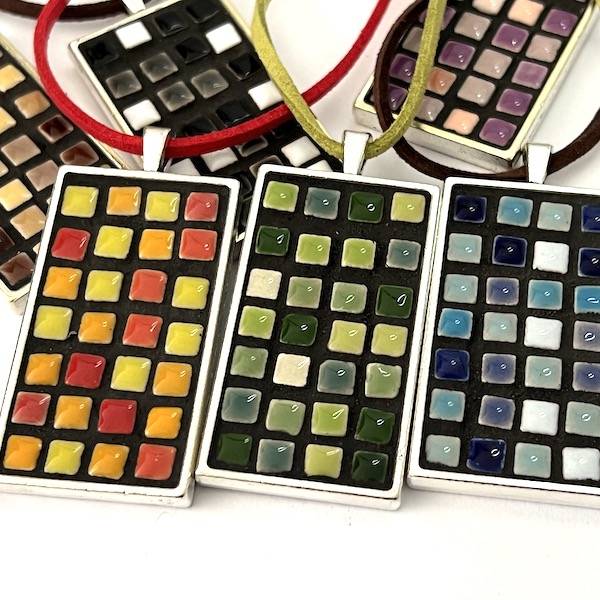
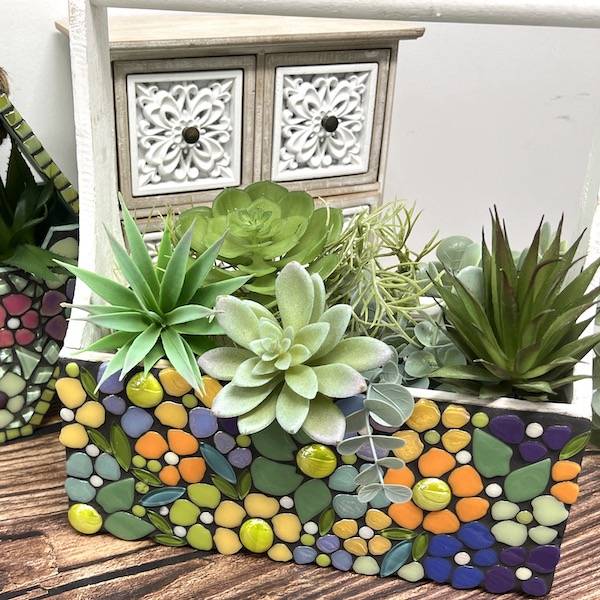
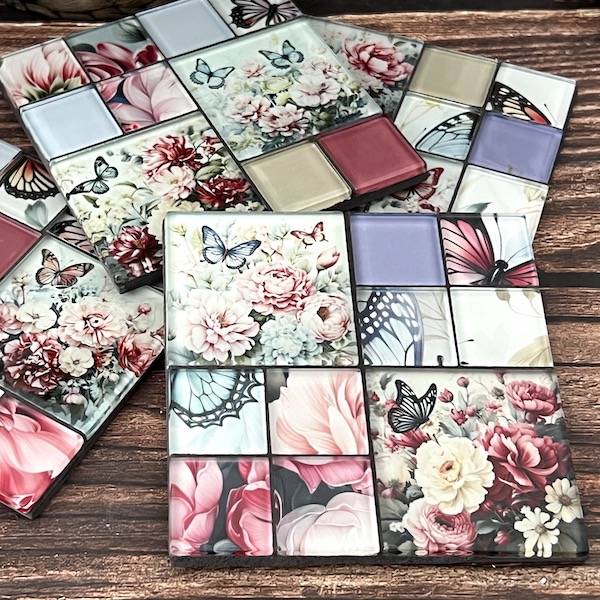
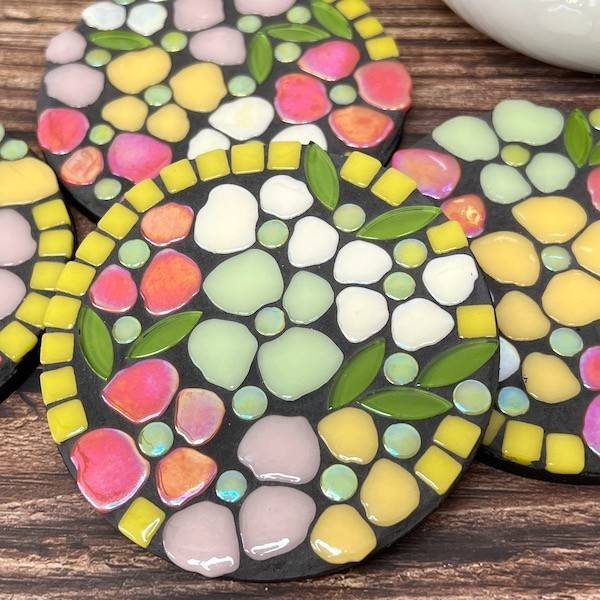
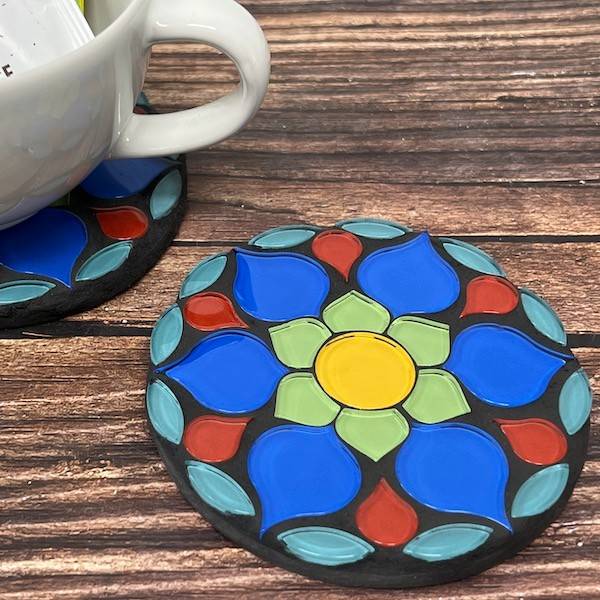
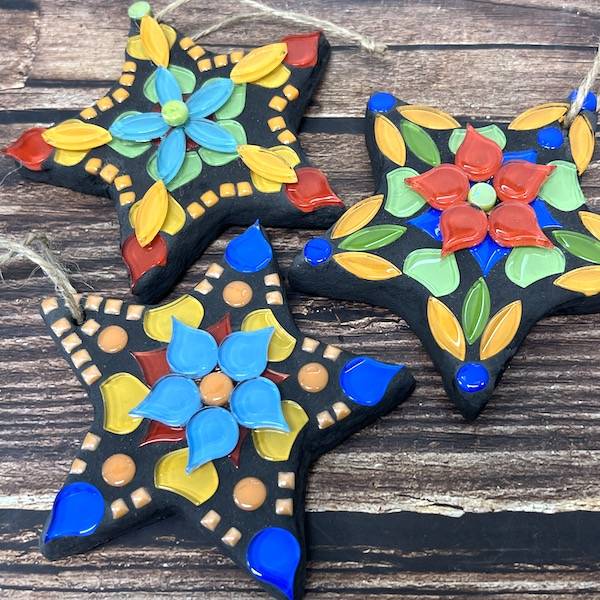
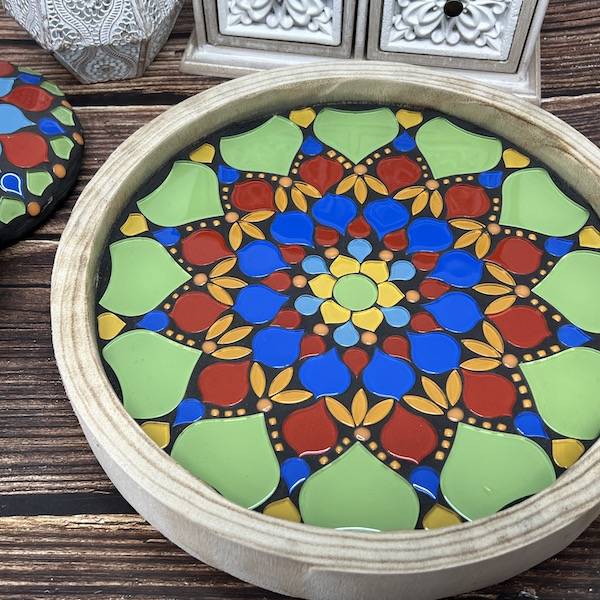
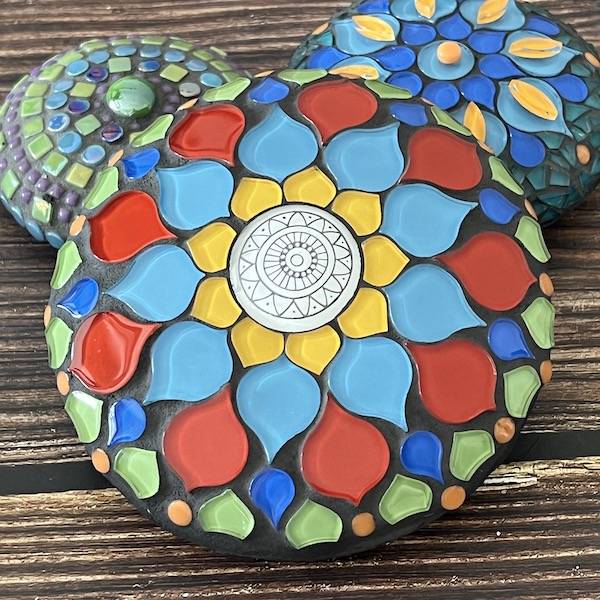
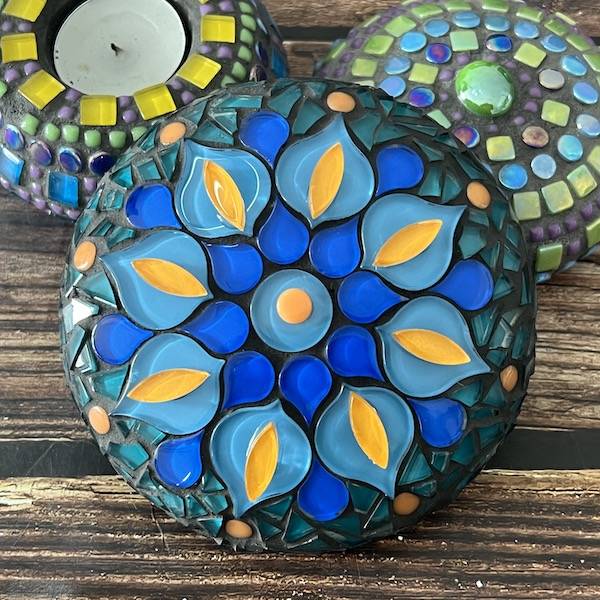
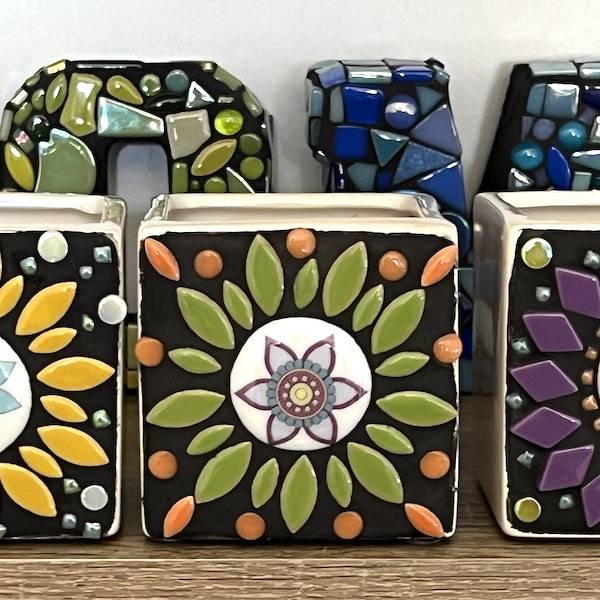
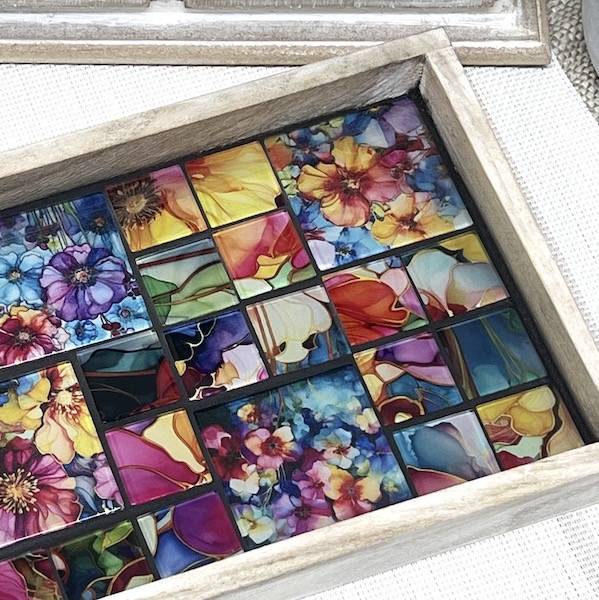
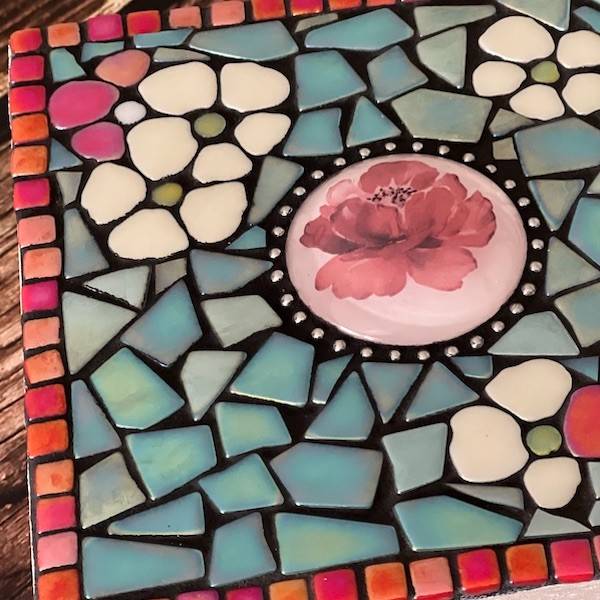
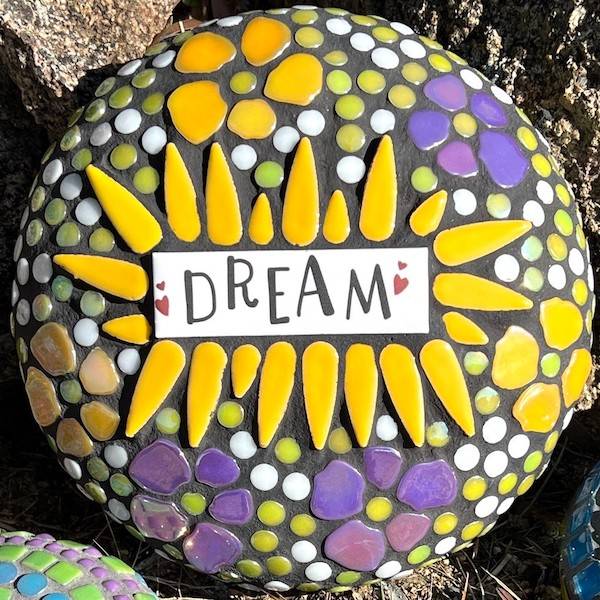
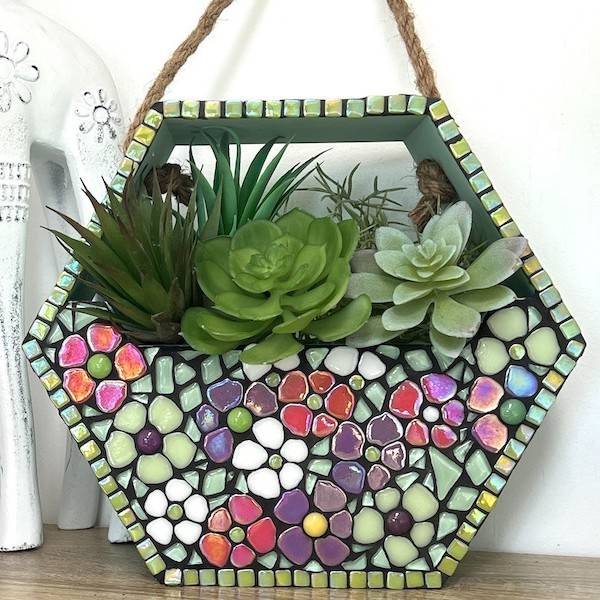
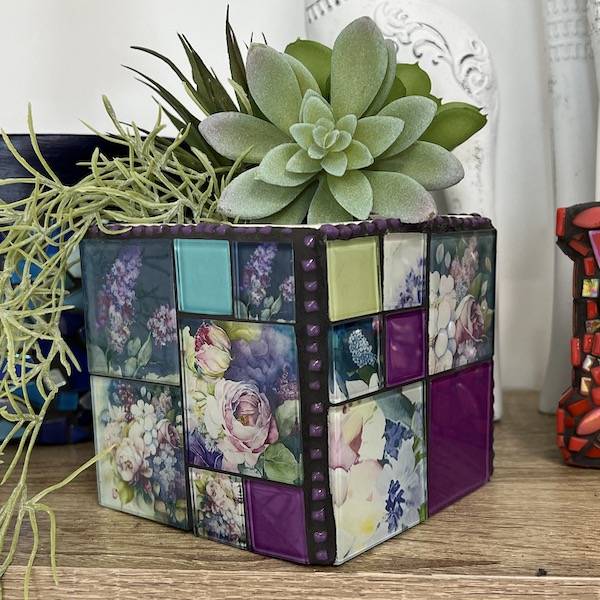
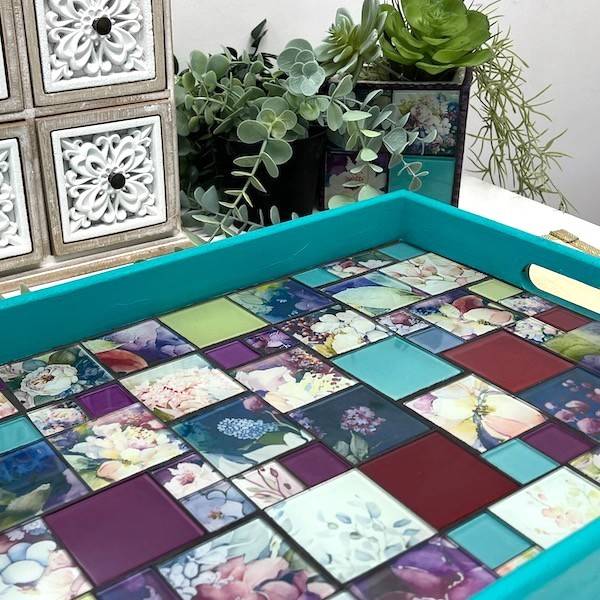
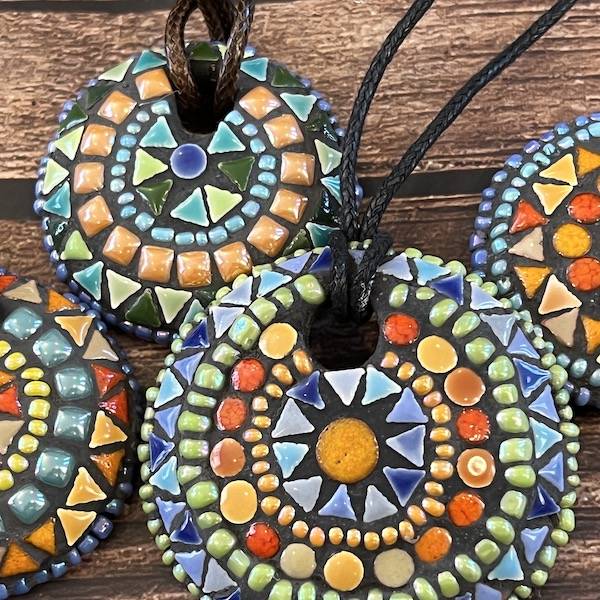
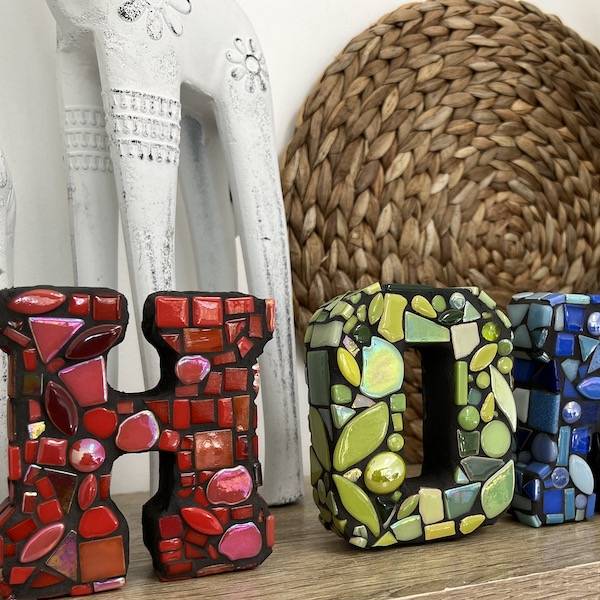
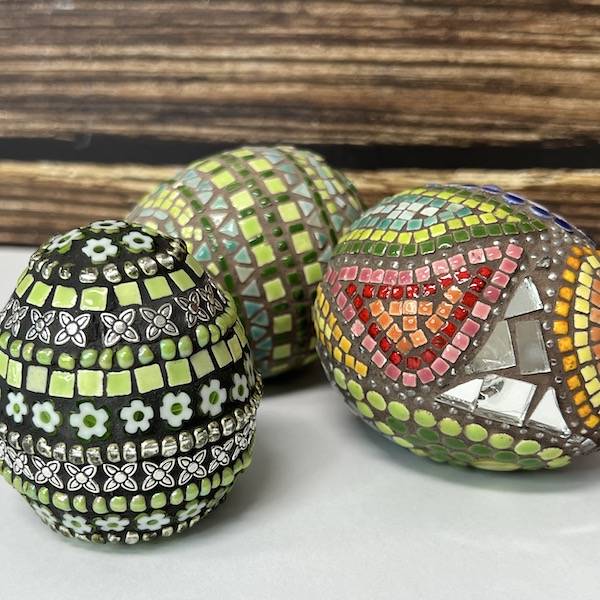
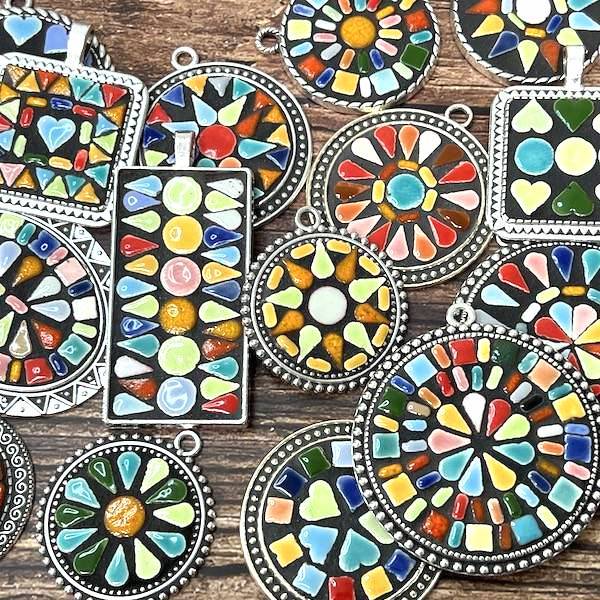
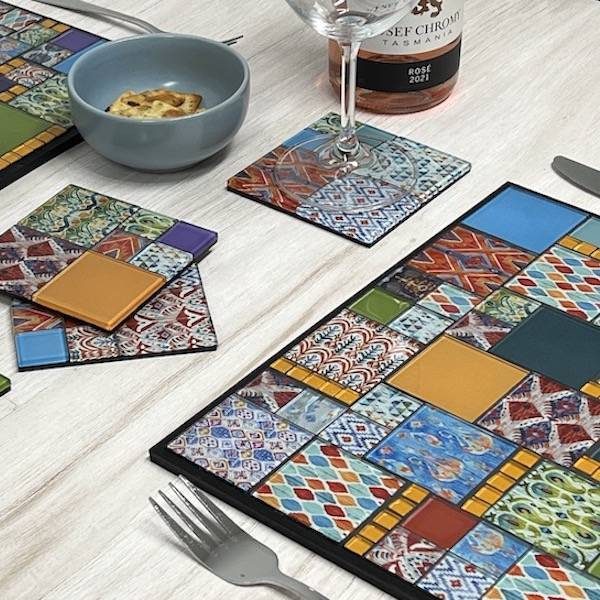
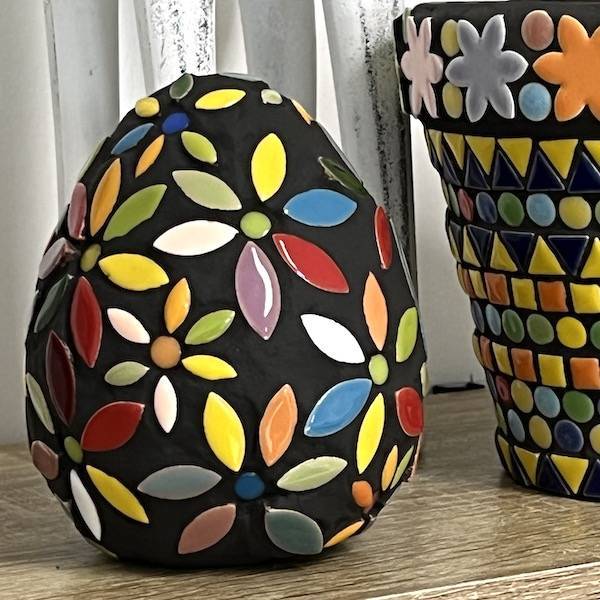
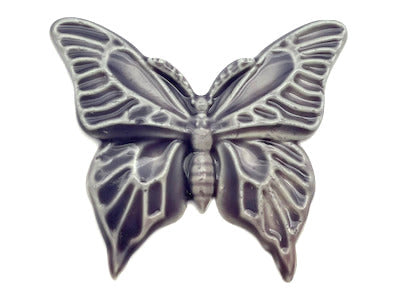
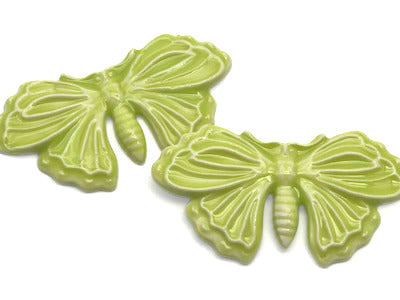
We're excited to offer you our amazing handmade Feature Tiles from The Mosaic Store! These tiles are unique and beautiful, perfect for any mosaic craft project. They add a special touch that makes your design stand out, whether you use them as the main focus or to add depth and interest. Each tile has its own personality and character, making your project truly one-of-a-kind. When you combine these handmade tiles with others, you'll create a stunning work of art that will impress everyone. Let your creativity shine with these exceptional handmade tiles from The Mosaic Store!


Get the mosaic bird feeder kit and start creating your own beautiful bird feeder >>


Get the mosaic bird feeder kit and start creating your own beautiful bird feeder >>


Project Instructions


Instructions


Step 1: Select Your Materials


Before you begin, it's always a great idea to have a concept in mind. Consider a design based on color themes, swirls, flowers, or even geometric shapes.This project showcases our new ceramic feature tiles will serve as a focal point in this design.


Step 2: Tile Adhesion


Apply your cement-based adhesive using a palette knife. Lay your tiles in the bead of adhesive, ensuring they are securely adhered. Before proceeding, run your hand over the mosaic to check that all tiles are firmly in place. Allow the adhesive to dry for 24 hours before moving on to the next step.


To get a good placement of tiles we recommend cutting the tiles the glass snippets into smaller pieces using a glass cutter.


Step 3: Grouting


For grouting, it's important to wear gloves to protect your hands from drying out. Mix a small amount of powdered grout with water until it reaches a porridge-like consistency. Apply the grout onto the tiles, making sure to rub it into the gaps between them. Once the entire mosaic is covered, remove the excess grout and allow it to dry.


Step 4: Cleaning and Buffing


Once the grout has started to dry (it will become dull), carefully remove the excess grout with a sponge. Leave it for 24 hours, and then give the mosaic a final buff-up to remove any remaining traces of grout.


We recommend covering the sides of the dish with painters or masking tape, to help protect it during grouting.


Follow these steps, and you'll have a beautiful mosaic creation to proudly display!


Sold out

Sold out

Sold out

NEW ARRIVALS

VIEW ALL
img

Purple Porcelain Butterfly - 7.5cm

$7.00
VIEW ALL
img

Green Porcelain Butterfly No. 1 - 6.5cm

$6.00
VIEW ALL
img

Green Porcelain Butterfly No. 2 - 3.5cm

$4.75
VIEW ALL
img

Yellow Porcelain Butterfly No. 1 - 4.5cm

$4.75
VIEW ALL