Steps
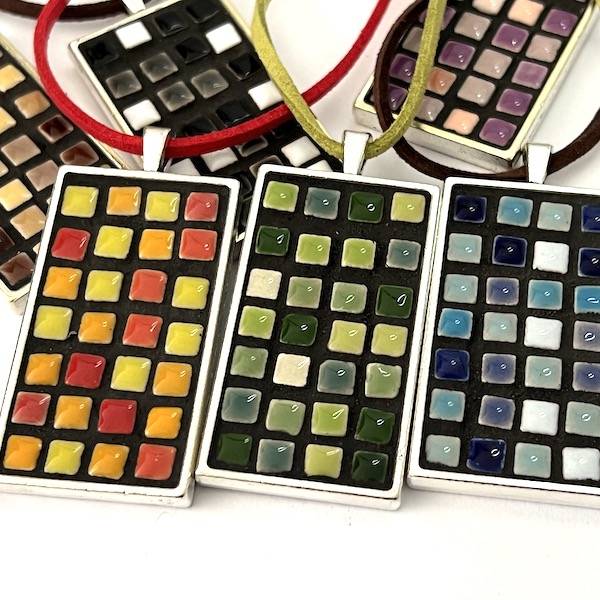
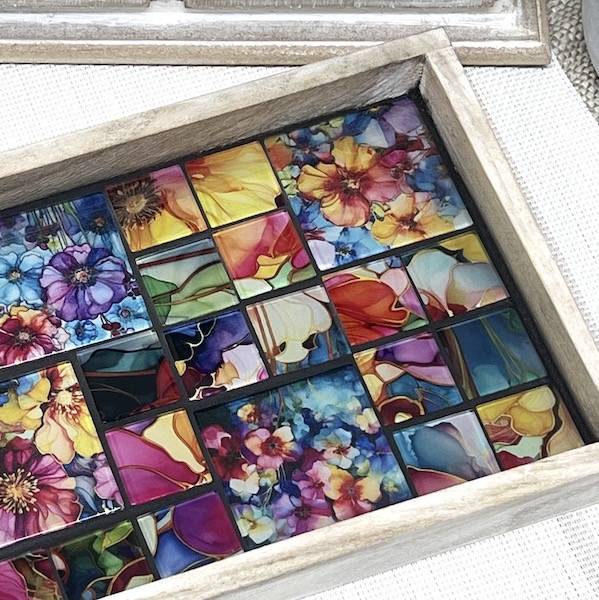
- Choosing Your Materials
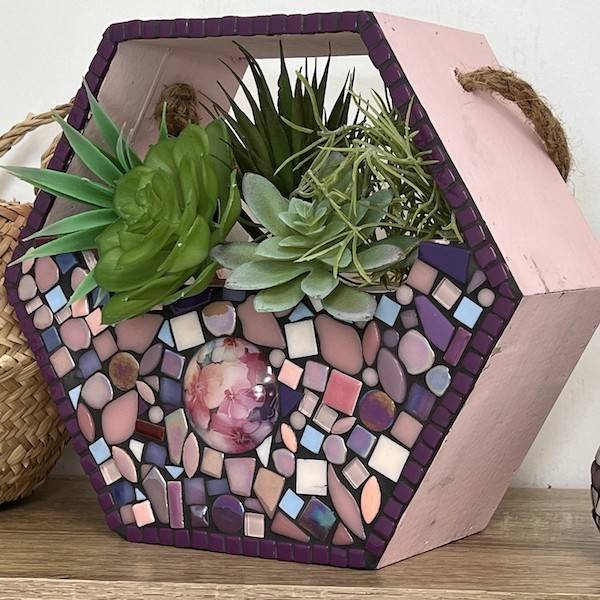
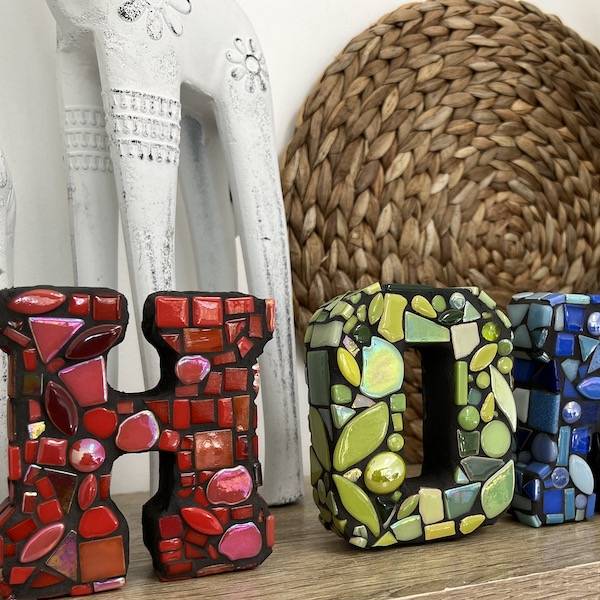
Your imagination only limits the Choice of materials. Choosing a theme or colour scheme will give you some direction with your design before proceeding.
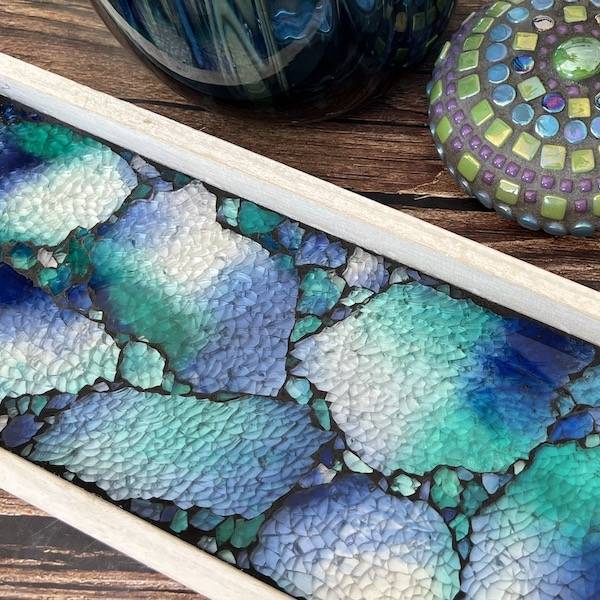
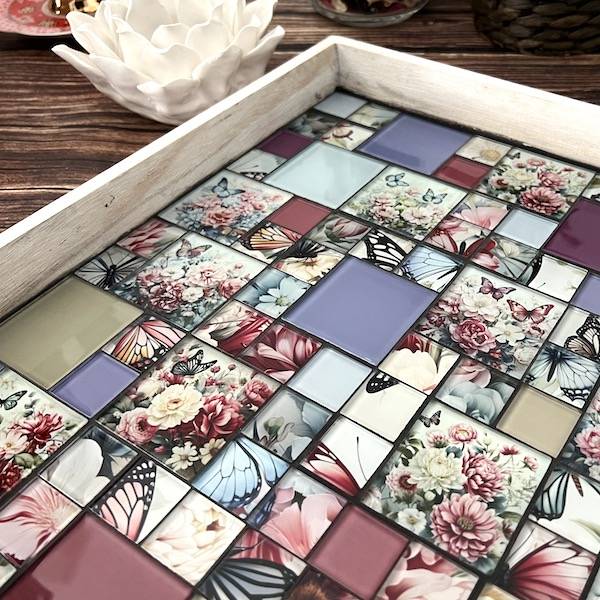
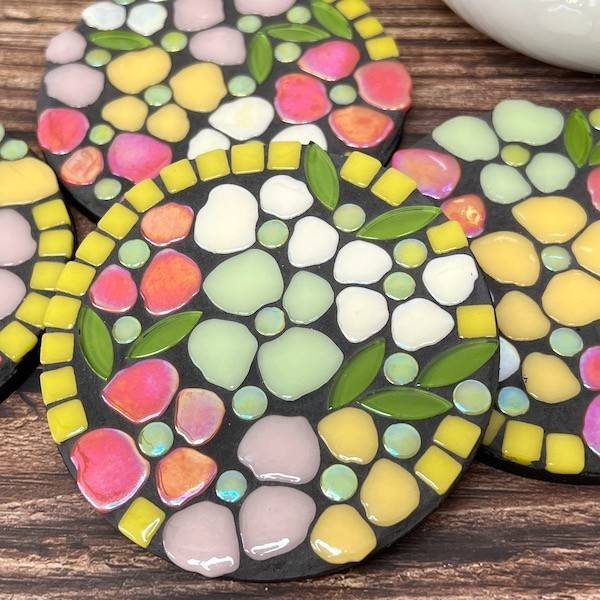
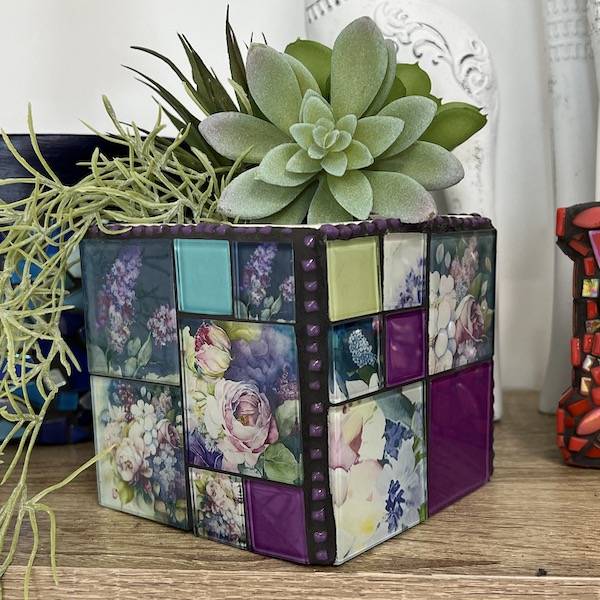
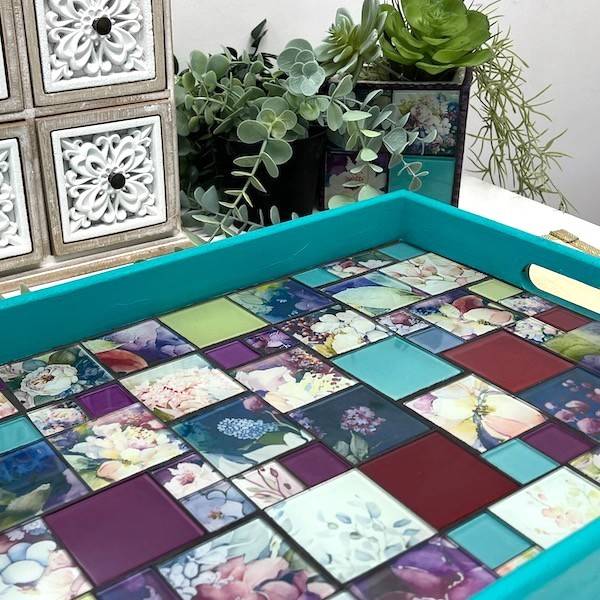
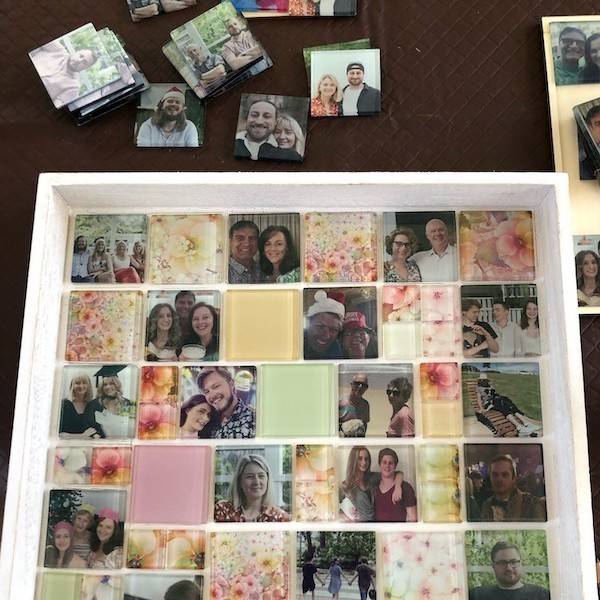
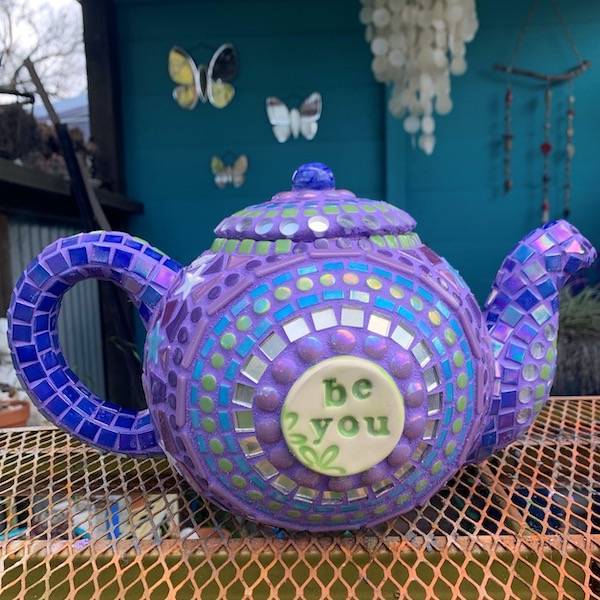
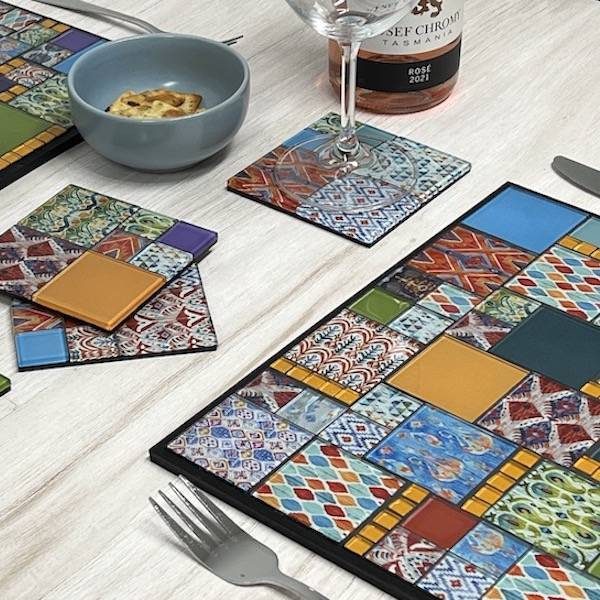
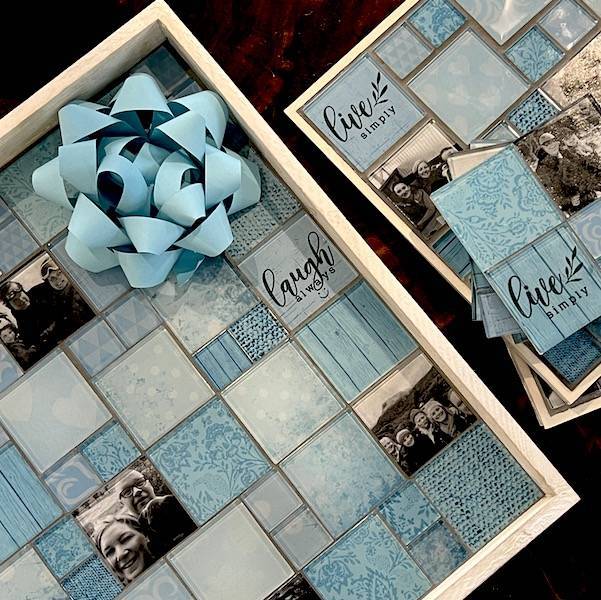
We have chosen a Shabby Chic theme to decorate the tray.
2. Adhering Your Tiles & Materials
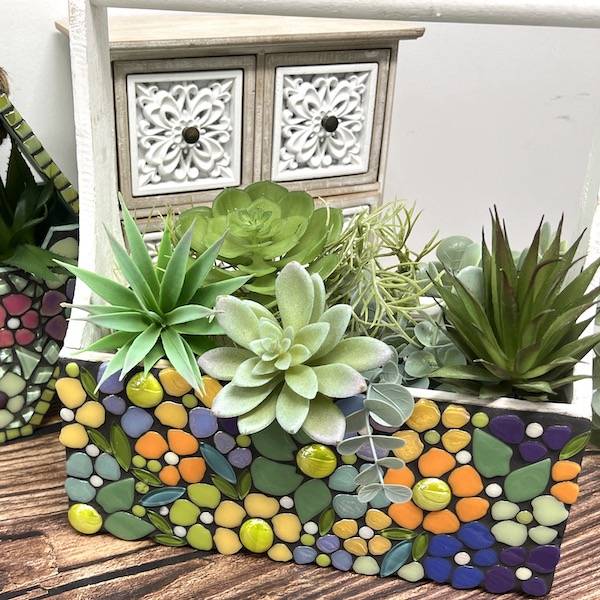
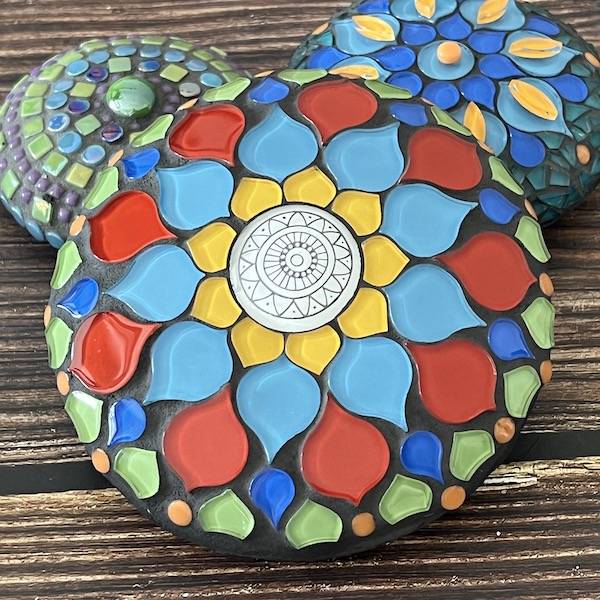
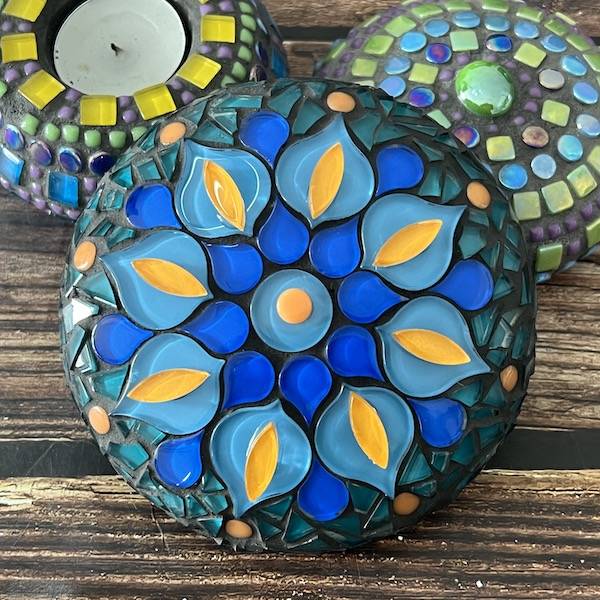
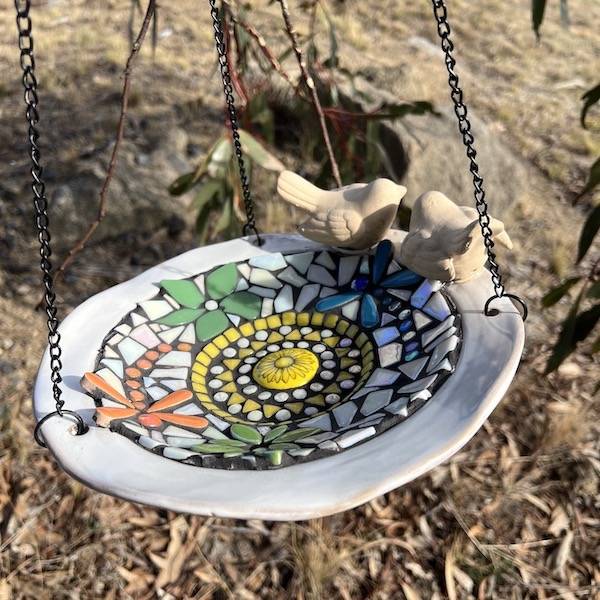
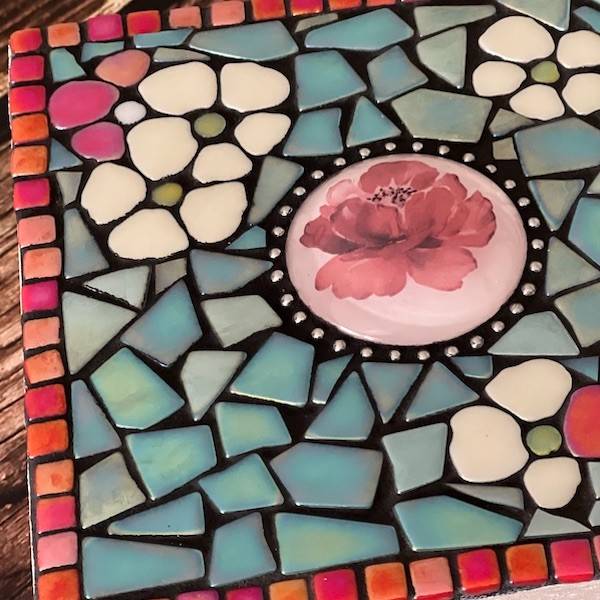
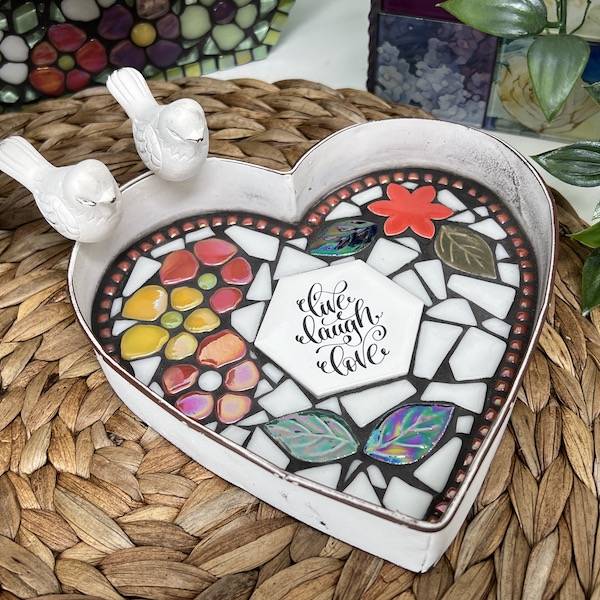
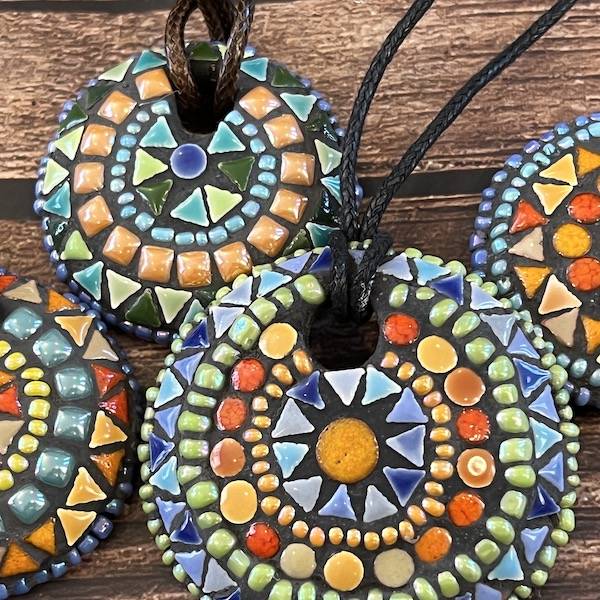
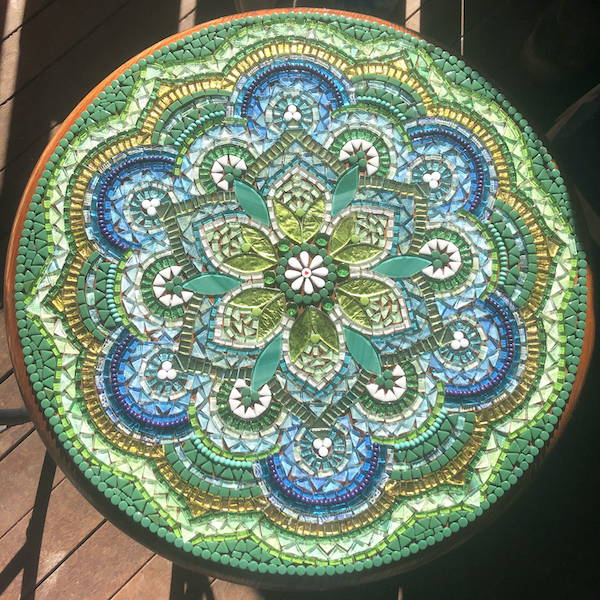
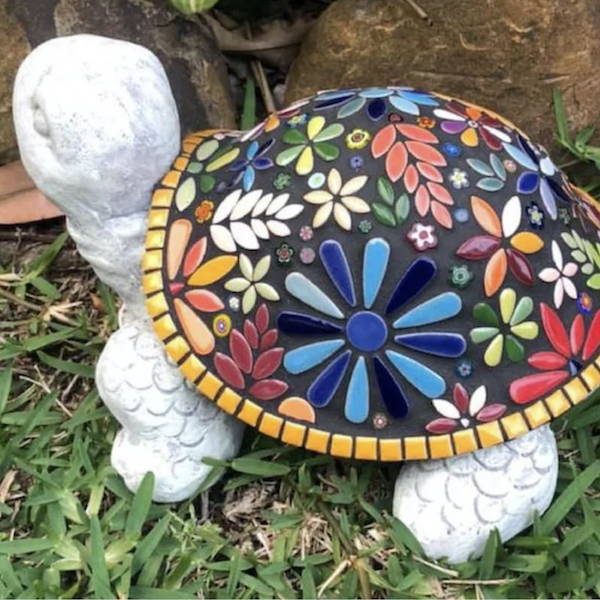
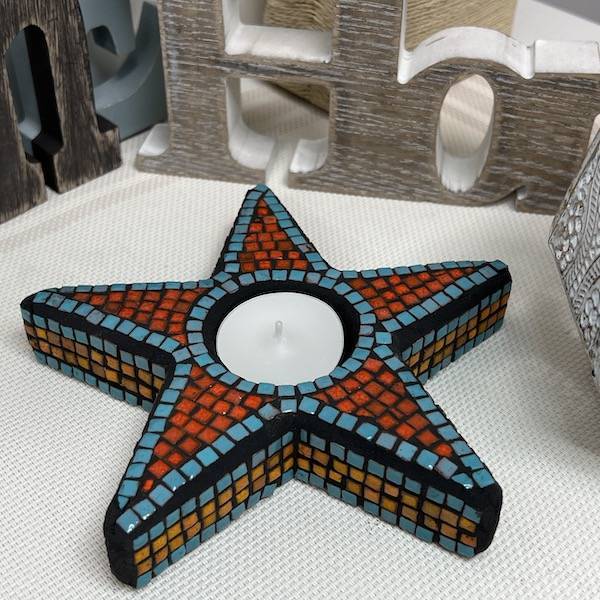
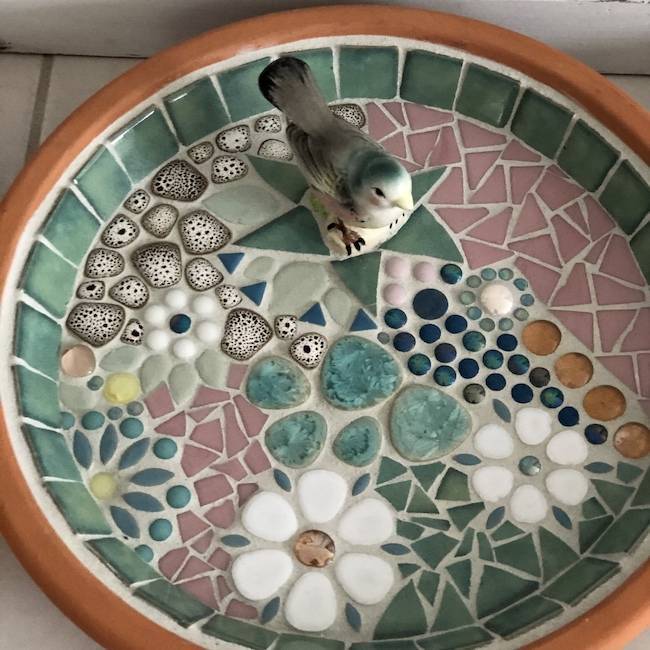
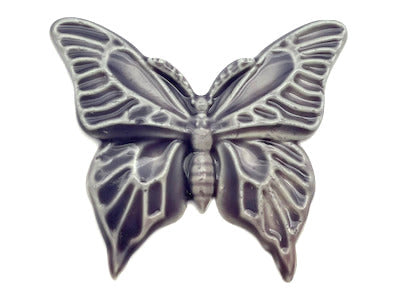
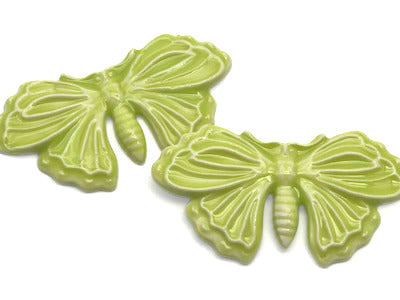
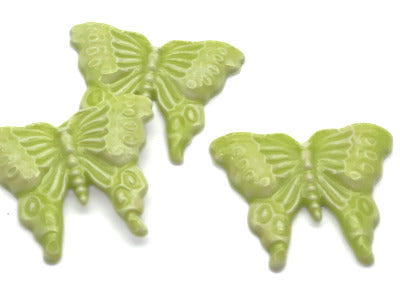
Having some concept in mind is always a great idea before you start. This may be a design based on a colour theme, geometric shapes, swirls or flowers like this project. Central to this design are the three flower feature tiles in the centre.
As the tiles are different thicknesses and we wanted to create a flat surface for the tray, we've laid the tiles in a bed of cement-based adhesive using the following technique:
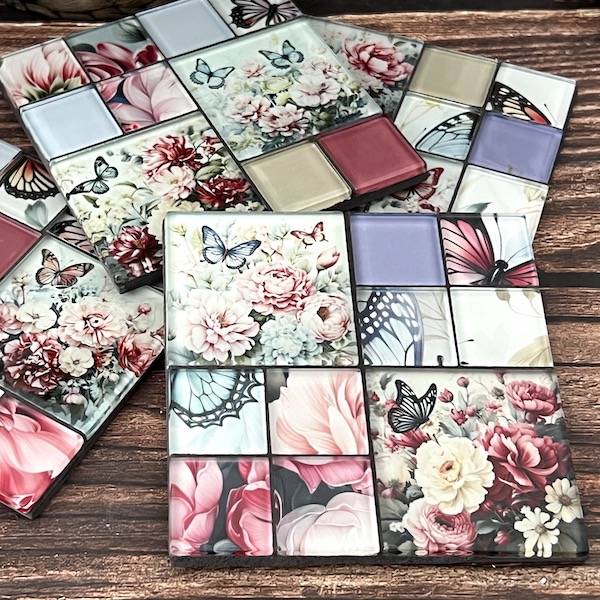
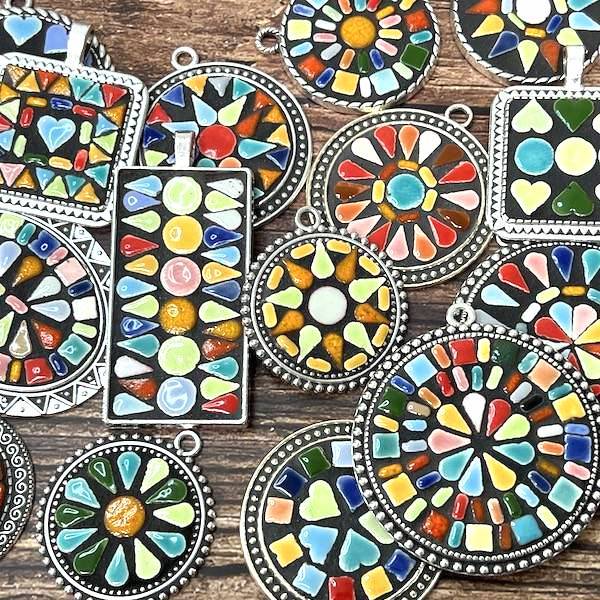
- Lay your thickest tiles first; these are your guide. The thickest tiles in this project are the feature tiles laid by buttering the back of the tile with cement-based adhesive.
- The thinner tiles are then built up in height using cement-based adhesive. Lay the cement-based adhesive in sections and press the tiles down using a level (tile float or something similar).
- Butter the tile's back with the cement-based adhesive and press down onto the mosaic surface using a level to the thickest tile's height. Apply moderate pressure to the level to press the tiles into the adhesive to the thickest tile's height.
- How much cement-based adhesive do I apply to the back of the tile? This will involve a bit of trial and error, too much adhesive, and it will ooze out the sides, requiring a clean-up (with a small tool). Too little and the tile won't be correctly applied, requiring you to re-adhere the tile.
3. Grouting
When grouting, always wear gloves, as the grout will dry your hands out.
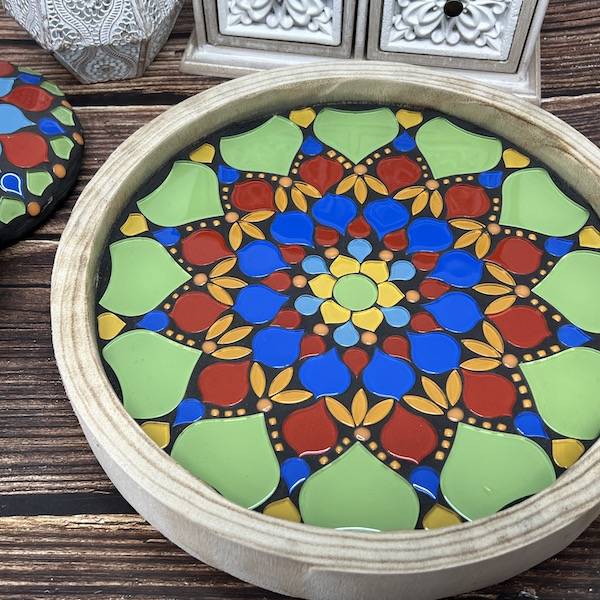
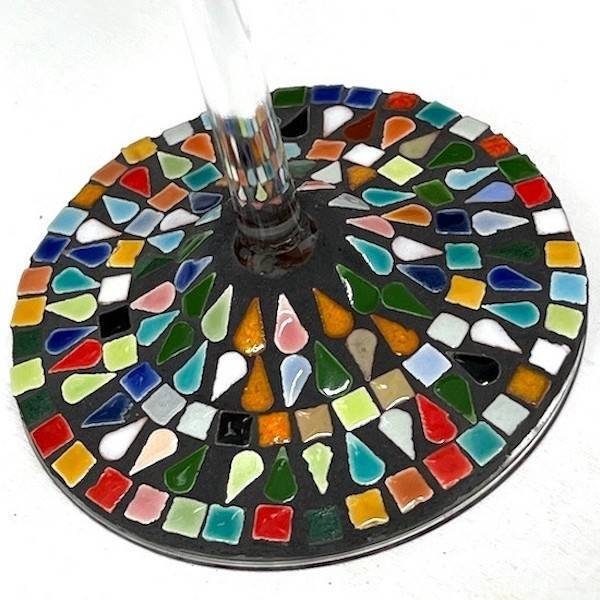
Mix your powdered grout in a container with water. I made the grout slightly drier than usual for this mosaic, as the gaps are large. The grout was a paste-like consistency so that I could create a smooth surface.
Once mixed, place a small amount of grout onto your tiles and rub it into the gaps between them. Once you have covered the entire mosaic, scrape off the excess and let it dry. Buff the excess grout off in 20-30 minutes (once a grout haze develops). Ensure you dig out all the tiles.
Leave it for 24 hours, then give it a final buff-up to remove excess grout.
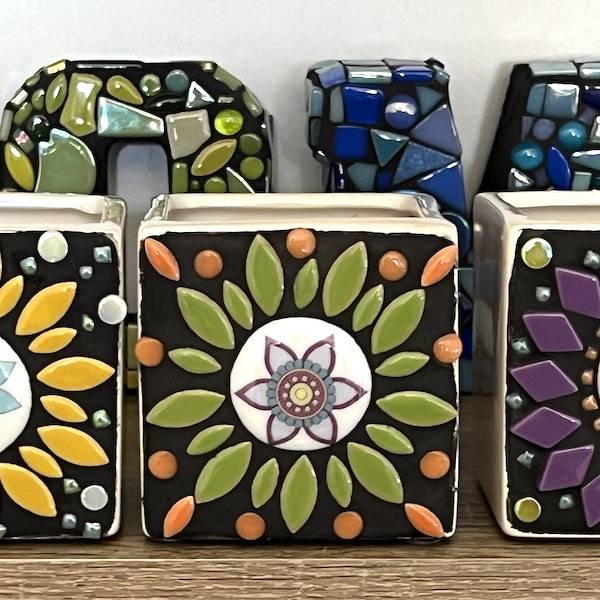
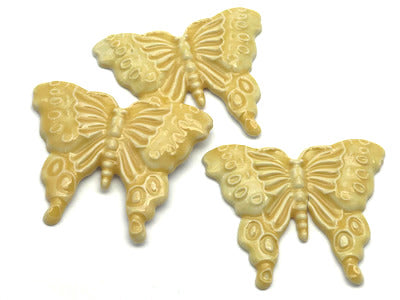
SEE OUR FULL RANGE OF HANDMADE FEATURE TILES >>
 1300 320 392