img img img img

Tue, May 16, 2023

Dream Mosaic Stone Project


Dream Mosaic Stone Project

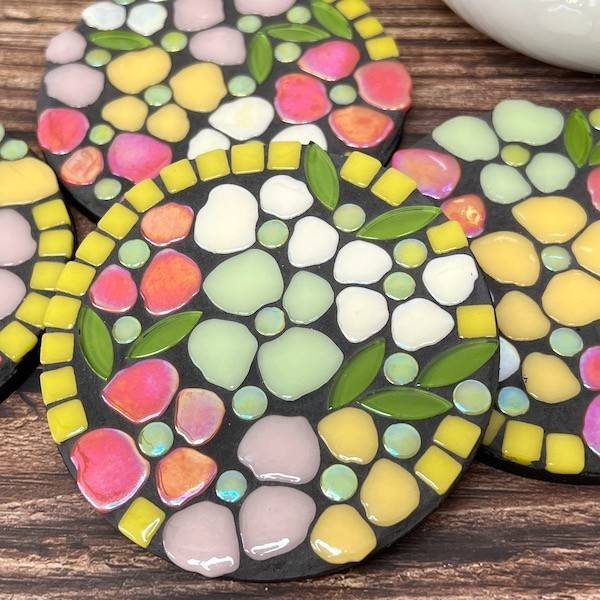
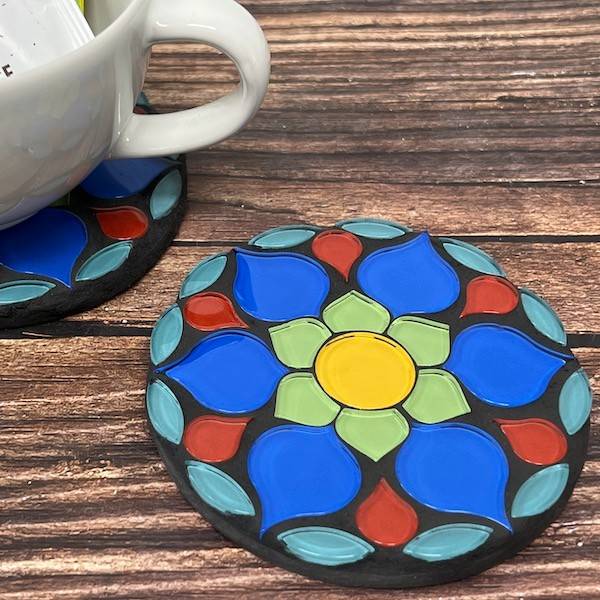
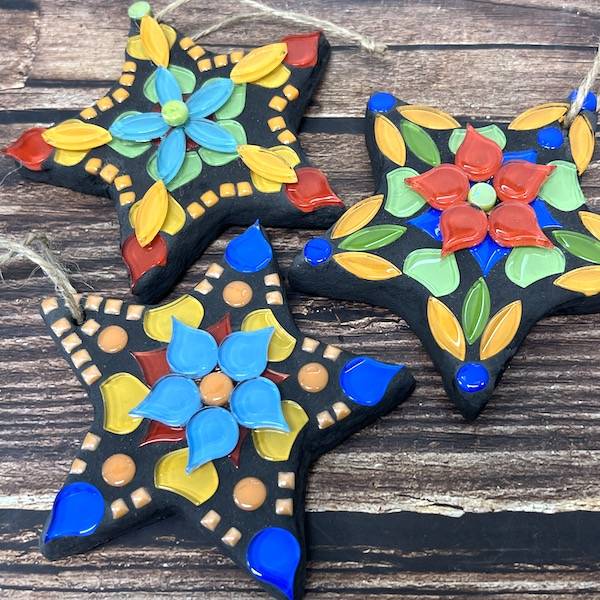
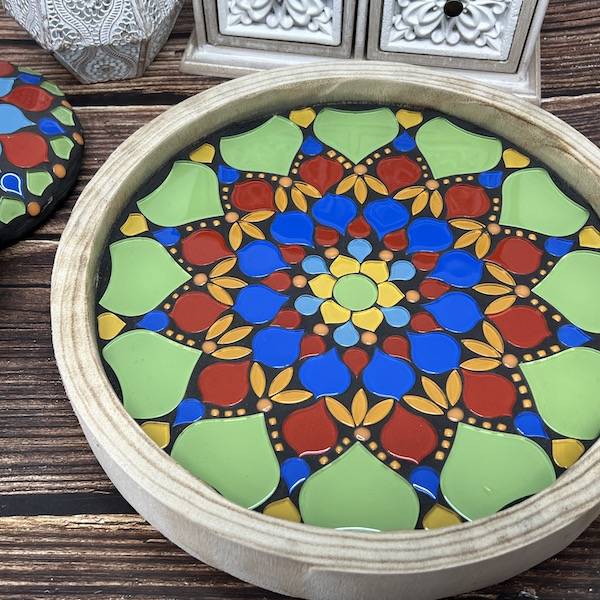
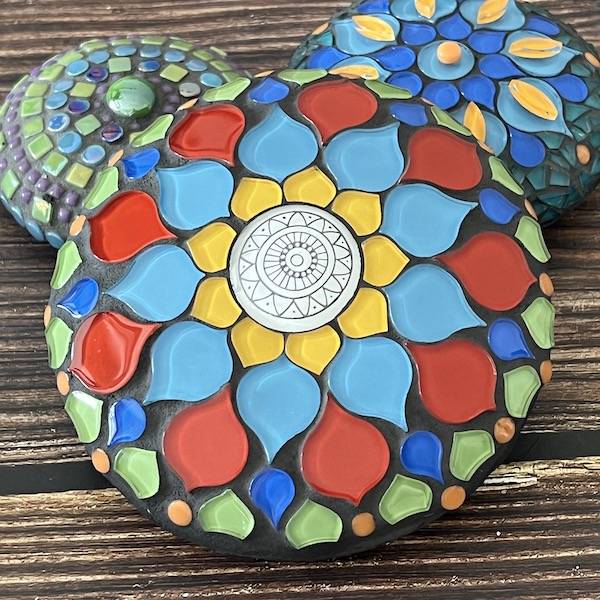
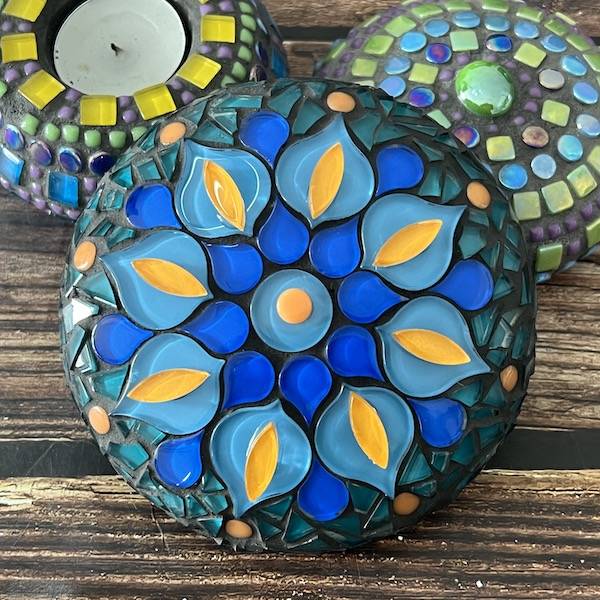
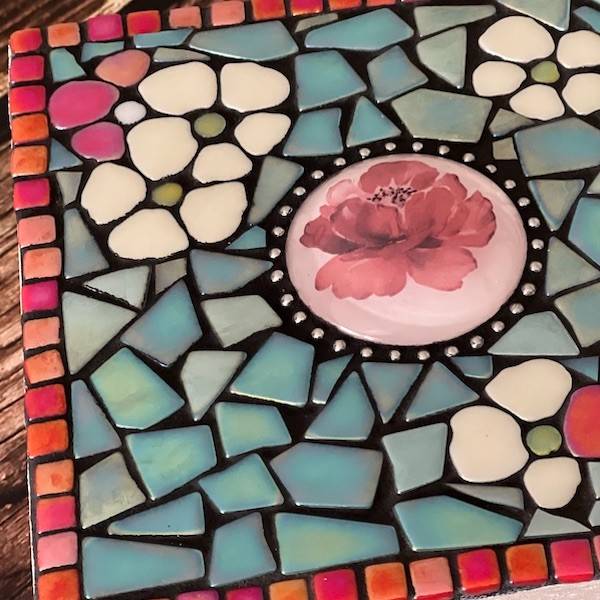
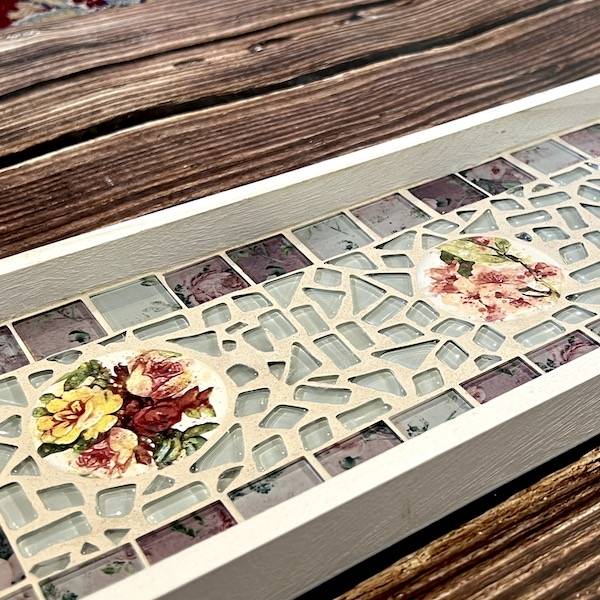
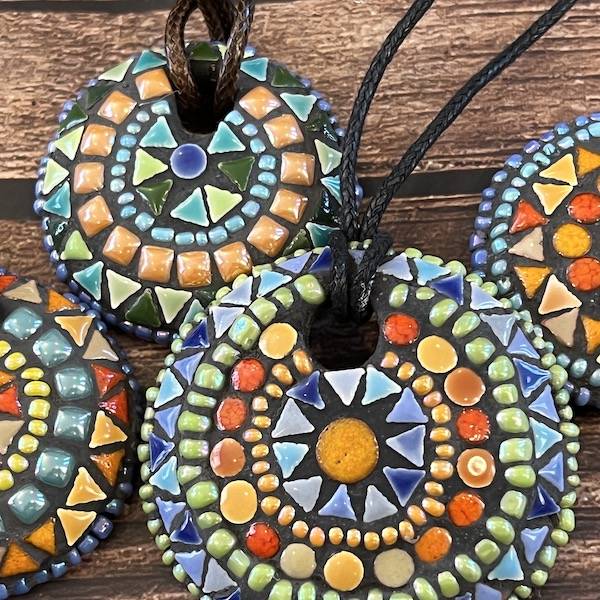
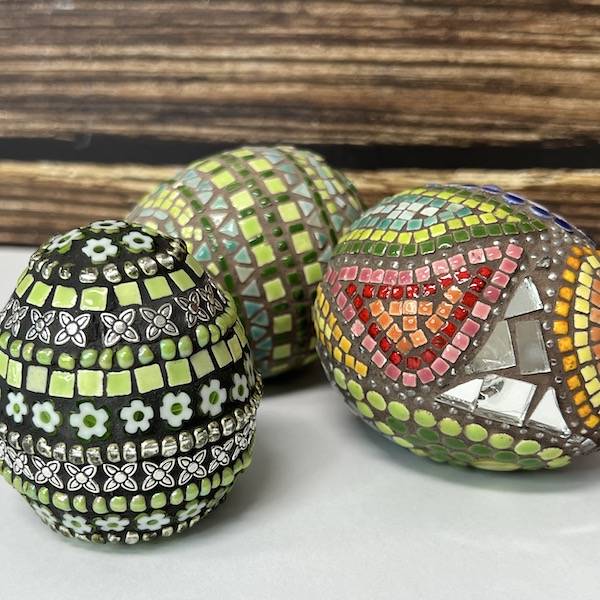
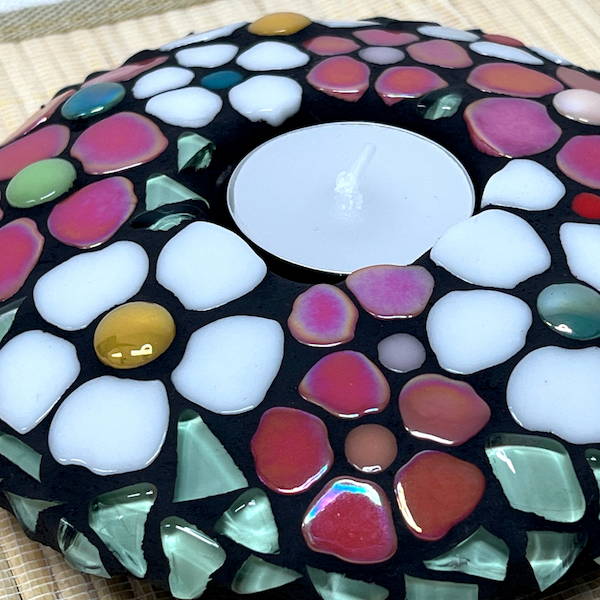
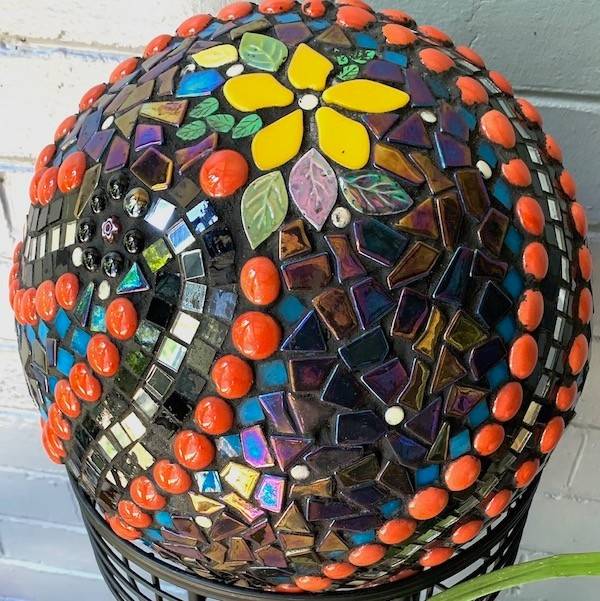
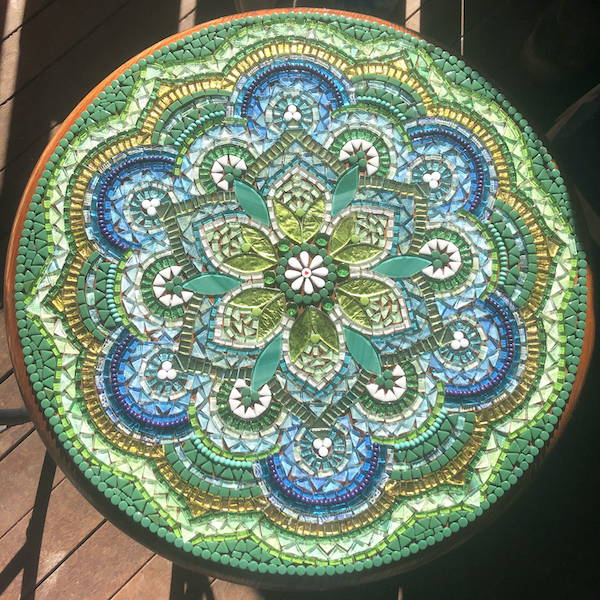
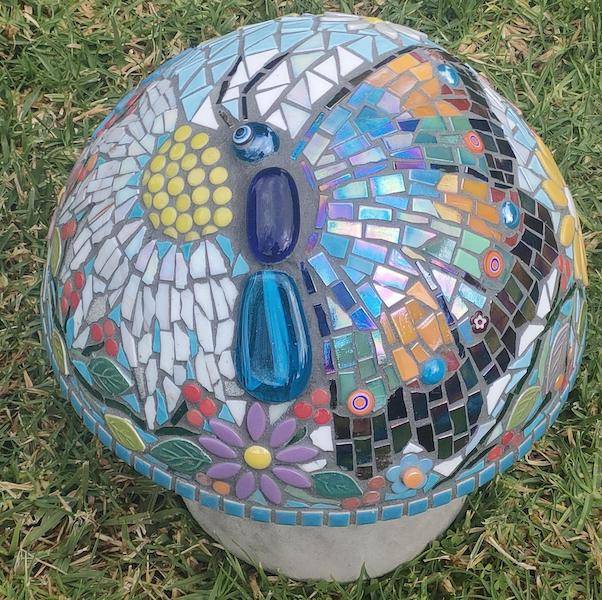
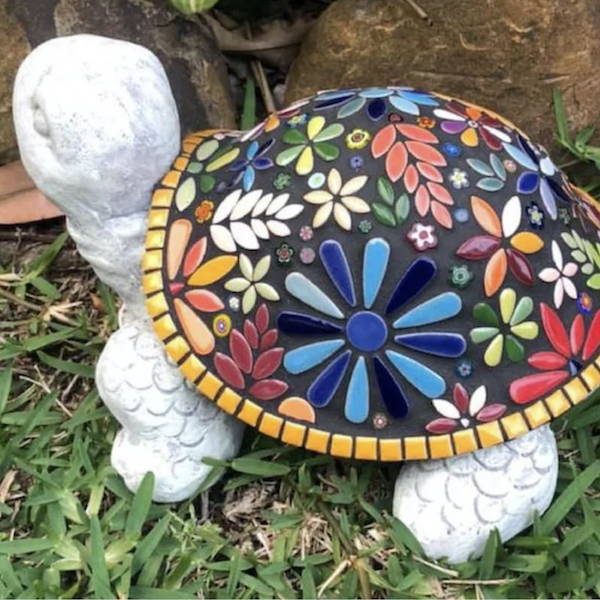
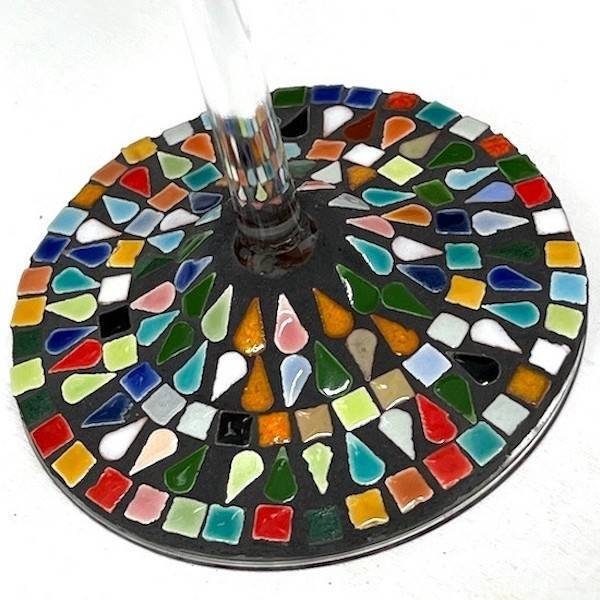
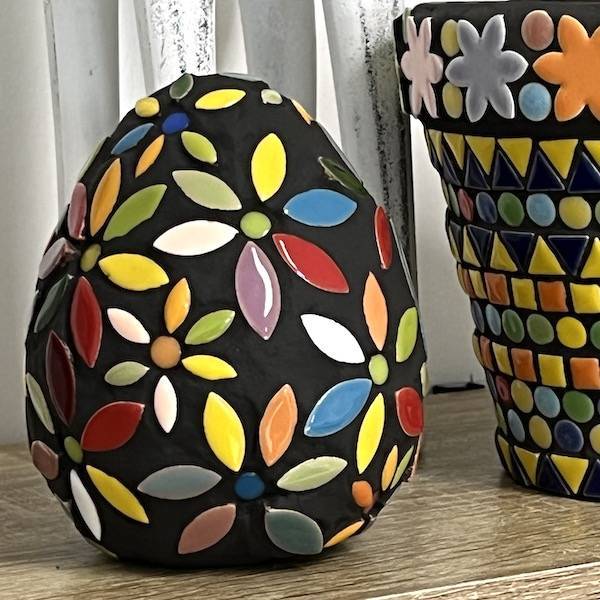
Get ready to dive into the wonderful world of the Dream Mosaic Stone Project, where our brand-new feature tiles take center stage! Mosaic stones are an absolute delight to create – they're quick, budget-friendly, and oh-so-unique. These little gems make perfect paperweights or decorative pieces that are bound to bring joy to anyone who receives them. Find a protected area in your garden and let these mosaic stones add a vibrant splash of color to your outdoor space.


Want to make it even more fun? Gather your pals and throw a mosaic stone making party! It's a fantastic way to bond and unleash your creativity together.


Whether you're a newbie or a seasoned mosaic artist, these stones are an ideal project for everyone.


Get the 'Dream' Mosaic Stone Kit and start creating your own beautiful mosaic >>


Get the mosaic bird feeder kit and start creating your own beautiful bird feeder >>


Project Instructions


Instructions


Step 1: Select Your Materials


Before you begin, it's always a great idea to have a concept in mind. Consider a design based on color themes, swirls, flowers, or even geometric shapes.This project showcases our new ceramic feature tiles will serve as a focal point in this design.


Step 2: Tile Adhesion


Apply your cement-based adhesive using a palette knife. Lay your tiles in the bead of adhesive, ensuring they are securely adhered. Before proceeding, run your hand over the mosaic to check that all tiles are firmly in place. Allow the adhesive to dry for 24 hours before moving on to the next step.


Step 3: Grouting


For grouting, it's important to wear gloves to protect your hands from drying out. Mix a small amount of powdered grout with water until it reaches a porridge-like consistency. Apply the grout onto the tiles, making sure to rub it into the gaps between them. Once the entire mosaic is covered, remove the excess grout and allow it to dry.


Step 4: Cleaning and Buffing


Once the grout has started to dry (it will become dull), carefully remove the excess grout with a sponge. Leave it for 24 hours, and then give the mosaic a final buff-up to remove any remaining traces of grout.


Follow these steps, and you'll have a beautiful mosaic creation to proudly display!


NEW ARRIVALS

VIEW ALL
img

Purple Porcelain Butterfly - 7.5cm

$7.00
VIEW ALL
img

Green Porcelain Butterfly No. 1 - 6.5cm

$6.00
VIEW ALL
img

Green Porcelain Butterfly No. 2 - 3.5cm

$4.75
VIEW ALL
img

Yellow Porcelain Butterfly No. 1 - 4.5cm

$4.75
VIEW ALL