Gather supplies
• Large plastic bowl or small
• Tapered plastic plant pot (In proportion to the top of mushroom shape)
• Place cardboard on the base of the plant pot to block holes when placing cement mix inside for setting
• Large bucket to mix sand and cement in
• Paint mixer
• Power drill
• Drop sheets
• Water
• Bondcrete
• Sand & cement mix
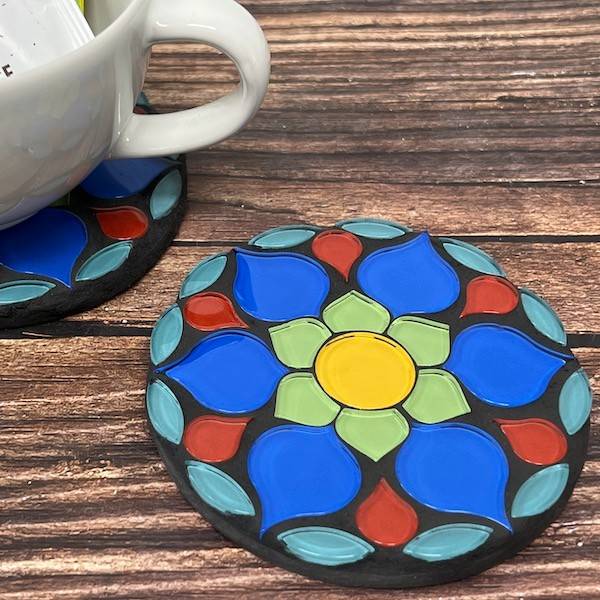
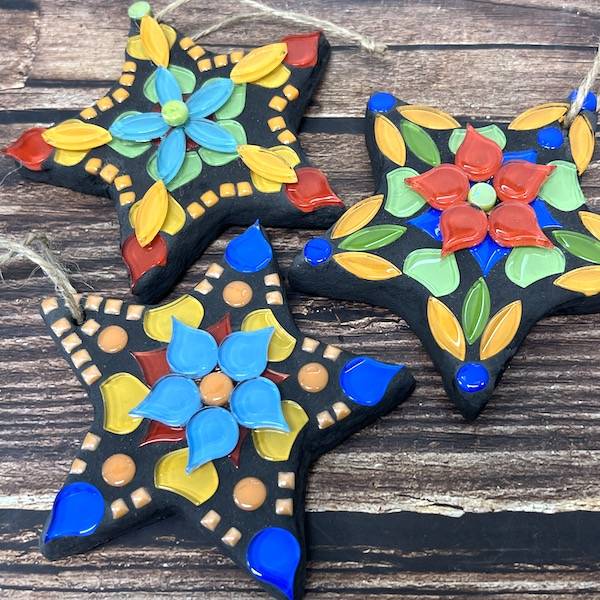
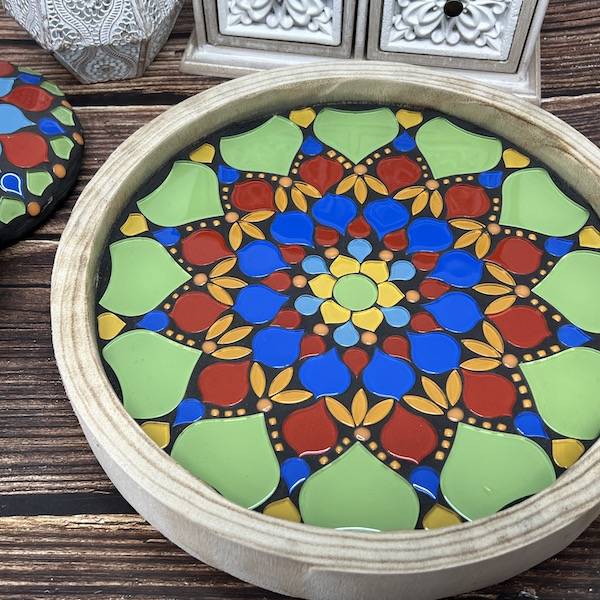
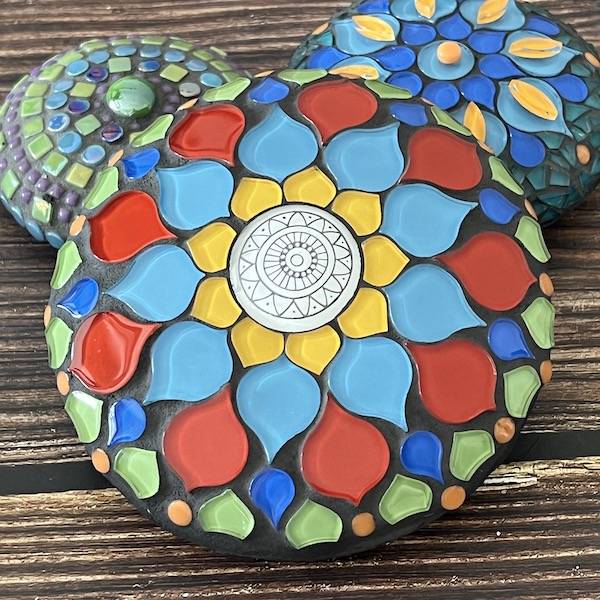
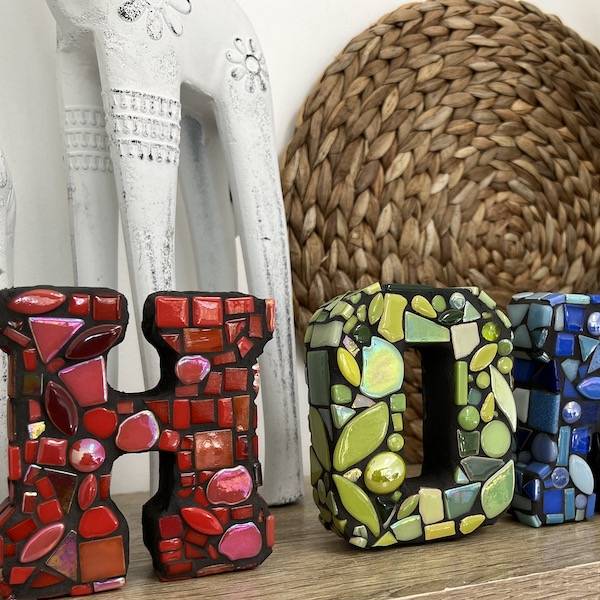
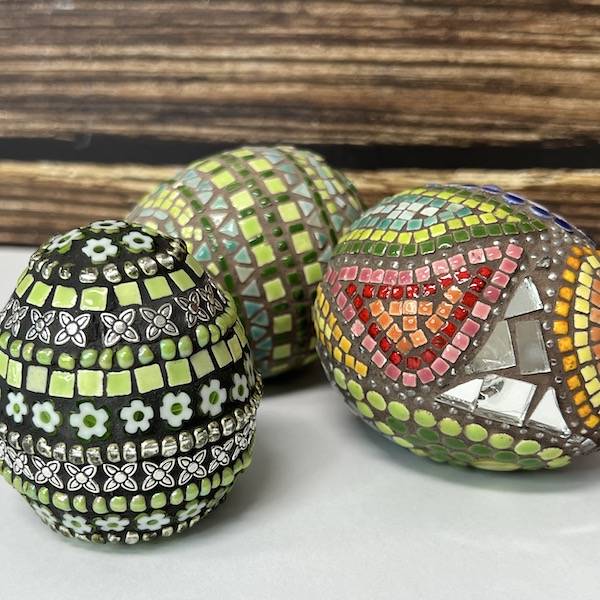
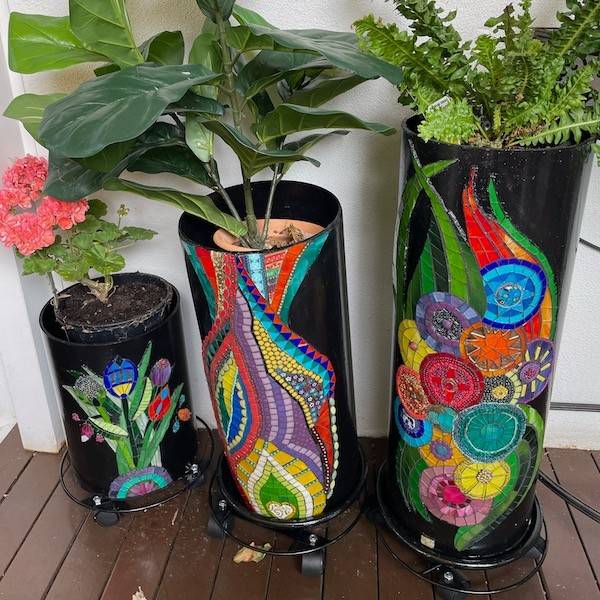
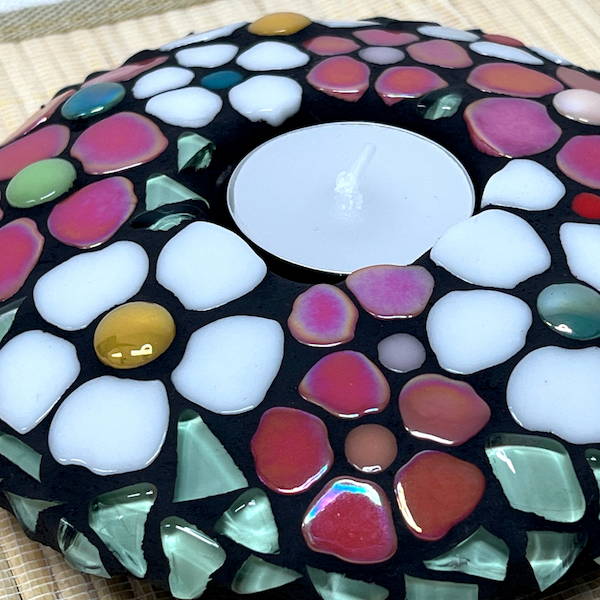
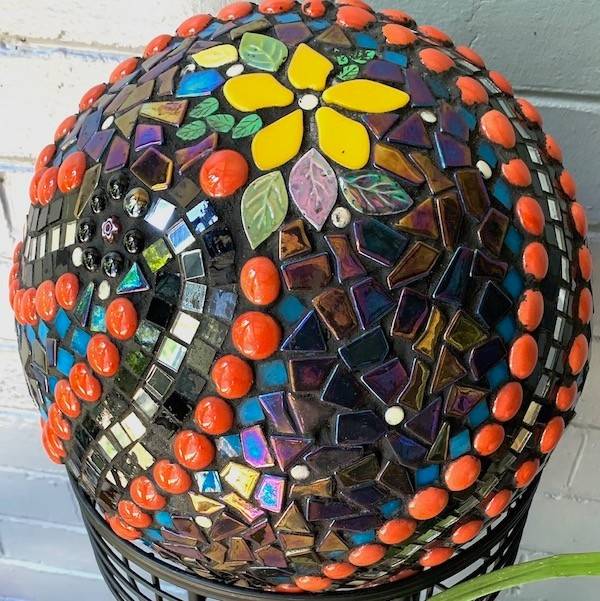
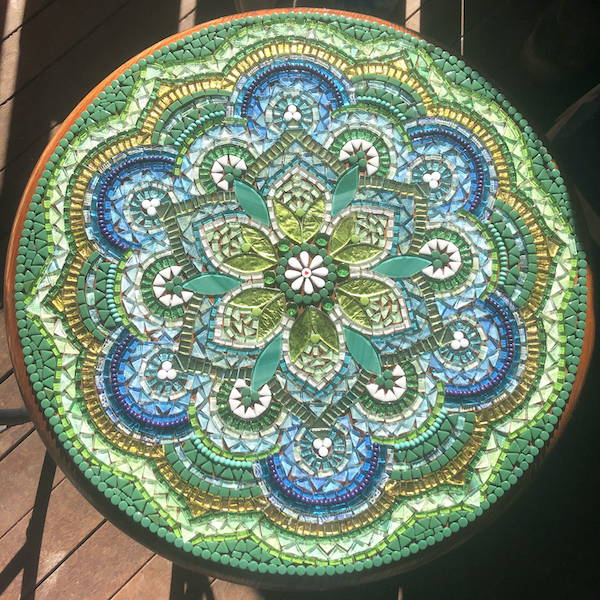
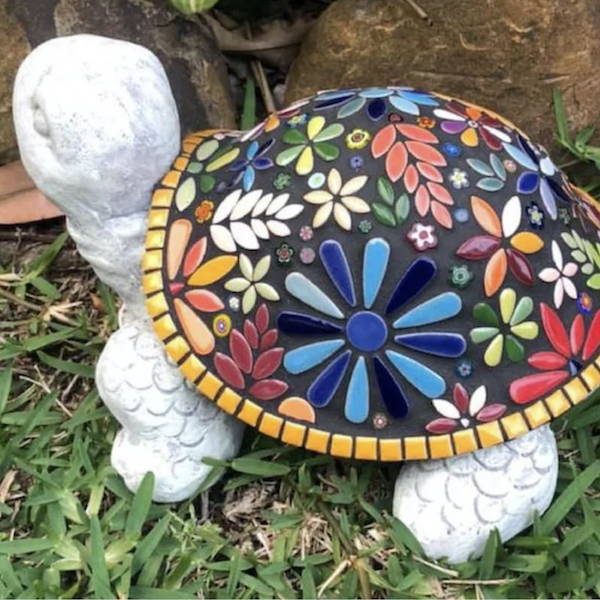
• Selection of mosaic tiles for outdoors.
• Tile adhesive of choice for outdoor (Suitable for working on an upright angle, so needs to be tacky)
• Grout
• Grout sealer Tile cutters
• Rubber gloves
Note: One bag of sand & cement will make x 2 large mushrooms.
Instructions
Step 1
Cut cardboard for the pot's base to cover holes by tracing around the outside, ensuring a tight, snug fit. Spray the inside of the plant pot and cardboard with spray oil so the cement won't stick (small amount only).
Step 2
Mix sand and cement by adding water; mix ½ bag at a time using a paint mixer and drill.
I have found cement doesn't usually stick to plastic, but if you are worried, you can spray it with spray oil (a small amount).
Pour cement mix into bowls and pots to the top, then tap the sides to bring the air bubbles out of the mix. Take the time to do this to ensure the cement finish is good with no air holes.
Step 3
After pouring the mix into the pot and/or bowl and bringing air bubbles out, water will sit at the top of the container; skim off the water with a spatula.
Step 4
Allow cement to set. It will come away from the sides of the bowl and pot slightly but keep it from hardening entirely if the shape of your bowl (Top mushroom) has a flat bottom. This is when you can shape the top of your mushroom by adding more cement mix to build up and using a spatula to mould a detailed mushroom shape head.
Step 5
If your bowl is flat, you can build up by mixing a small about of cement with Bondcrete and water. You can not shape the cement when the texture has fully hardened.
Step 6
Allow cement to cure entirely, which usually takes a few days, depending on the weather, but a week's duration is best.
Step 7
Seal the mushroom stalk and head with Bondcrete and water to allow it to dry.
Step 8
Now it is time to create and design our mushroom. Remember, there is no right or wrong technique, but contrasting colours stand out. (Smaller tiles work better) if using larger tiles, you will need to cut to lie flat as you are working on a curved surface.
Step 9
Grout the tiles, then seal the grout.
Step 10
Enjoy your garden feature. 😊
 1300 320 392