img img img img

Tue, Oct 04, 2022

How To Cut Glass Tiles

How to cut a glass tile


This 'How to Mosaic' demonstrates the most common cuts for glass tiles and build on the information contained in the previous blog post, so if you're new to mosaics or the cutting of glass tiles make sure you read both of these topics.

By far the best tool for cutting glass tiles is a wheeled cutter. Rather than scoring the tile you simply need to place the tile between the two wheels (where you want to the cut to go) and squeeze the handles together. The pressure of the wheels coming together will fracture the glass along the line of the wheels.

Before you begin cutting always remember safety first and wear appropriate eye protection. Glass shards can go flying and you don't want them in your eye or someone elses.

Cut 1: Rectangles

cutting glass mosaic tiles into rectangles

This cut demonstrates the basics of cutting a glass tile. The wheels are positioned along the line you wish to cut and even pressure is applied. Cupping you hand around the tile will help prevent tile shards from going flying.


Cut 2: Cutting Perpendicular to the Ridges

cutting glass mosaic tiles


Most glass mosaic tiles have ridges on the underside of the tile to assist with adhesion, with the pattern of the ridges varying with different manufacturers. The ridges can interfere with the cutting of the tile as the wheels can slip when pressure is applied. To avoid this, cut your tile on a line that is perpendicular to the ridges. Cutting tiles with the ridges facing you can help with the placement of the wheels.


Cut 3: Square Cut

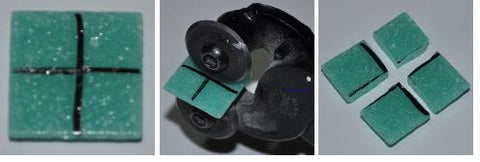
cutting glass mosaic tiles into squares

If you are cutting 2 cm tiles this cut will produce tiles that are approximately 1 cm squared. The tiles are cut into rectangles and in half again.


Cut 4: Diagonal Cut (Triangles)

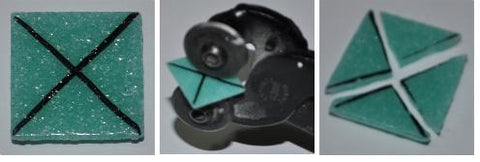
cutting glass mosaic tiles into triangles

Cutting the tiles on a diagonal will create triangles, cut them in half again if you are after smaller ones.


Cut 5: Curved Cut

cutting curves into glass mosaic tiles


Cutting curves with the edge facing outwards is easy with wheeled nippers, simply make a series of small nips along the line you wish to cut. Once cut you can make some smaller nips to tidy up any uneven bits. Inside curves are difficult with wheeled nippers. If your use to glass cutting you could score the surface and use grozing pliers to obtain the cut.


Cut 6: Circle Cut

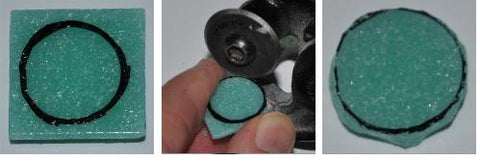
cutting circles into glass mosaic tiles

Circle cuts are made using the same technique as the curved cut; you simply keep rotating the tile, making small nips as you go until you've completed the entire circle. You can them repeat the process to clean up and rough pieces of tile. The trick here is to only make small nips; don't be tempted to take too much tile off in one cut.

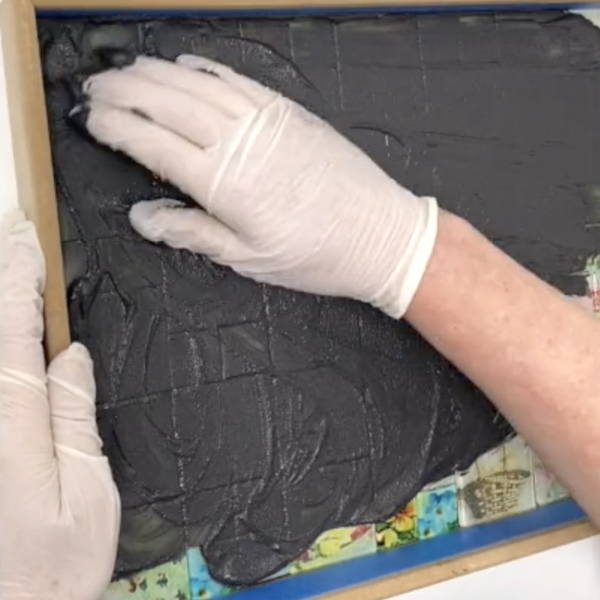
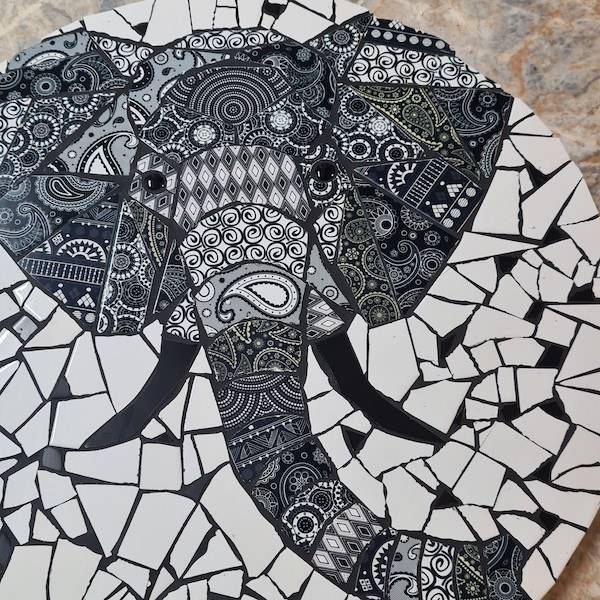
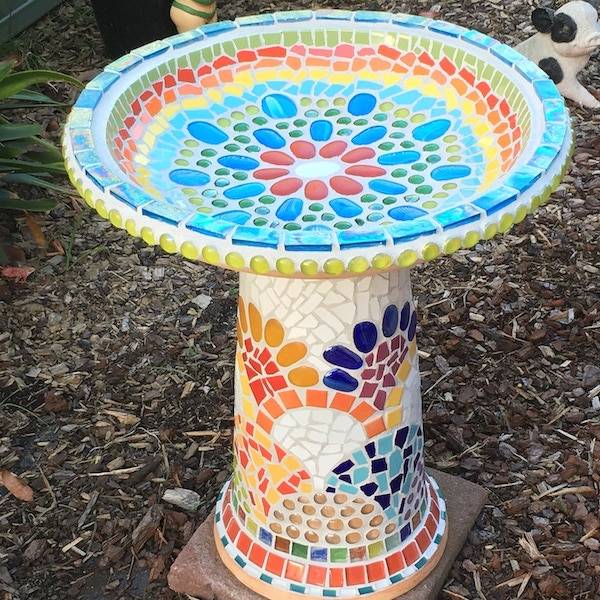
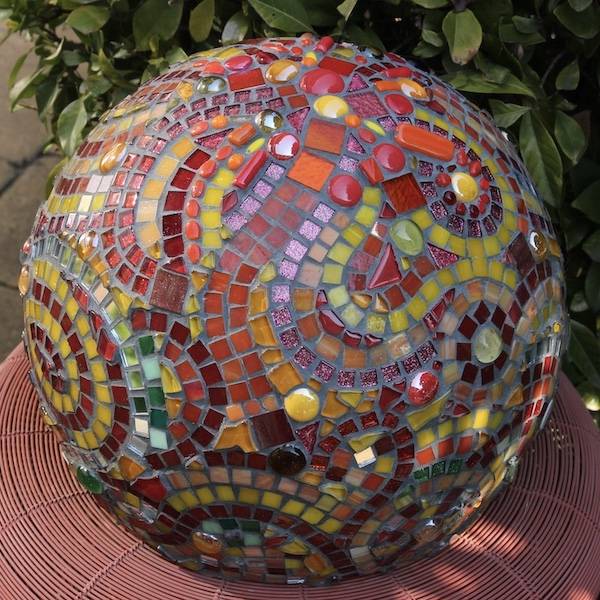
This gorgeous mosaic project has been made by Clare Clarrick

NEW ARRIVALS

VIEW ALL
img

'Dream' Word Ceramic Tile No. 2

$3.50
VIEW ALL
img

Blue & White Circle Millefiori Melts

$5.50
VIEW ALL
img

Black & White Circle Millefiori Melts No. 1

$5.50
VIEW ALL
img

Orange Pointed Glass Drops

$5.20
VIEW ALL