1300 320 392
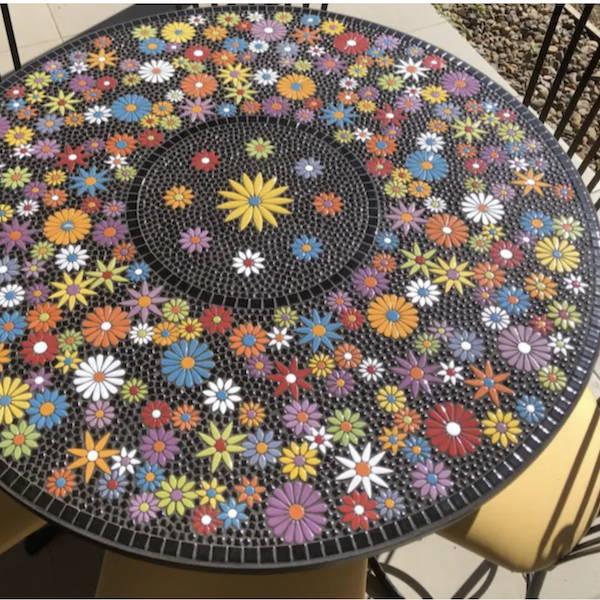
This post looks at how to use fibreglass to make a mosaic base. I've found a hat with a bit of character at a discount shop and I've covered it in fibreglass it to make it rigid enough to mosaic.


Fri, Aug 19, 2022
This post looks at how to use fibreglass to make a mosaic base. I've found a hat with a bit of character at a discount shop and I've covered it in fibreglass it to make it rigid enough to mosaic.
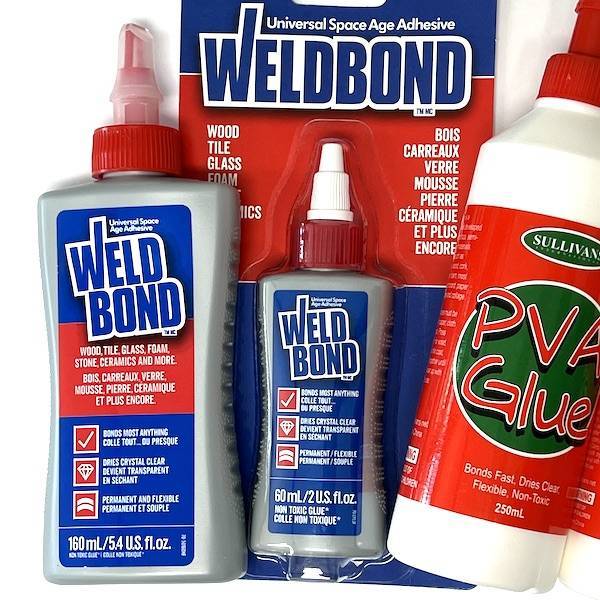
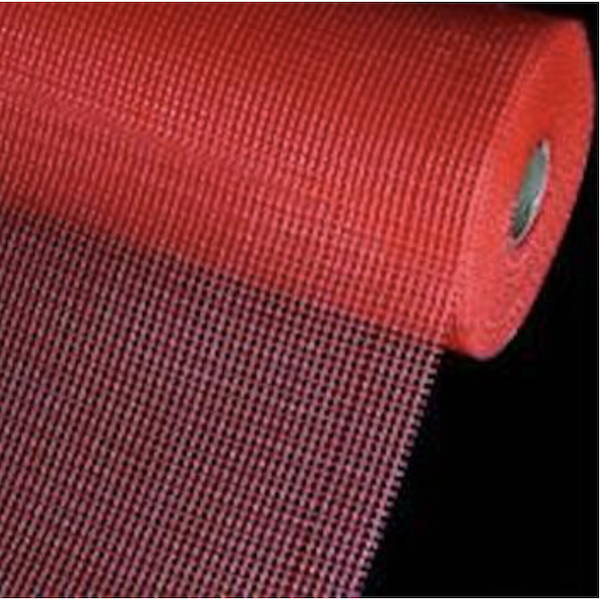
To get you started if your fibreglassing a small object you could purchase a fibreglass repair kit.
Note: The manufacturers safety instructions supersede these instructions and should always be followed. Please take appropriate safety precautions, i.e. safety goggles, gloves, long sleeved shirt, work in a well ventilated area and keep out of reach of children.
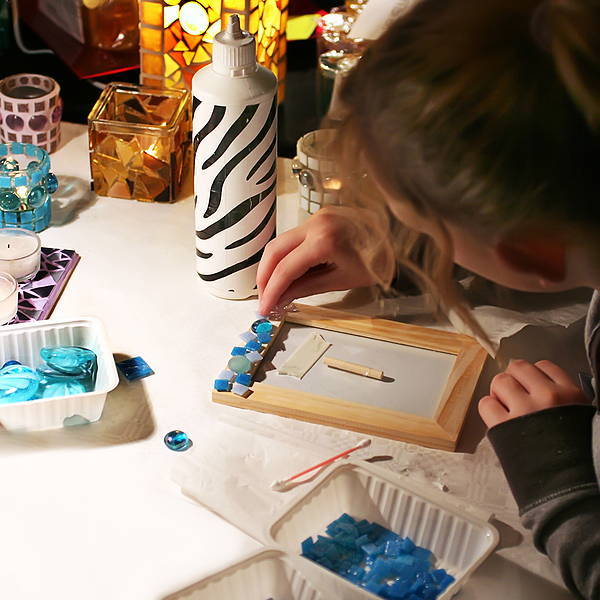
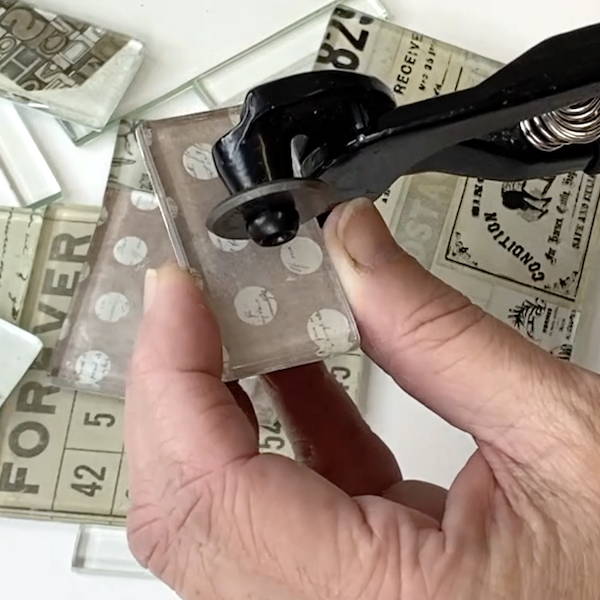
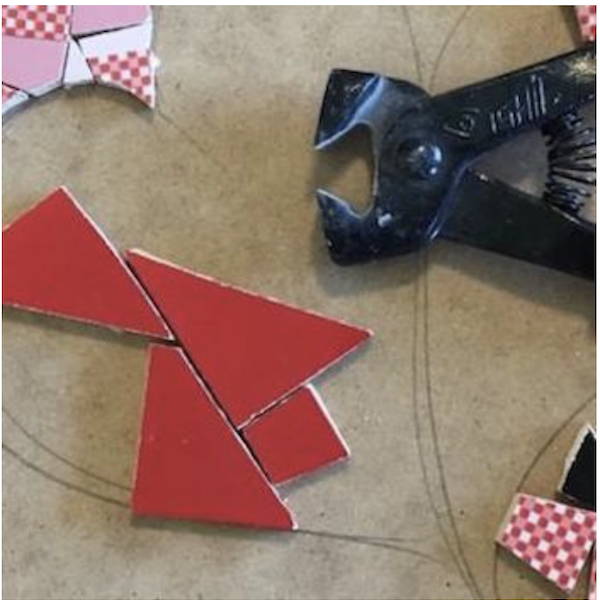
I cut the fibreglass matt with scissors into a series of squares to surround the hat because the hat is wider at the bottom than the top which prevented me from wrapping the matting around. Then I cut a series of shapes to cover the rest of the hat.
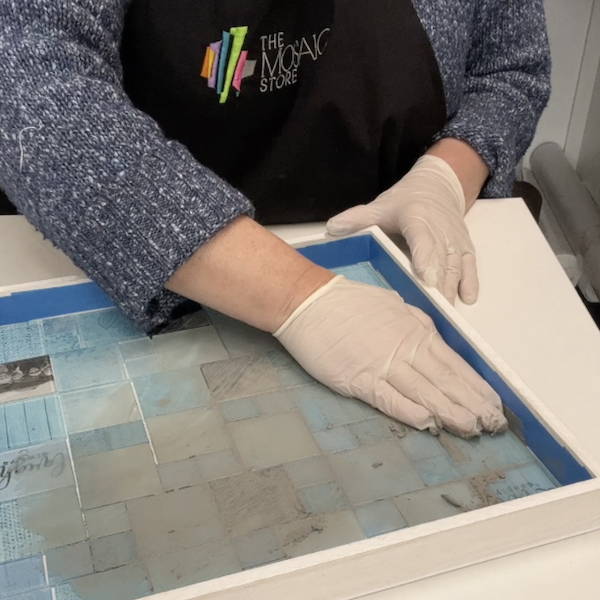
Mixed resin is the Polyester resin + Polyester Catalyst (or hardener) To apply the mixed resin you brush the resin onto the surface and then place the matting on top pressing it in. Apply more mixed resin on top of the matting until it becomes clear. I found working in small sections at a time the easiest as the hat is oddly shaped. The brim was the hardest part as I had toØfibreglass over the edge of the brim. To do this I cut the matt into strips of 3-4Øcm's wide and wrapped them over the brim, holding down the matting while it takes hold. Don't do what I did and apply the resin to the top of the hat and under the brim at the same time. You will have to hold the hatØuntil the resin has cured sufficiently to put it down. If you have to apply additional layers of fibreglass you may need to sand in between layers to get satisfactory adhesion.
Cut off any strands of fibreglass matting. If you need to sand the fibreglass to remove any bumps etc follow the manufacturer's instructions as it can cause skin irritations.
In the last section of the fibreglassing I used a fibreglass cloth rather than the matting. It was a lot easier to use and gave a much nice and finer finish. It's apparently more expensive (according to my husband) but I would absolutely use it again. I found that the matting tended to 'fiber up' requiring more resin to even out the surface. If using the cloth keep it straight and even, I had some areas where it doubled over and had to cut them out and apply more resin.
Legal Disclaimer: No warranty is implied by these instructions. Use at your own risk. The Mosaic Store and its proprietors are not responsible for the results of any actions taken on the basis of this information, nor for any omission in the advise. Please wear appropriate safety equipment when cutting mosaic materials and using grouts and adhesives. Keep out of reach of children.