1300 320 392


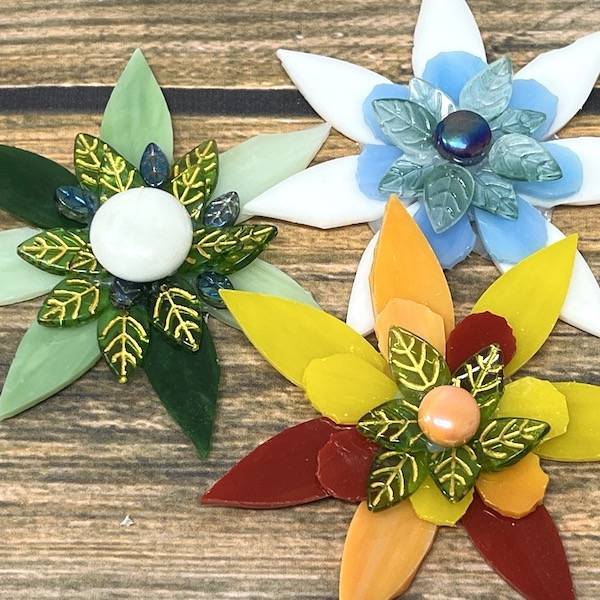
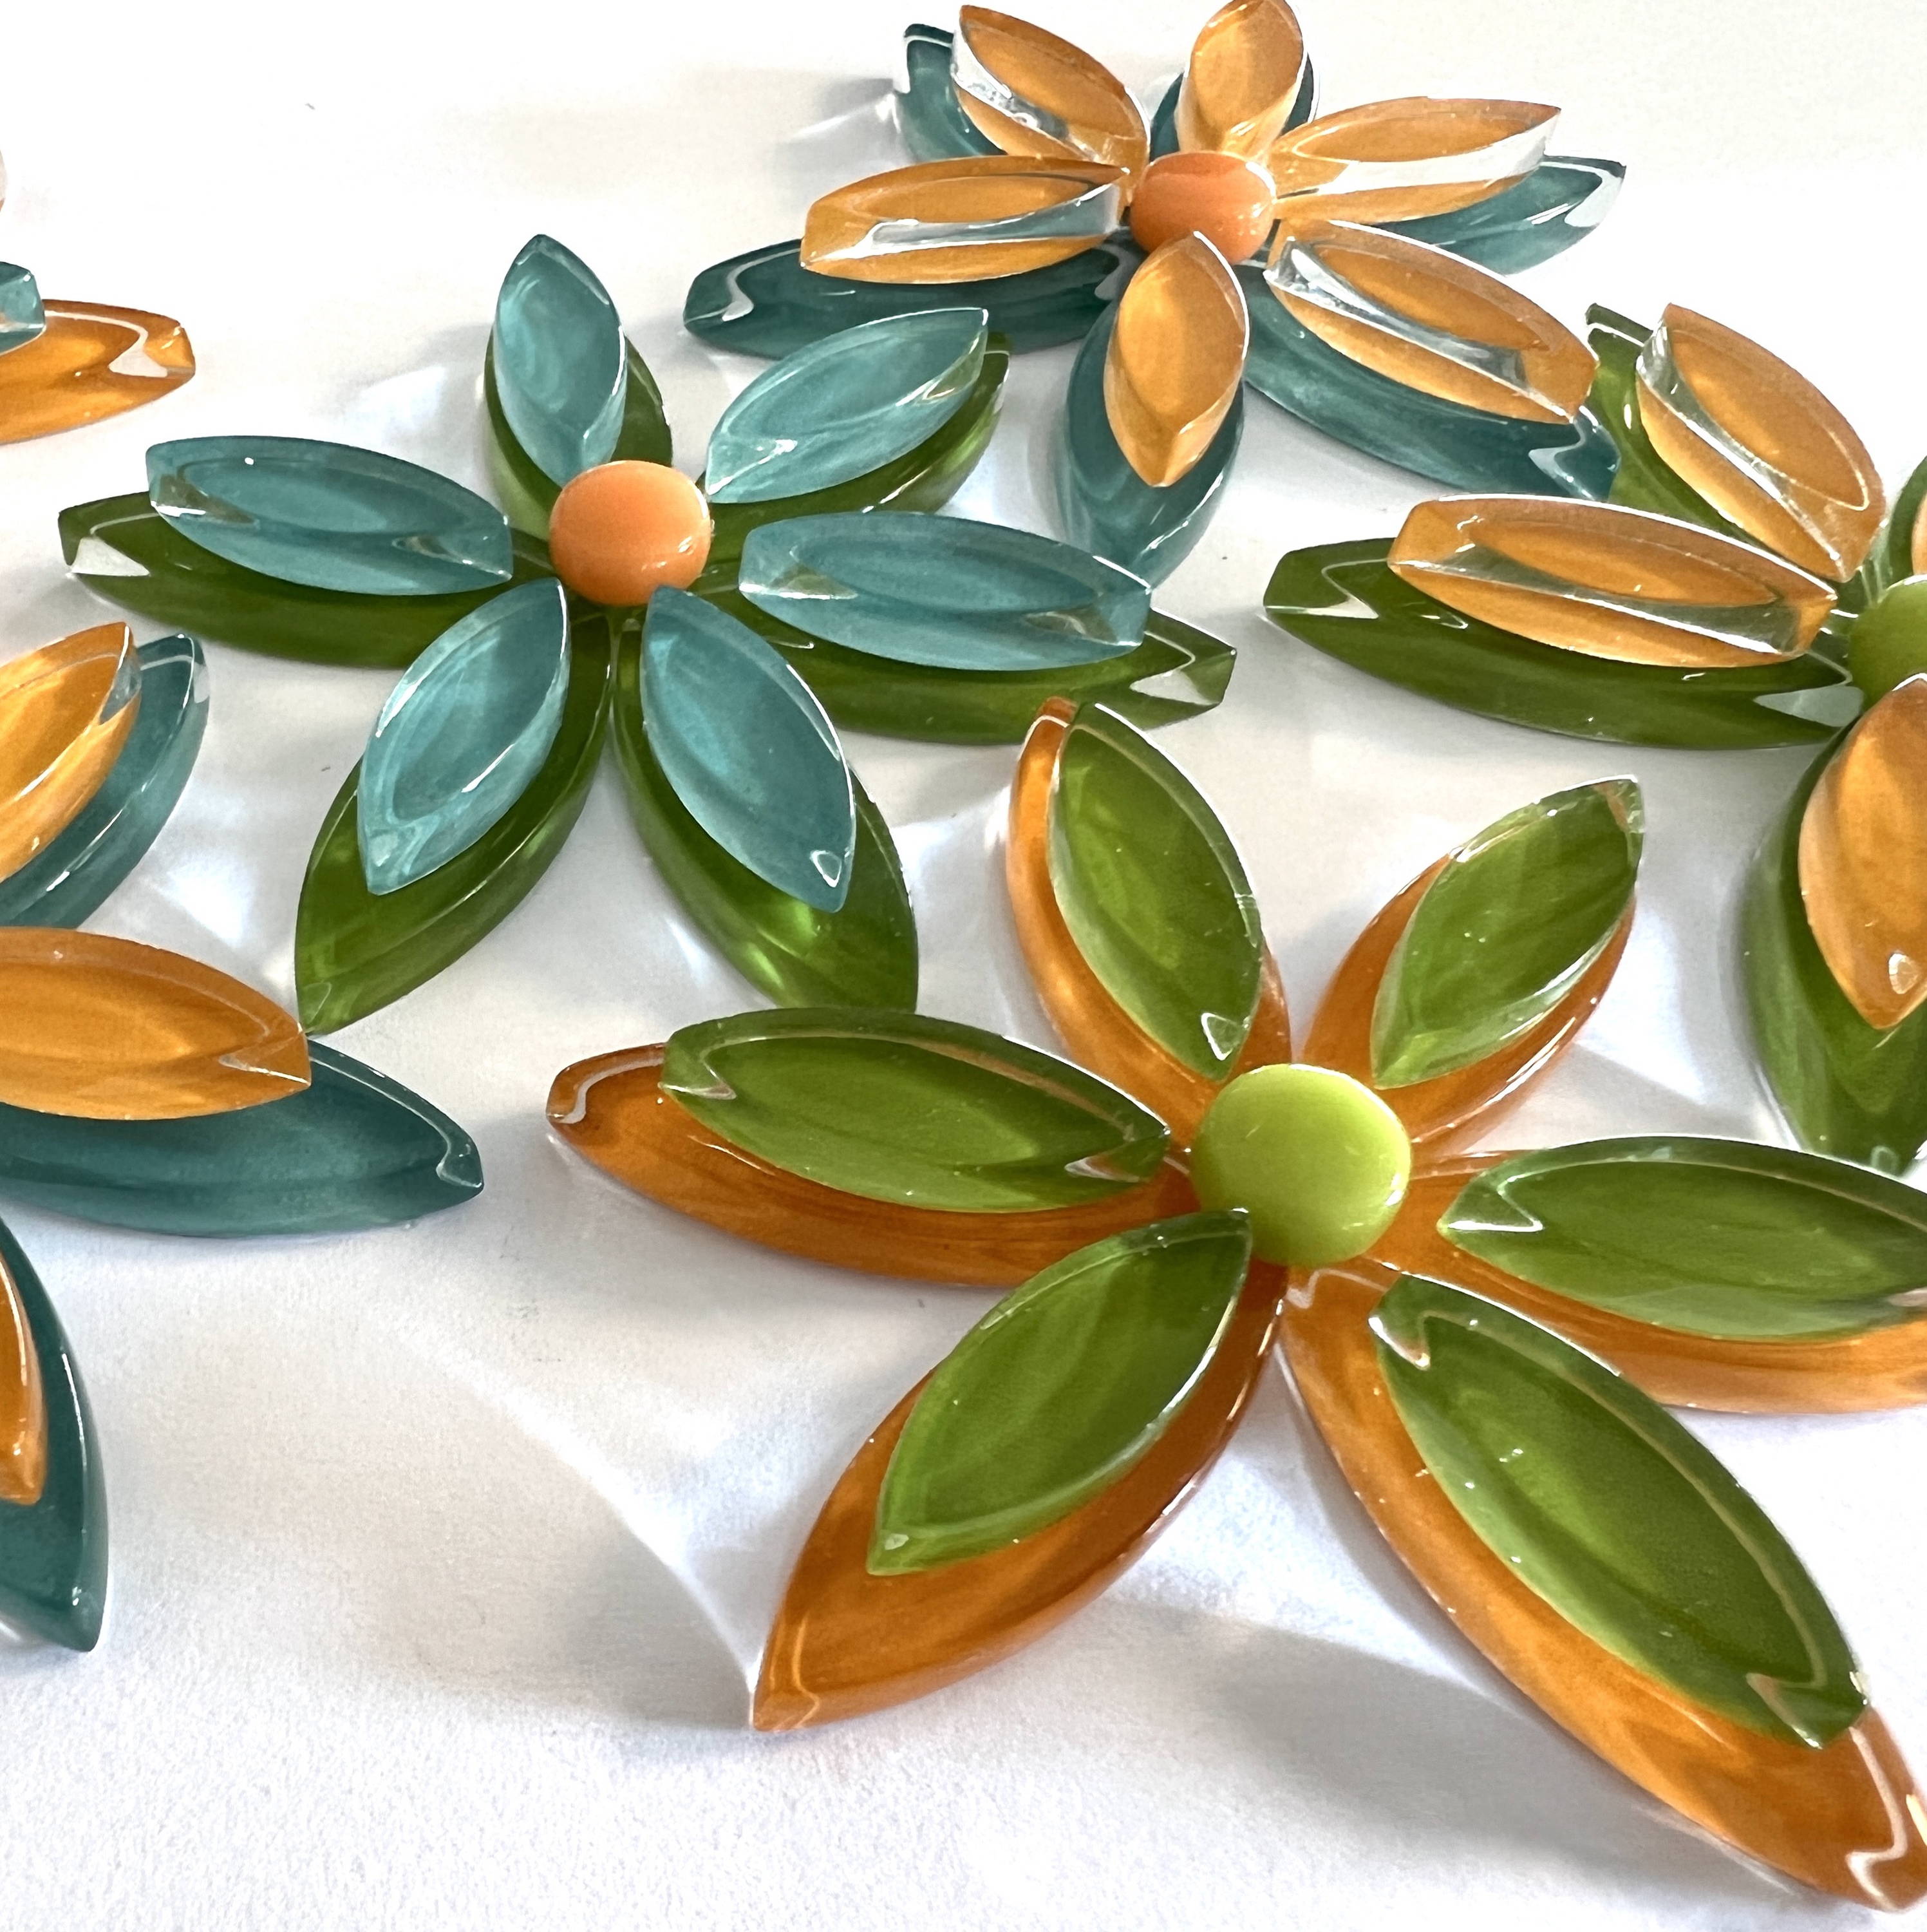
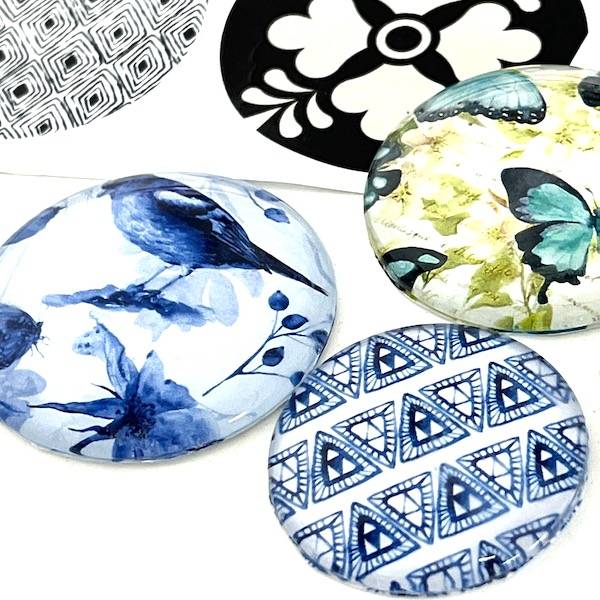
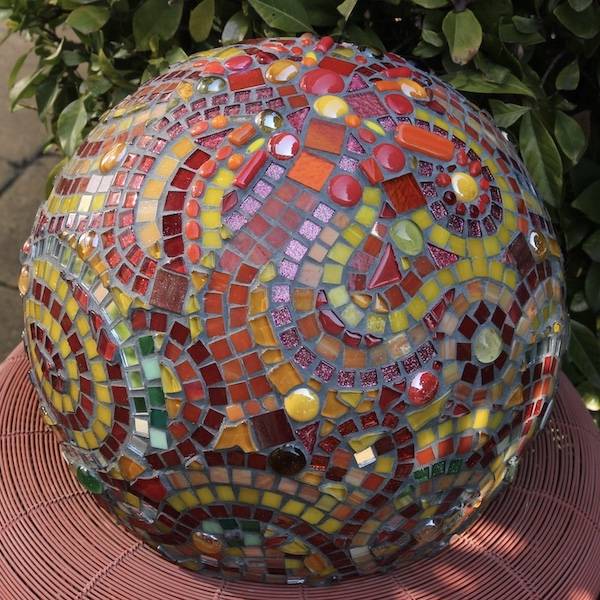
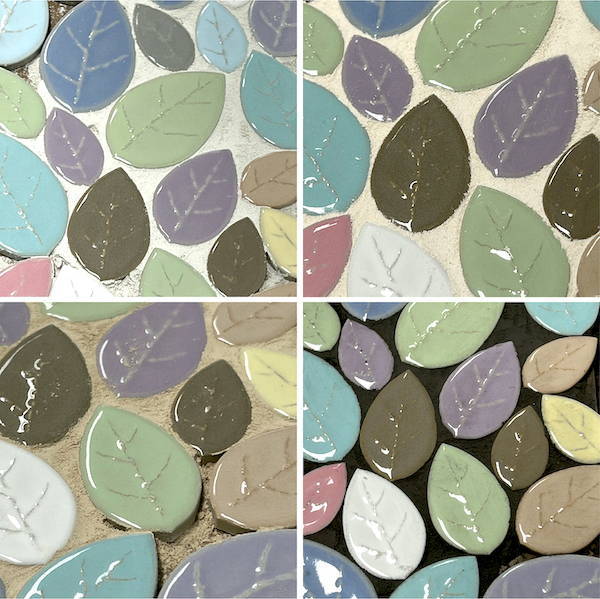
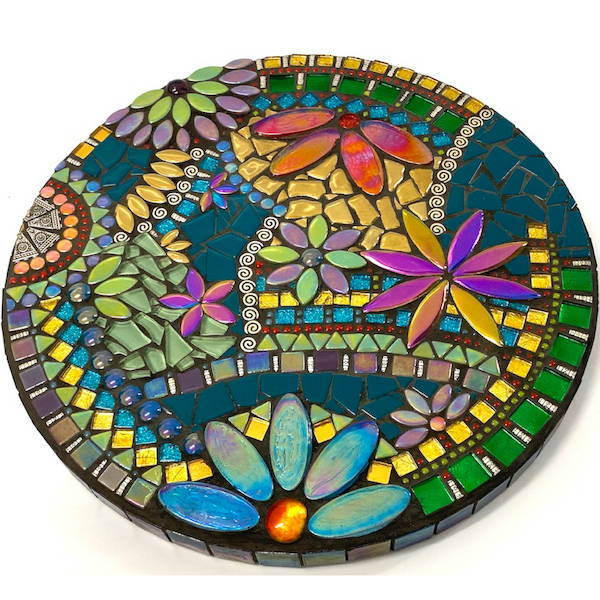
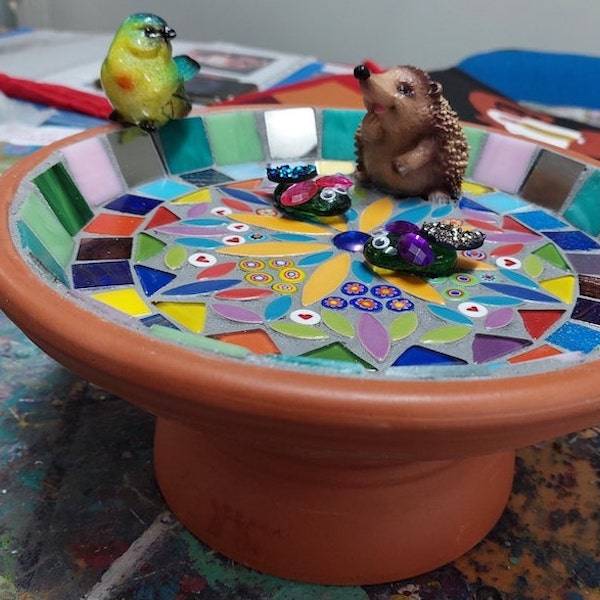
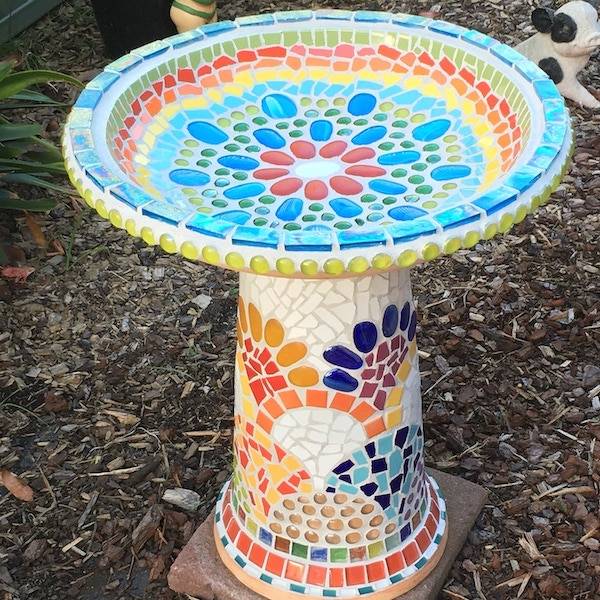
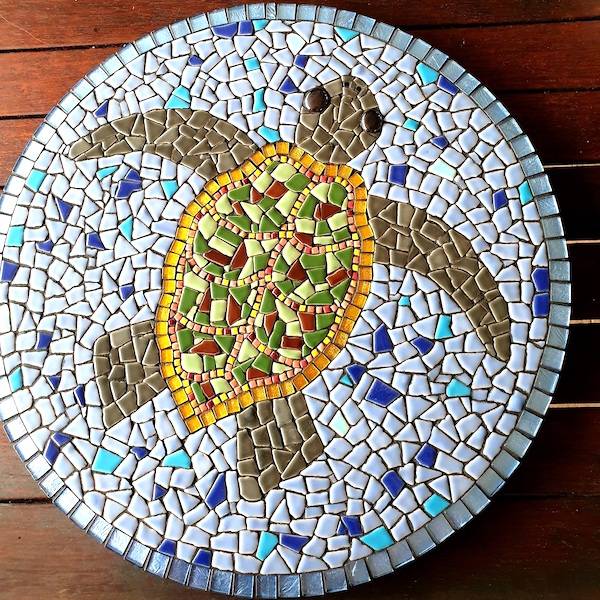
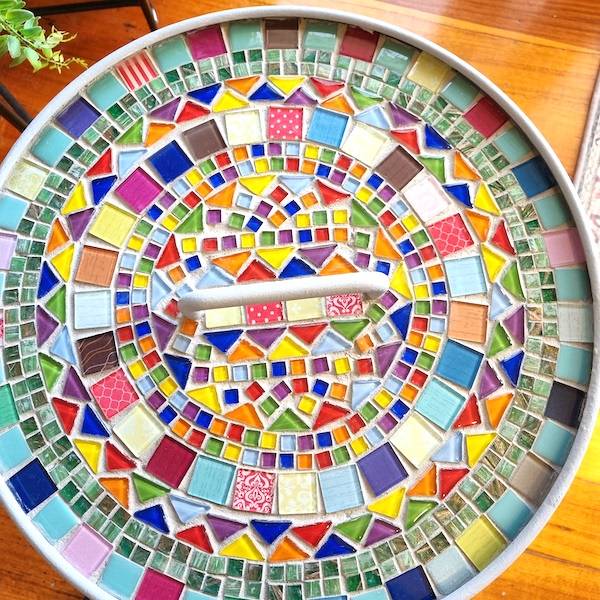
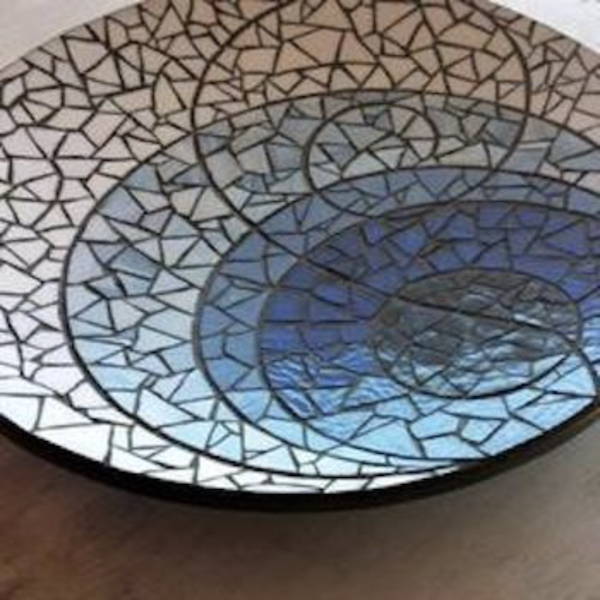
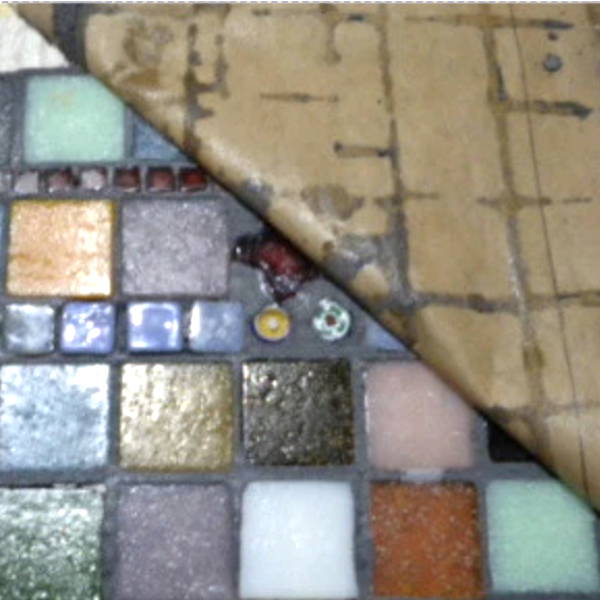
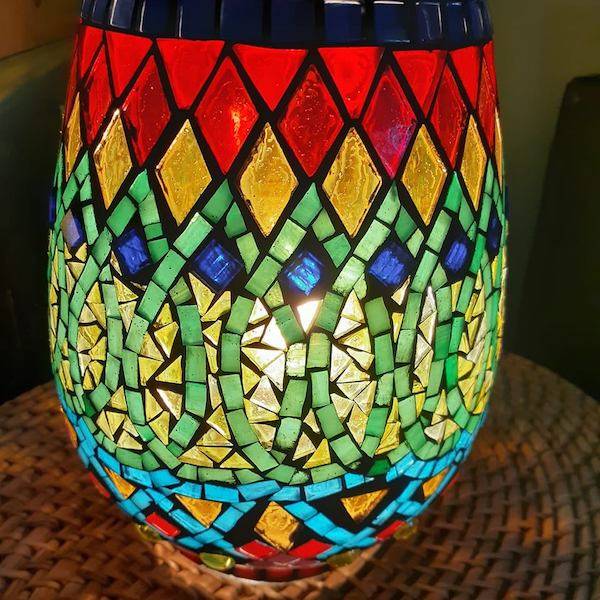
Explore our versatile Stained Glass Pieces, perfect for both indoor and outdoor use. Easily cut to fit any space, their unique shapes are ideal for creating backgrounds.
Materials Needed:
1. Stained Glass Pieces
-
- Choose from a variety of colours and textures to add visual interest to your mosaic.
- You can purchase pre-cut stained glass pieces or cut your own using glass-cutting tools.
2. Substrate/Base
-
- Use a sturdy base for your mosaic, such as wood, MDF (Medium-Density Fibreboard), or cement board.
- Ensure that the surface is smooth and clean before starting.
3. Adhesive
-
- PVA or cement based adhesive is commonly used. Choose an adhesive suitable for glass and your substrate.
4. Grout
-
- Select grout that complements your design. Coloured grouts can enhance or change the overall appearance.
5. Safety Gear
-
- Safety glasses and gloves are essential when working with stained glass to protect yourself from sharp edges.
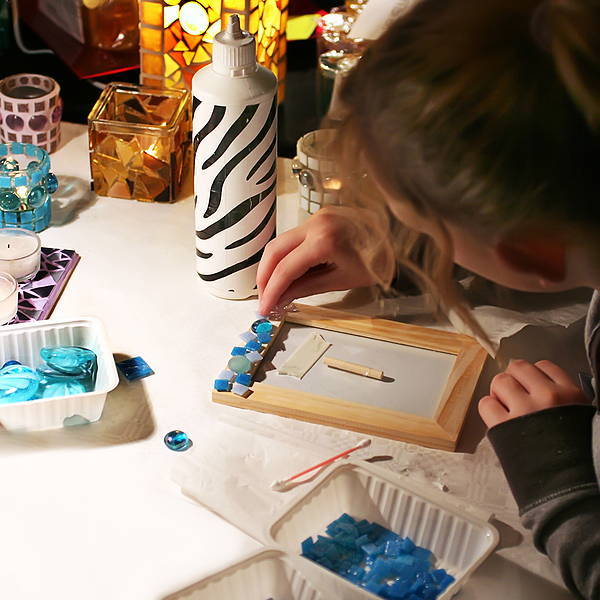
Steps:
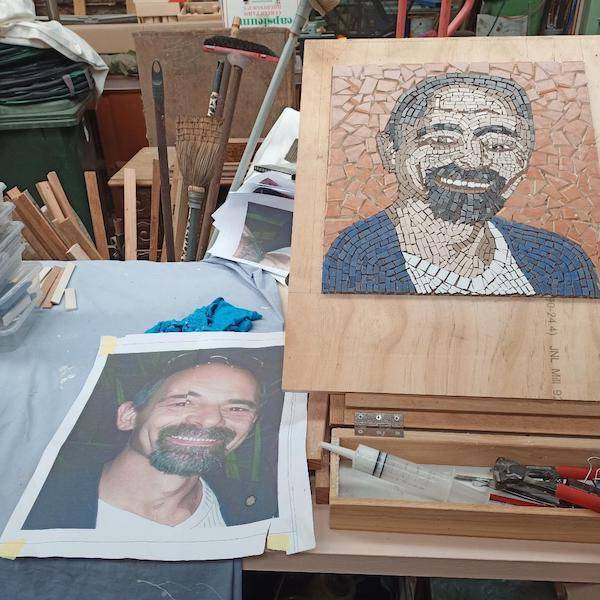
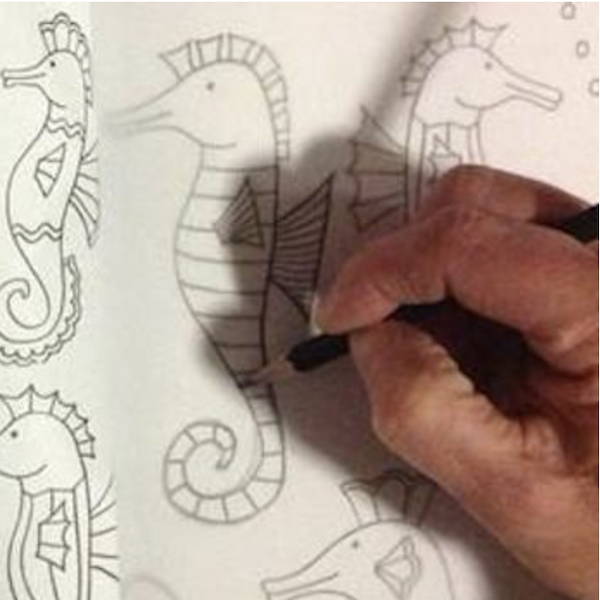
1. Design Planning:
-
- Plan your mosaic design on paper before starting. This helps you visualise the layout and determine the placement of different coloured glass pieces.
2. Prepare the Surface:
-
- Clean the substrate to remove any dust or debris.
- If you're using a wooden base, you may want to seal or prime it to prevent warping or damage.
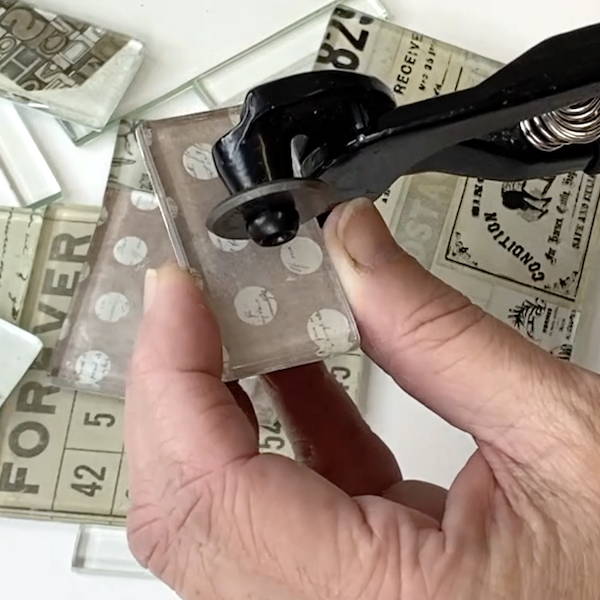
3. Cutting Stained Glass:
-
- If you need to cut stained glass pieces to fit your design, use glass-cutting tools. Always wear safety glasses and gloves.
- Score the glass along the desired cut line and then snap it along the score line.
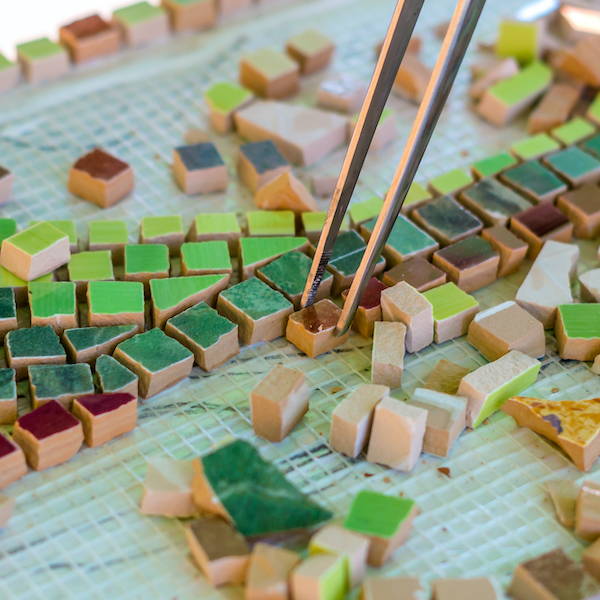
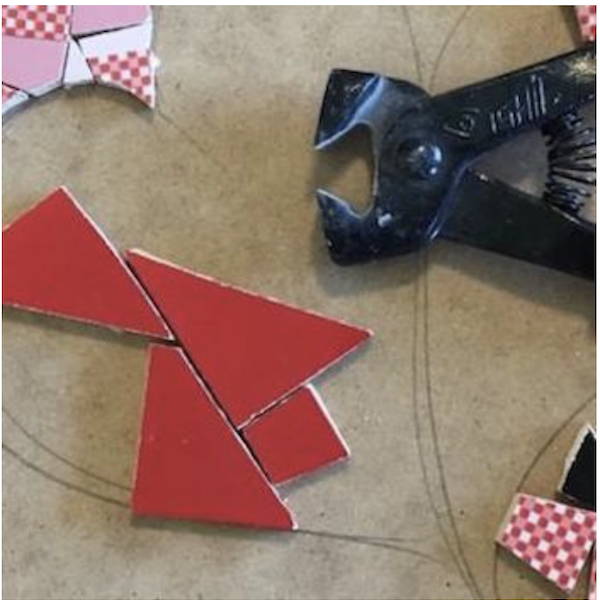
4. Arranging the Pieces:
-
- Arrange the stained glass pieces on the substrate according to your design.
- Leave a small gap between each piece to account for the grout lines.
5. Adhering the Pieces:
-
- Apply the mosaic adhesive to the back of each stained glass piece and press them onto the substrate.
- Follow the adhesive manufacturer's instructions for drying times.
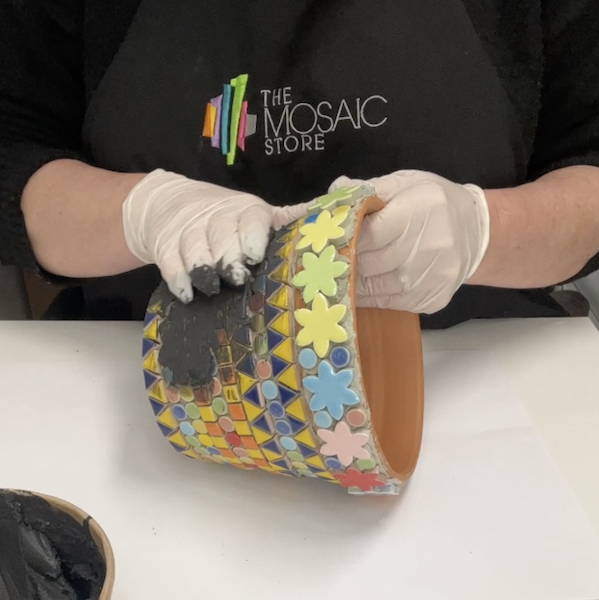
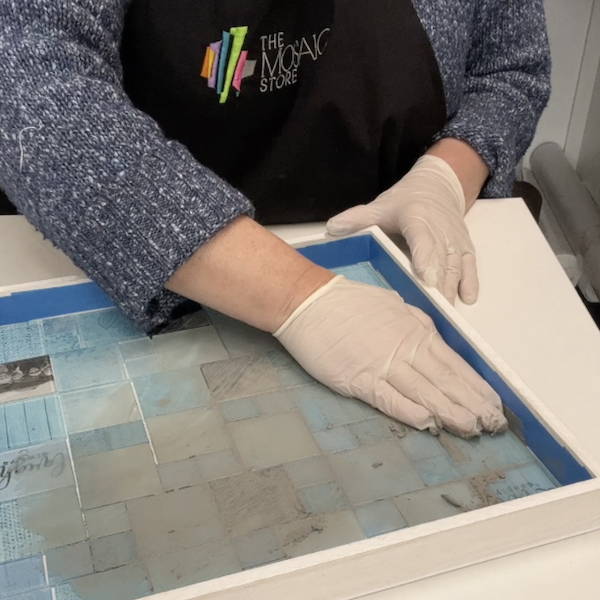
6.Grouting:
-
- Once the adhesive is fully dry, apply grout to the entire mosaic.
- Press the grout into the spaces between the glass pieces, ensuring they are completely filled.
- Wipe off excess grout from the glass surface with a damp sponge.
7. Cleaning and Sealing:
-
- Clean the mosaic surface thoroughly after the grout has set, usually after 24 hours.
- Optionally, apply a sealer to protect the grout and enhance the colours of the stained glass. Wipe grout sealer off the glass before it dries with a damp cloth.
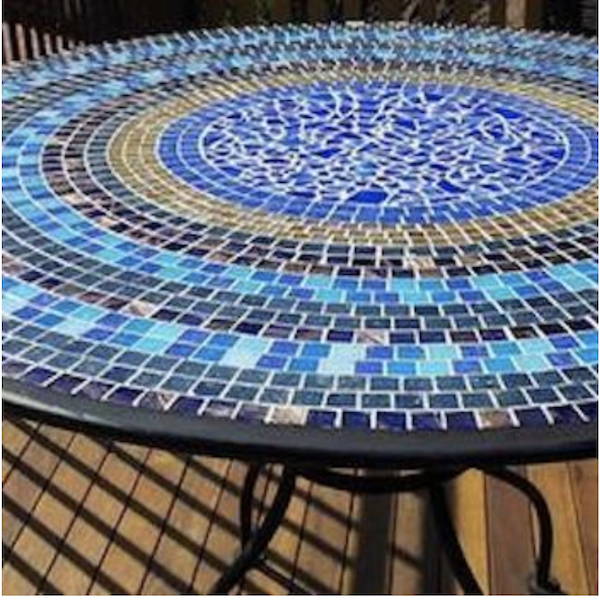
8. Finishing Touches:
-
- Check for any loose or uneven pieces and make necessary adjustments.
- Once everything is dry and set, your stained glass mosaic is ready for display.
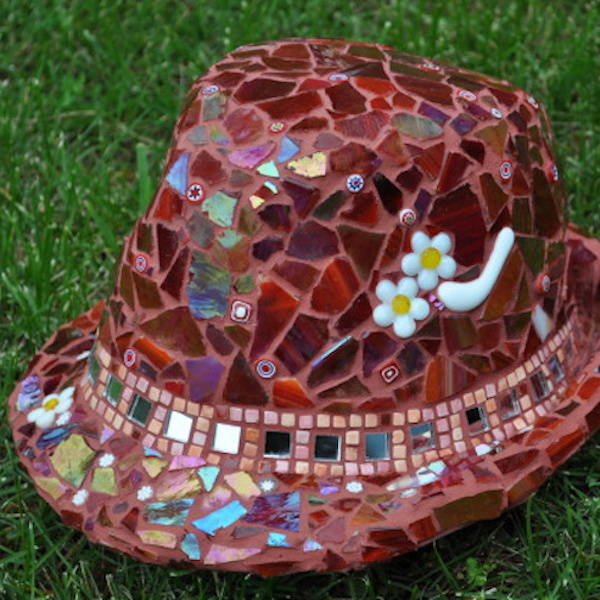
Remember to experiment with different colours, shapes, and textures to create a visually appealing and personalised mosaic.