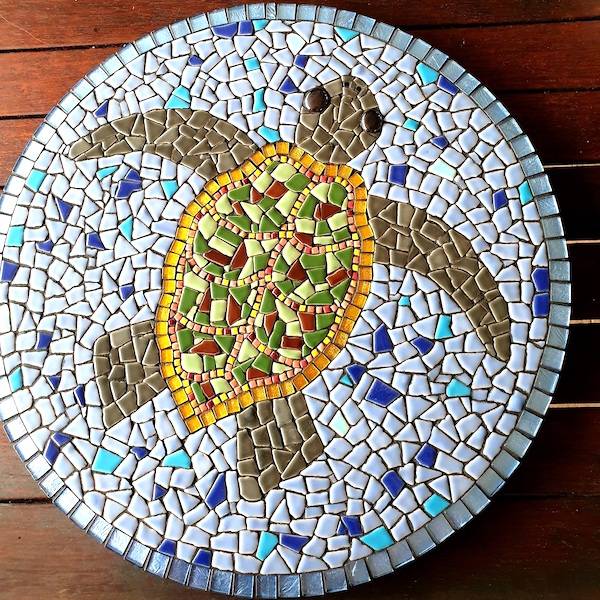
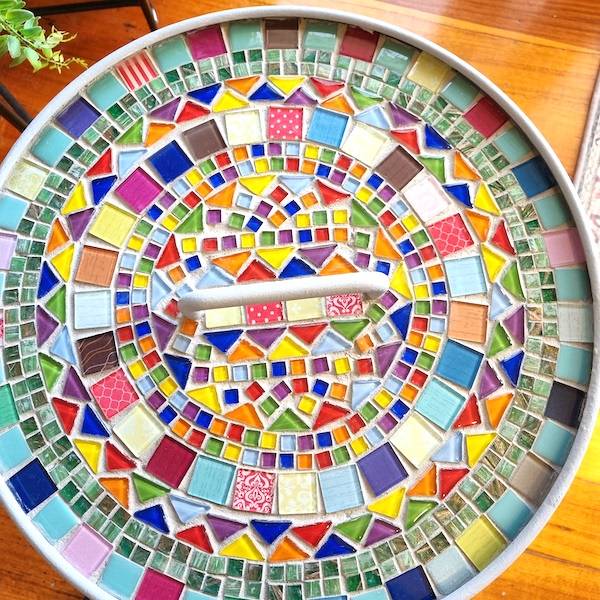
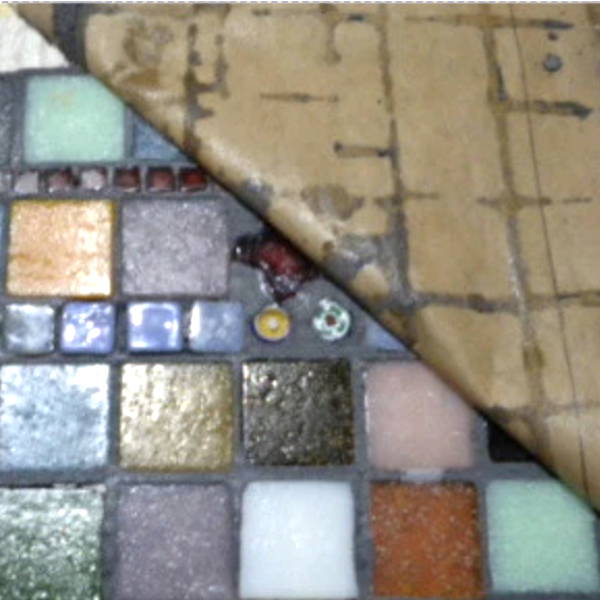
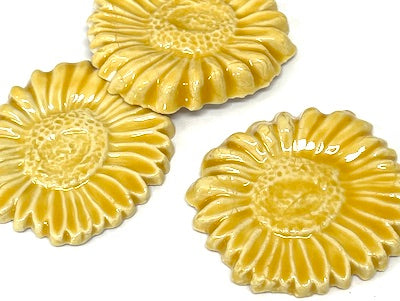
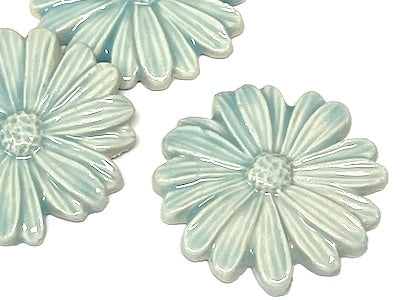
This is a common question as tiles vary in thickness. It's not a problem when making a mural, pot or decorative piece, but is challenging when creating a tabletop, which requires a flat surface.
There are two techniques you can use to overcome this problem.
Technique 1
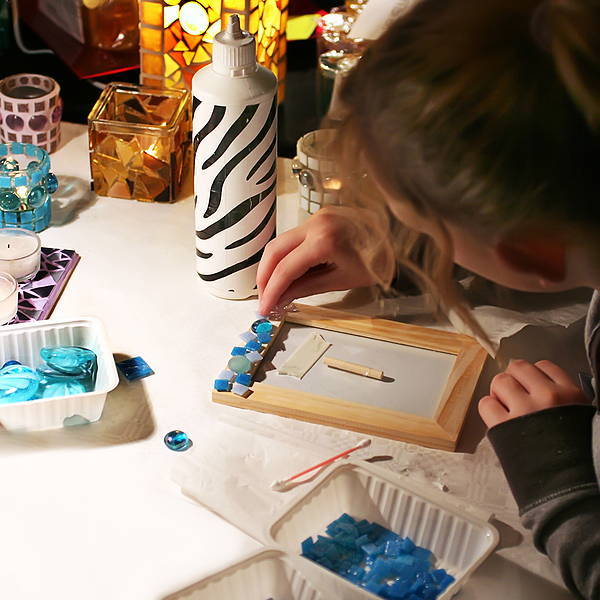
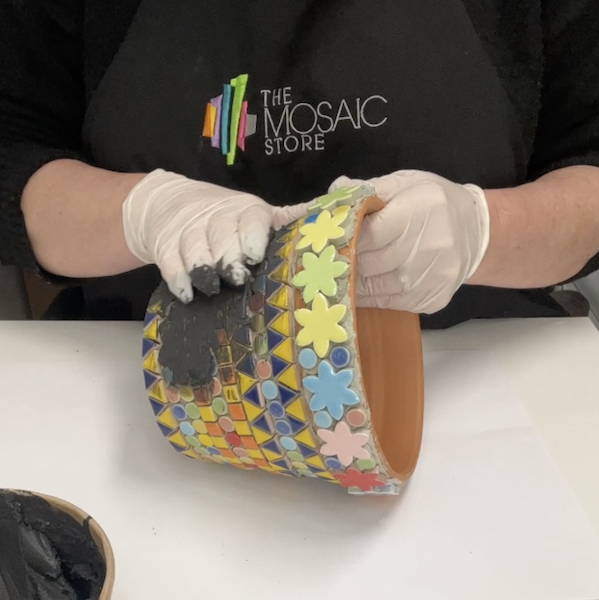
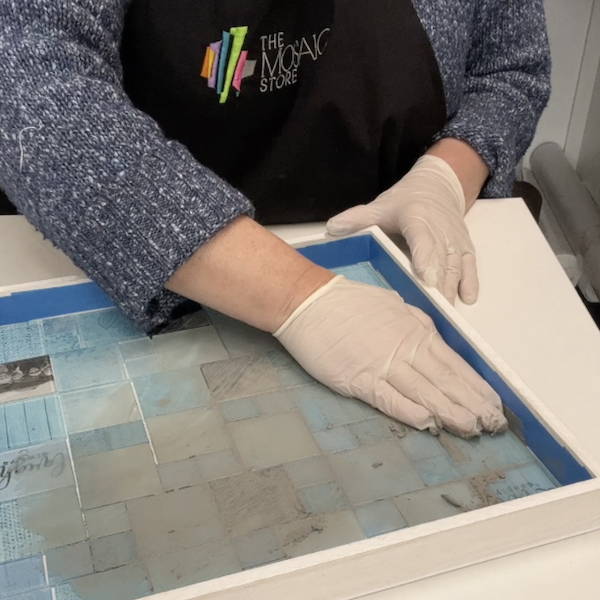
This technique uses the direct method of mosaics, adhering your pieces directly onto the surface, and different adhesives to 'build-up' the thickness of your tiles/tesserae.
Steps:
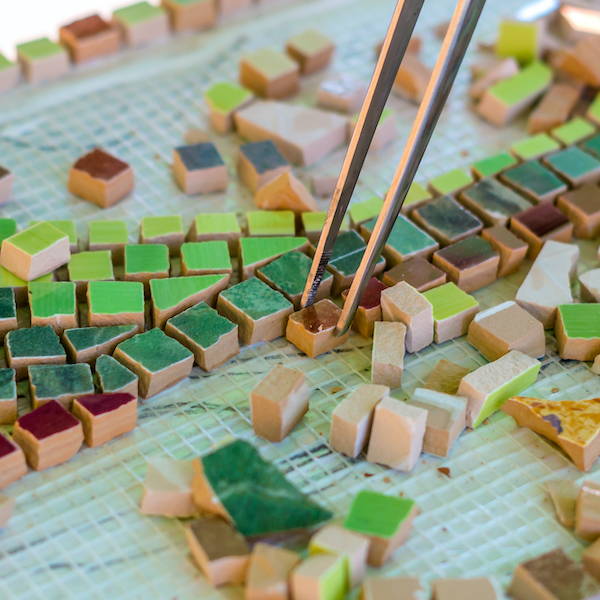
1. Select your tiles and tesserae and separate them into the different thicknesses.
2. Lay your thickest tiles first, these will be used as your guide.
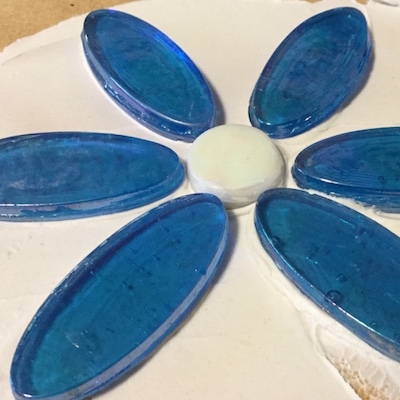
3. The thinner pieces are then built up in height using cement-based adhesive. Butter the tile's back with the cement-based adhesive and pressed down onto the mosaic surface using a level (or press) to the thickest piece's height. The level can be a piece of wood or tile. It should be straight and slightly larger than the area you are working on. Apply moderate pressure to the level to press the pieces into the adhesive to the thickest piece's height. How much cement-based adhesive do I apply to the back of the tile? This will involve a bit of trial and error, too much adhesive and it will ooze out the sides requiring a clean up (with a small tool). Too little and the piece won't be correctly applied, requiring you to re-adhere the piece.
 1300 320 392