1300 320 392


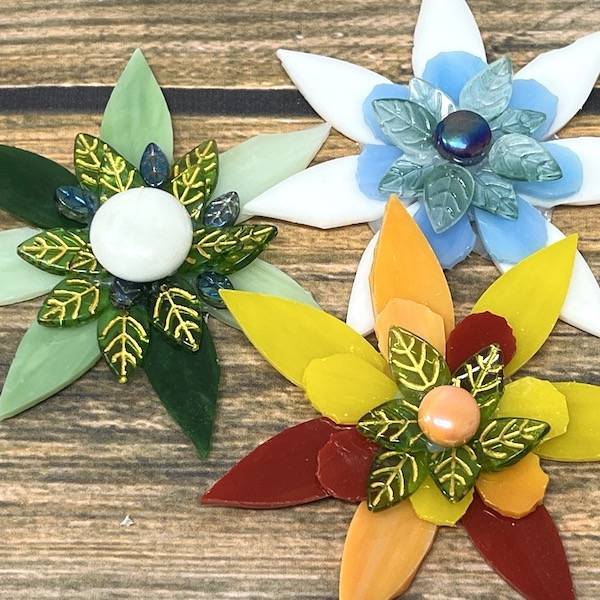
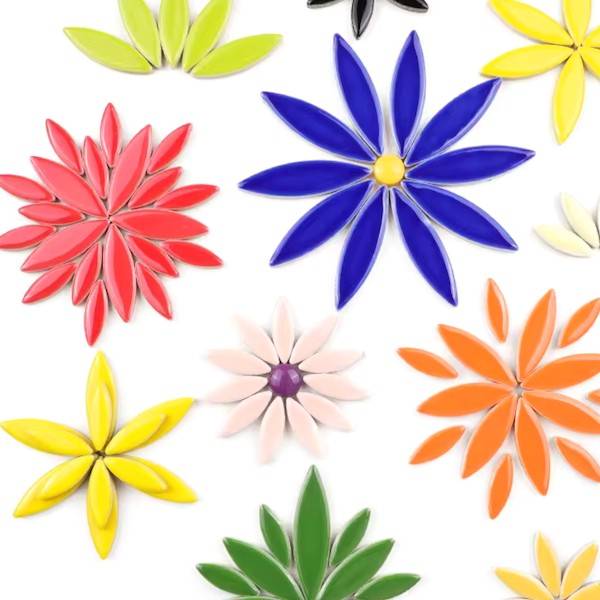
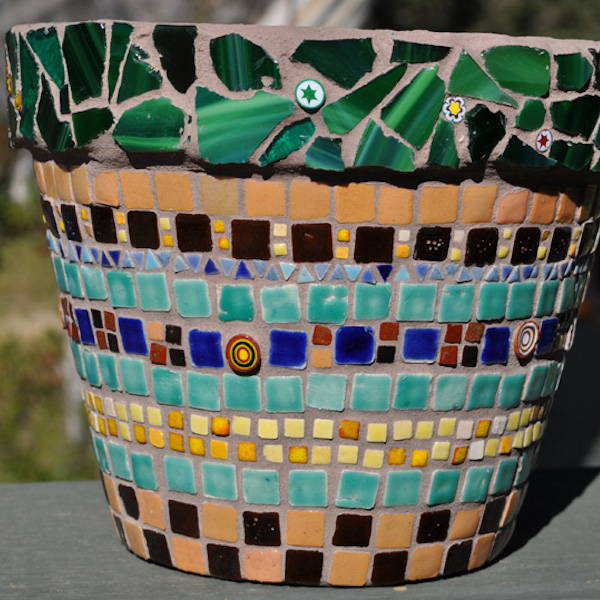
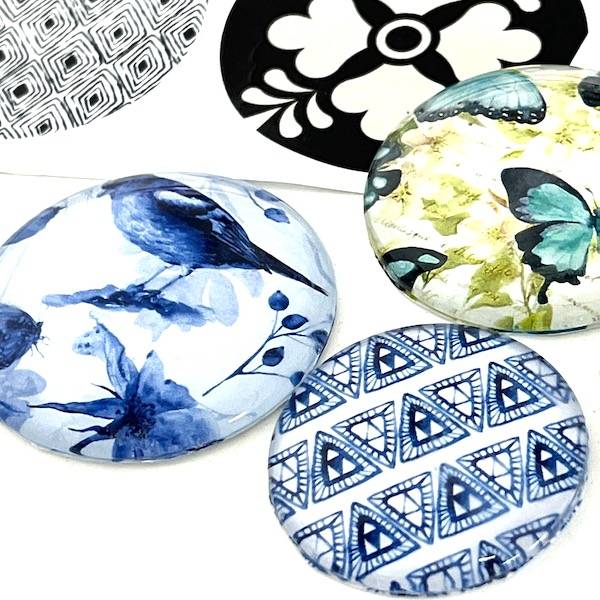
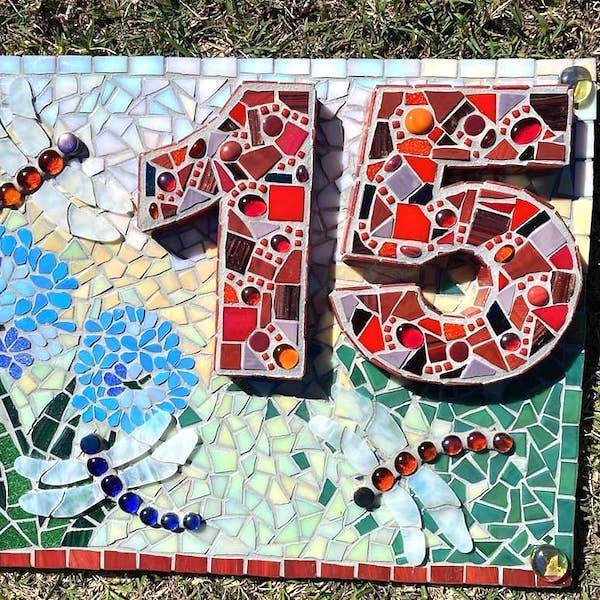
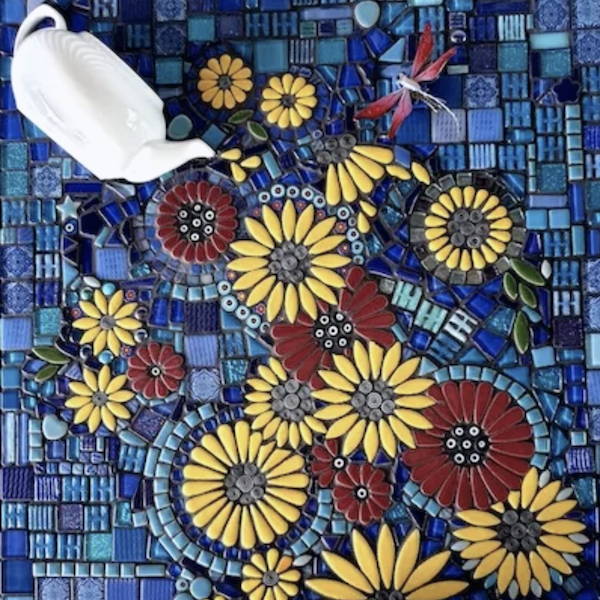
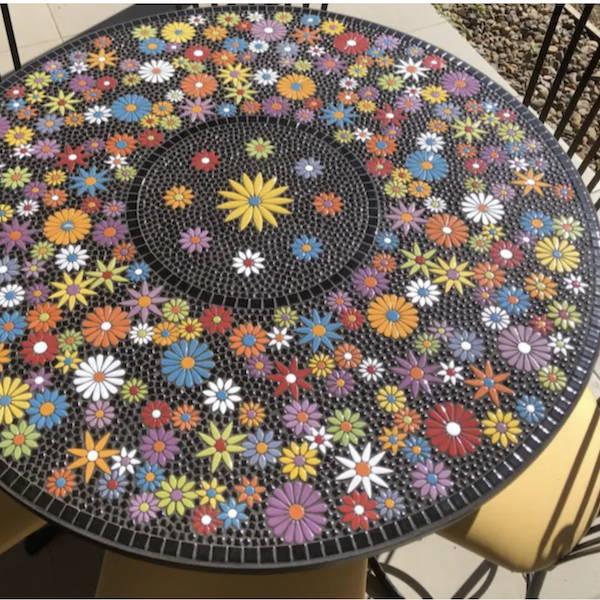
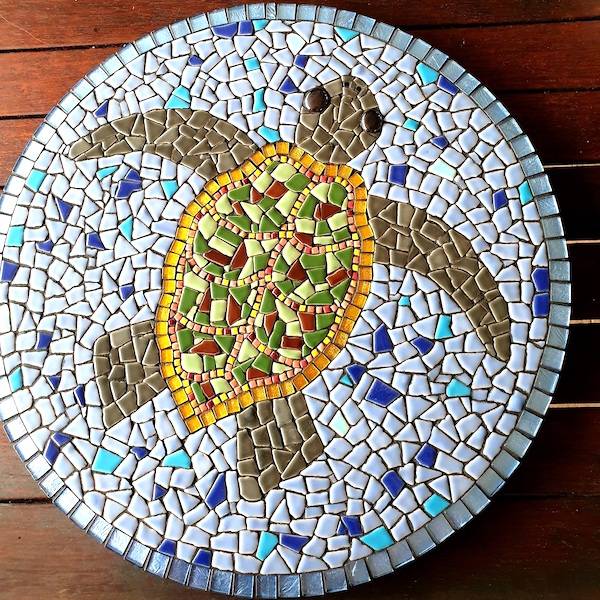
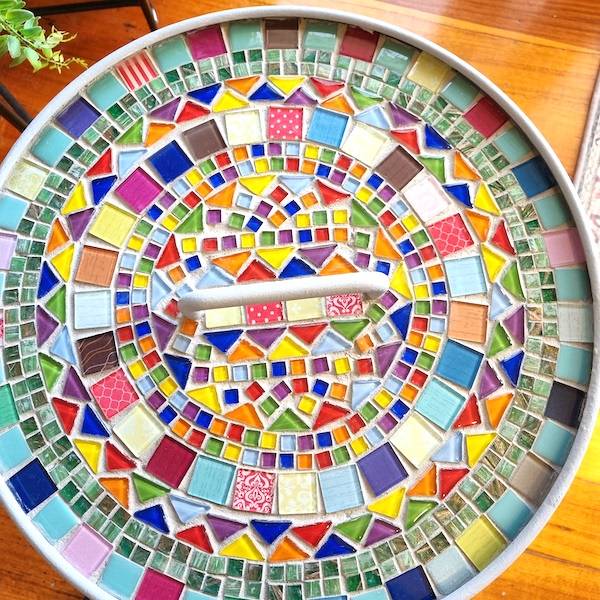
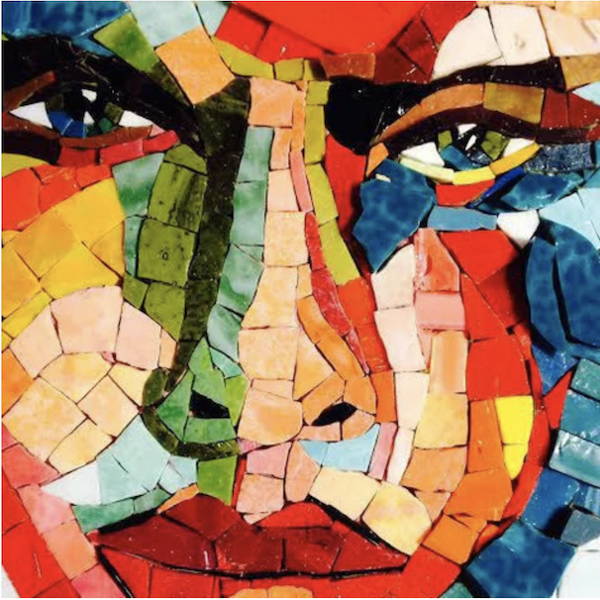
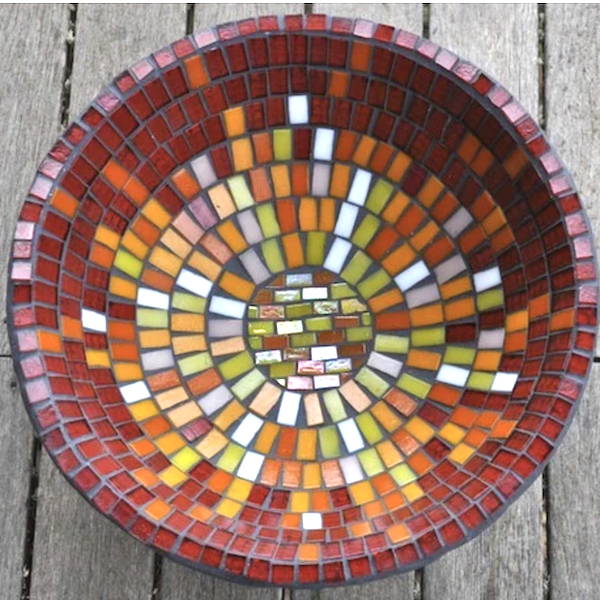
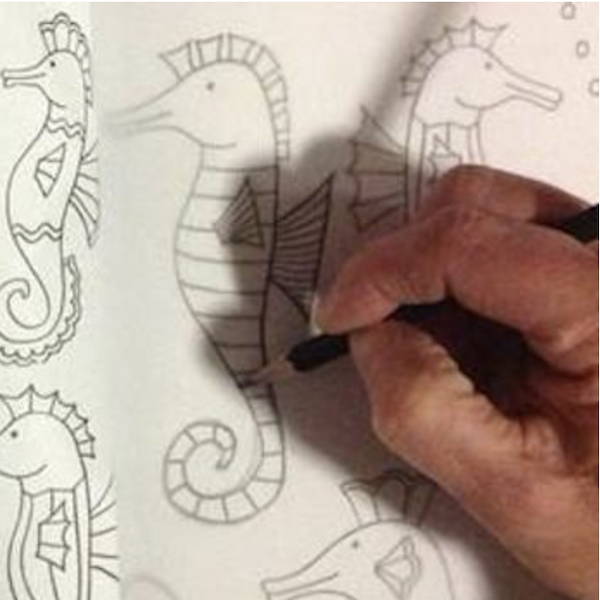
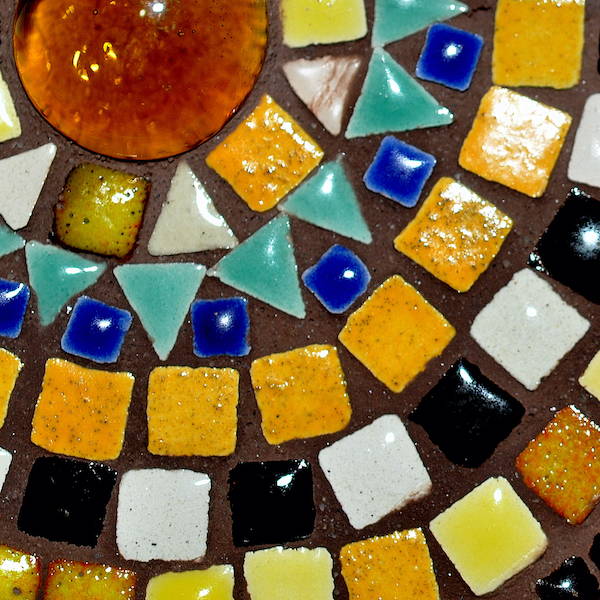
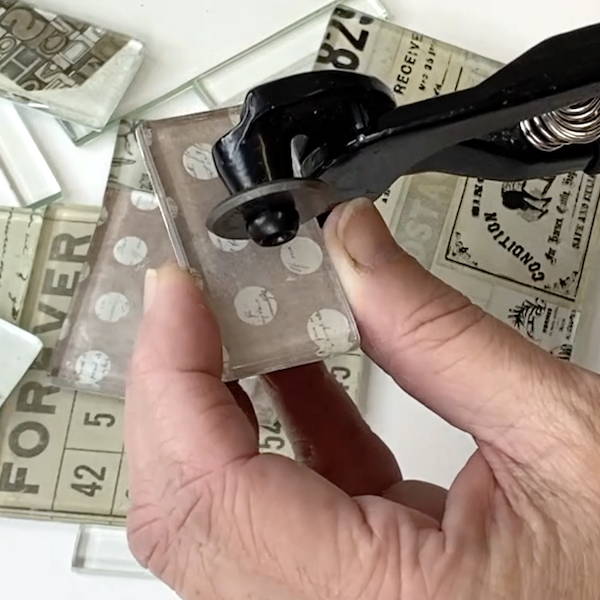
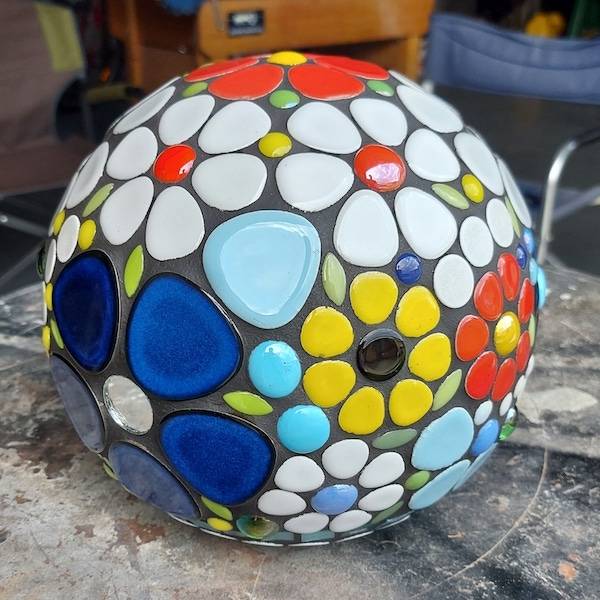
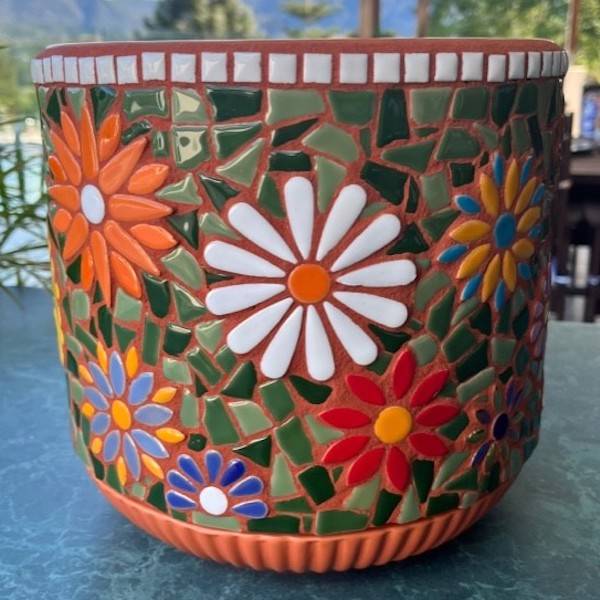
This article demonstrates just how easy it is to make your own picture tiles. They are a fantastic way to incorporate special memories, words or designs into your projects. You can really let your creativity go wild these tiles. Other ideas include making your own glass pendants, magnets or special decorations to hang from the Christmas tree.
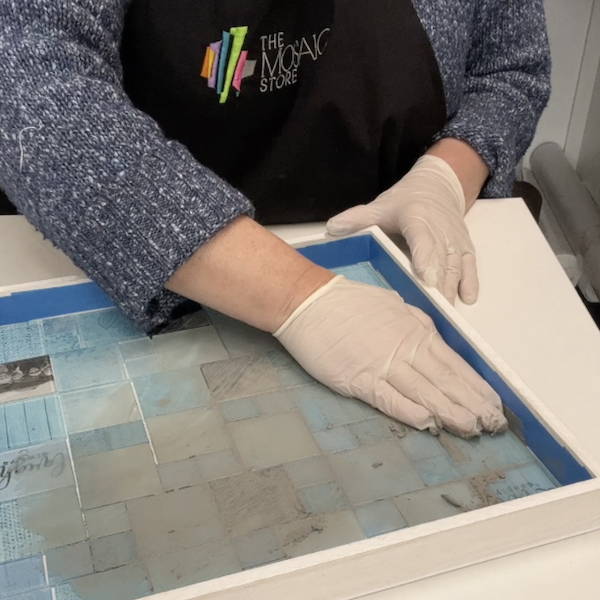
Materials
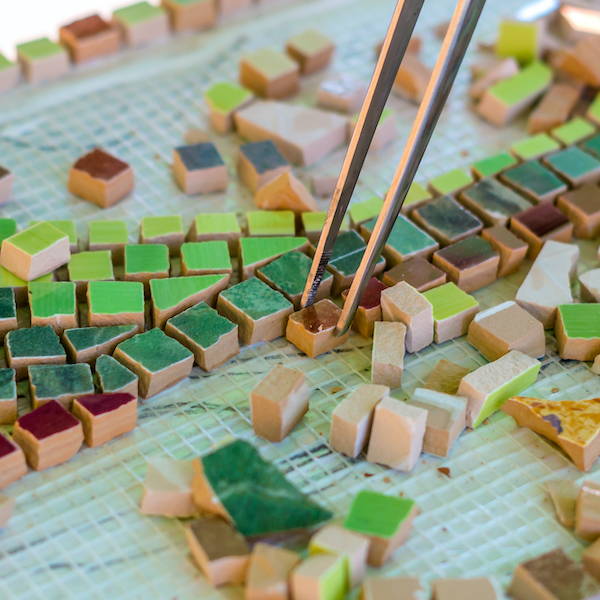
- Clear Glass Tiles
- Scissors or sharp craft knife
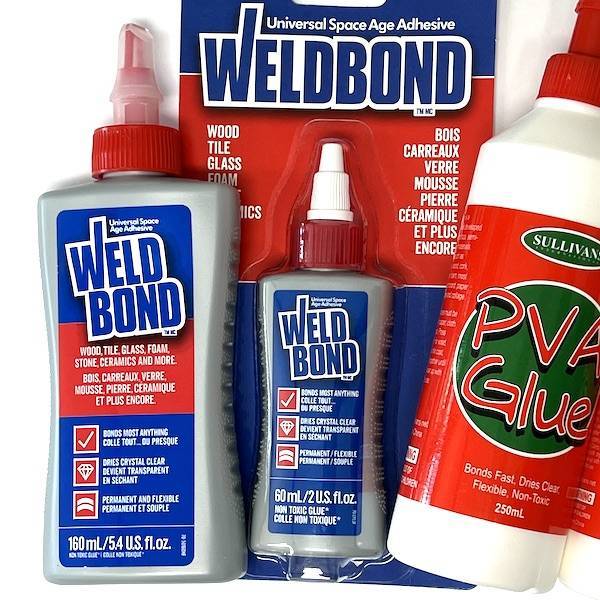
- Good quality clear drying PVA adhesive
- Image to adhere to tile (make sure the quality is good)
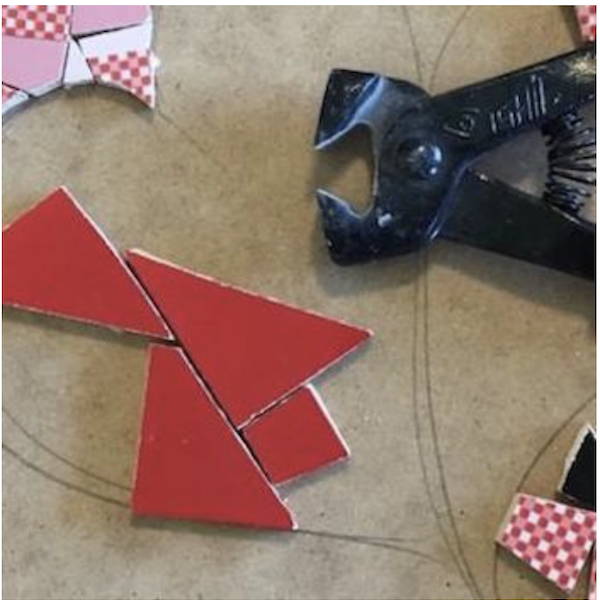
- Rotary Wheel Nipper - to cut the tiles (optional)