1300 320 392


Tip 1
In a hurry to finish your mosaic? Avoid being tempted to use a hair dryer or place your mosaic in front of a heater. The adhesive needs time to cure correctly; speeding up the process may weaken it. Cure time refers to the time it takes for the chemical bond to activate and strengthen.
Tip 2
When making a mosaic, occasionally stop, stand away from the mosaic and squint your eyes. This will reduce the detail you see and possibly reveal design flaws or imbalances. It will also help you to get a better sense of the colours.
Tip 3
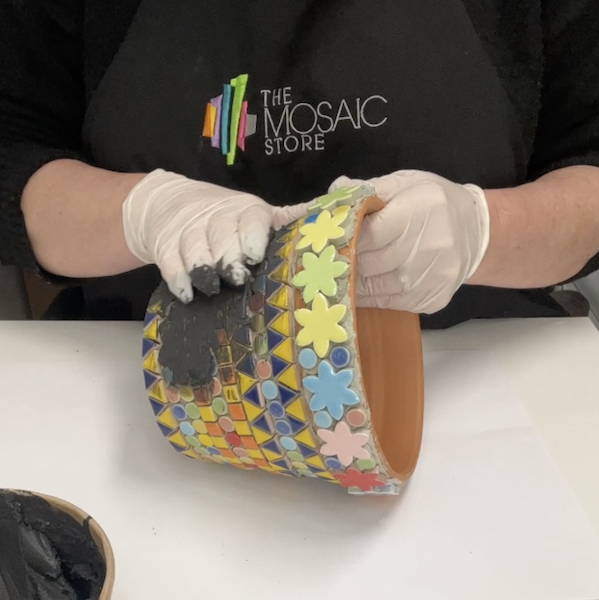
If you lose some tiles during the grouting process, you will have to re-glue them, don't simply rely on the grout to hold the piece. Grout has no adhesive qualities. The correct method is to clean the mosaic and the area from where it came, re-glue the tesserae and re-grout after the adhesive has dried.
Tip 4
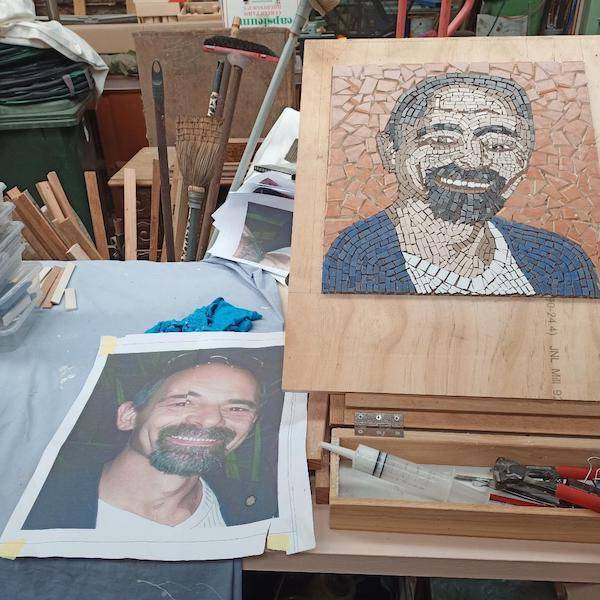
Create an inspiration file. Start collecting images or ideas that you come across. Sources of inspiration can include photos from magazines, photos you've to take or even pieces of gift wrapping paper. If surfing the internet, create a favourite directory of the website images that inspire you.
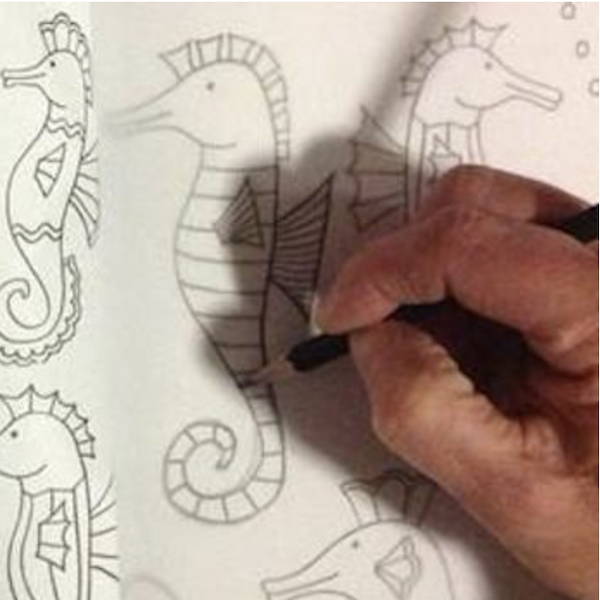
Tip 5
Need help simplifying a design? Trace your design onto tracing paper using a thick pen; this will stop you from adding too much detail. Repeat the process if you need to refine your design further.
Tip 6
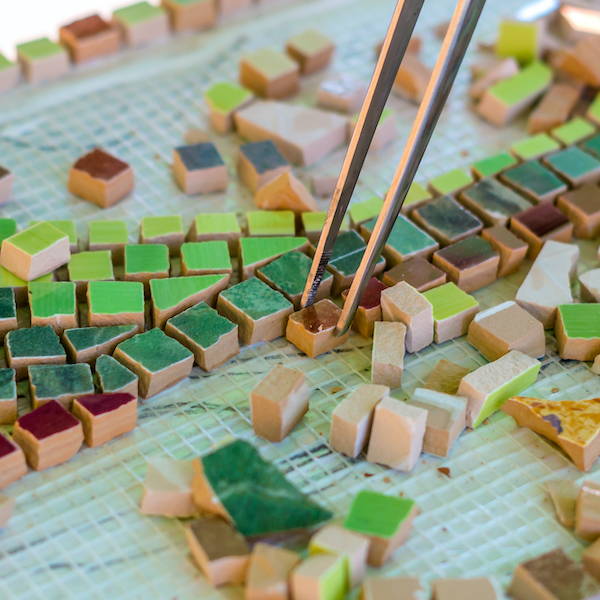
Clear plastic party cups come in handy for mixing grout and adhesive. Not only are they cheap and disposable, but because they are see-through, you can make sure all the powder is mixed thoroughly. Before you grout your project, put a small amount of dry grout in a plastic bag and label it with the project's name. This will come in handy if you need to do touch-ups or repairs later.
Tip 7
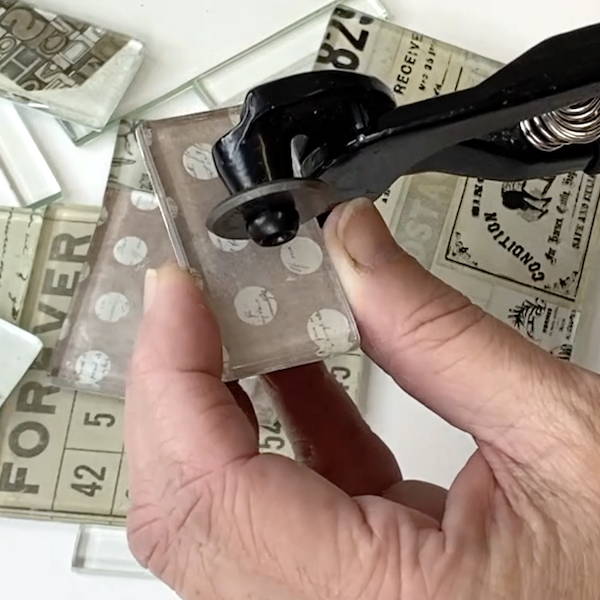
To get a longer life from the wheels of your nippers, rotate them periodically. Before you start using your nippers, get a permanent marker and draw a line where you first start using them. You will eventually return to the line as you rotate them, which will signal its time for new wheels. Doing this will give you a sharp cutting edge and increase the blade's life.
Tip 8
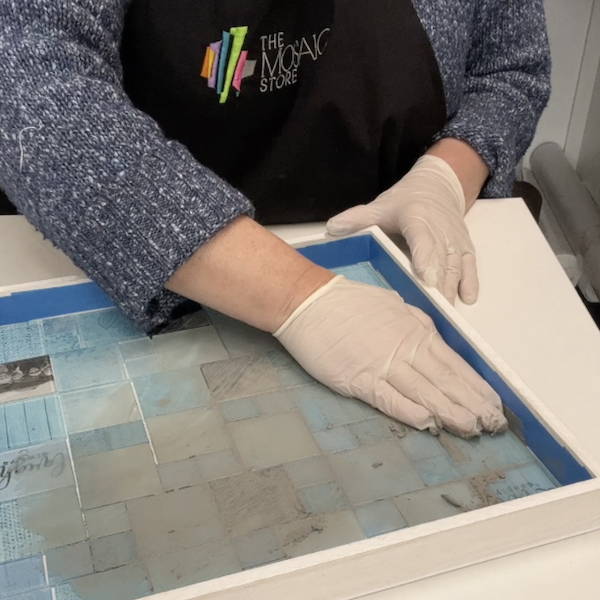
Using masking tape, you can protect the edges and bottom of your base from grout. Tape up the edges before grouting and remove them after you have grouted and cleaned the mosaic.
Tip 9
When applying adhesive, make sure you clean off any excess when you've finished for the day. If you don't, the next time you start to work, you'll find that you're laying your tiles on an uneven base.
Tip 10
Removing dried Grout - If you have a project where you've left the grout on too long and it has set hard, try using a wire pan scourer and soapy water to remove it.
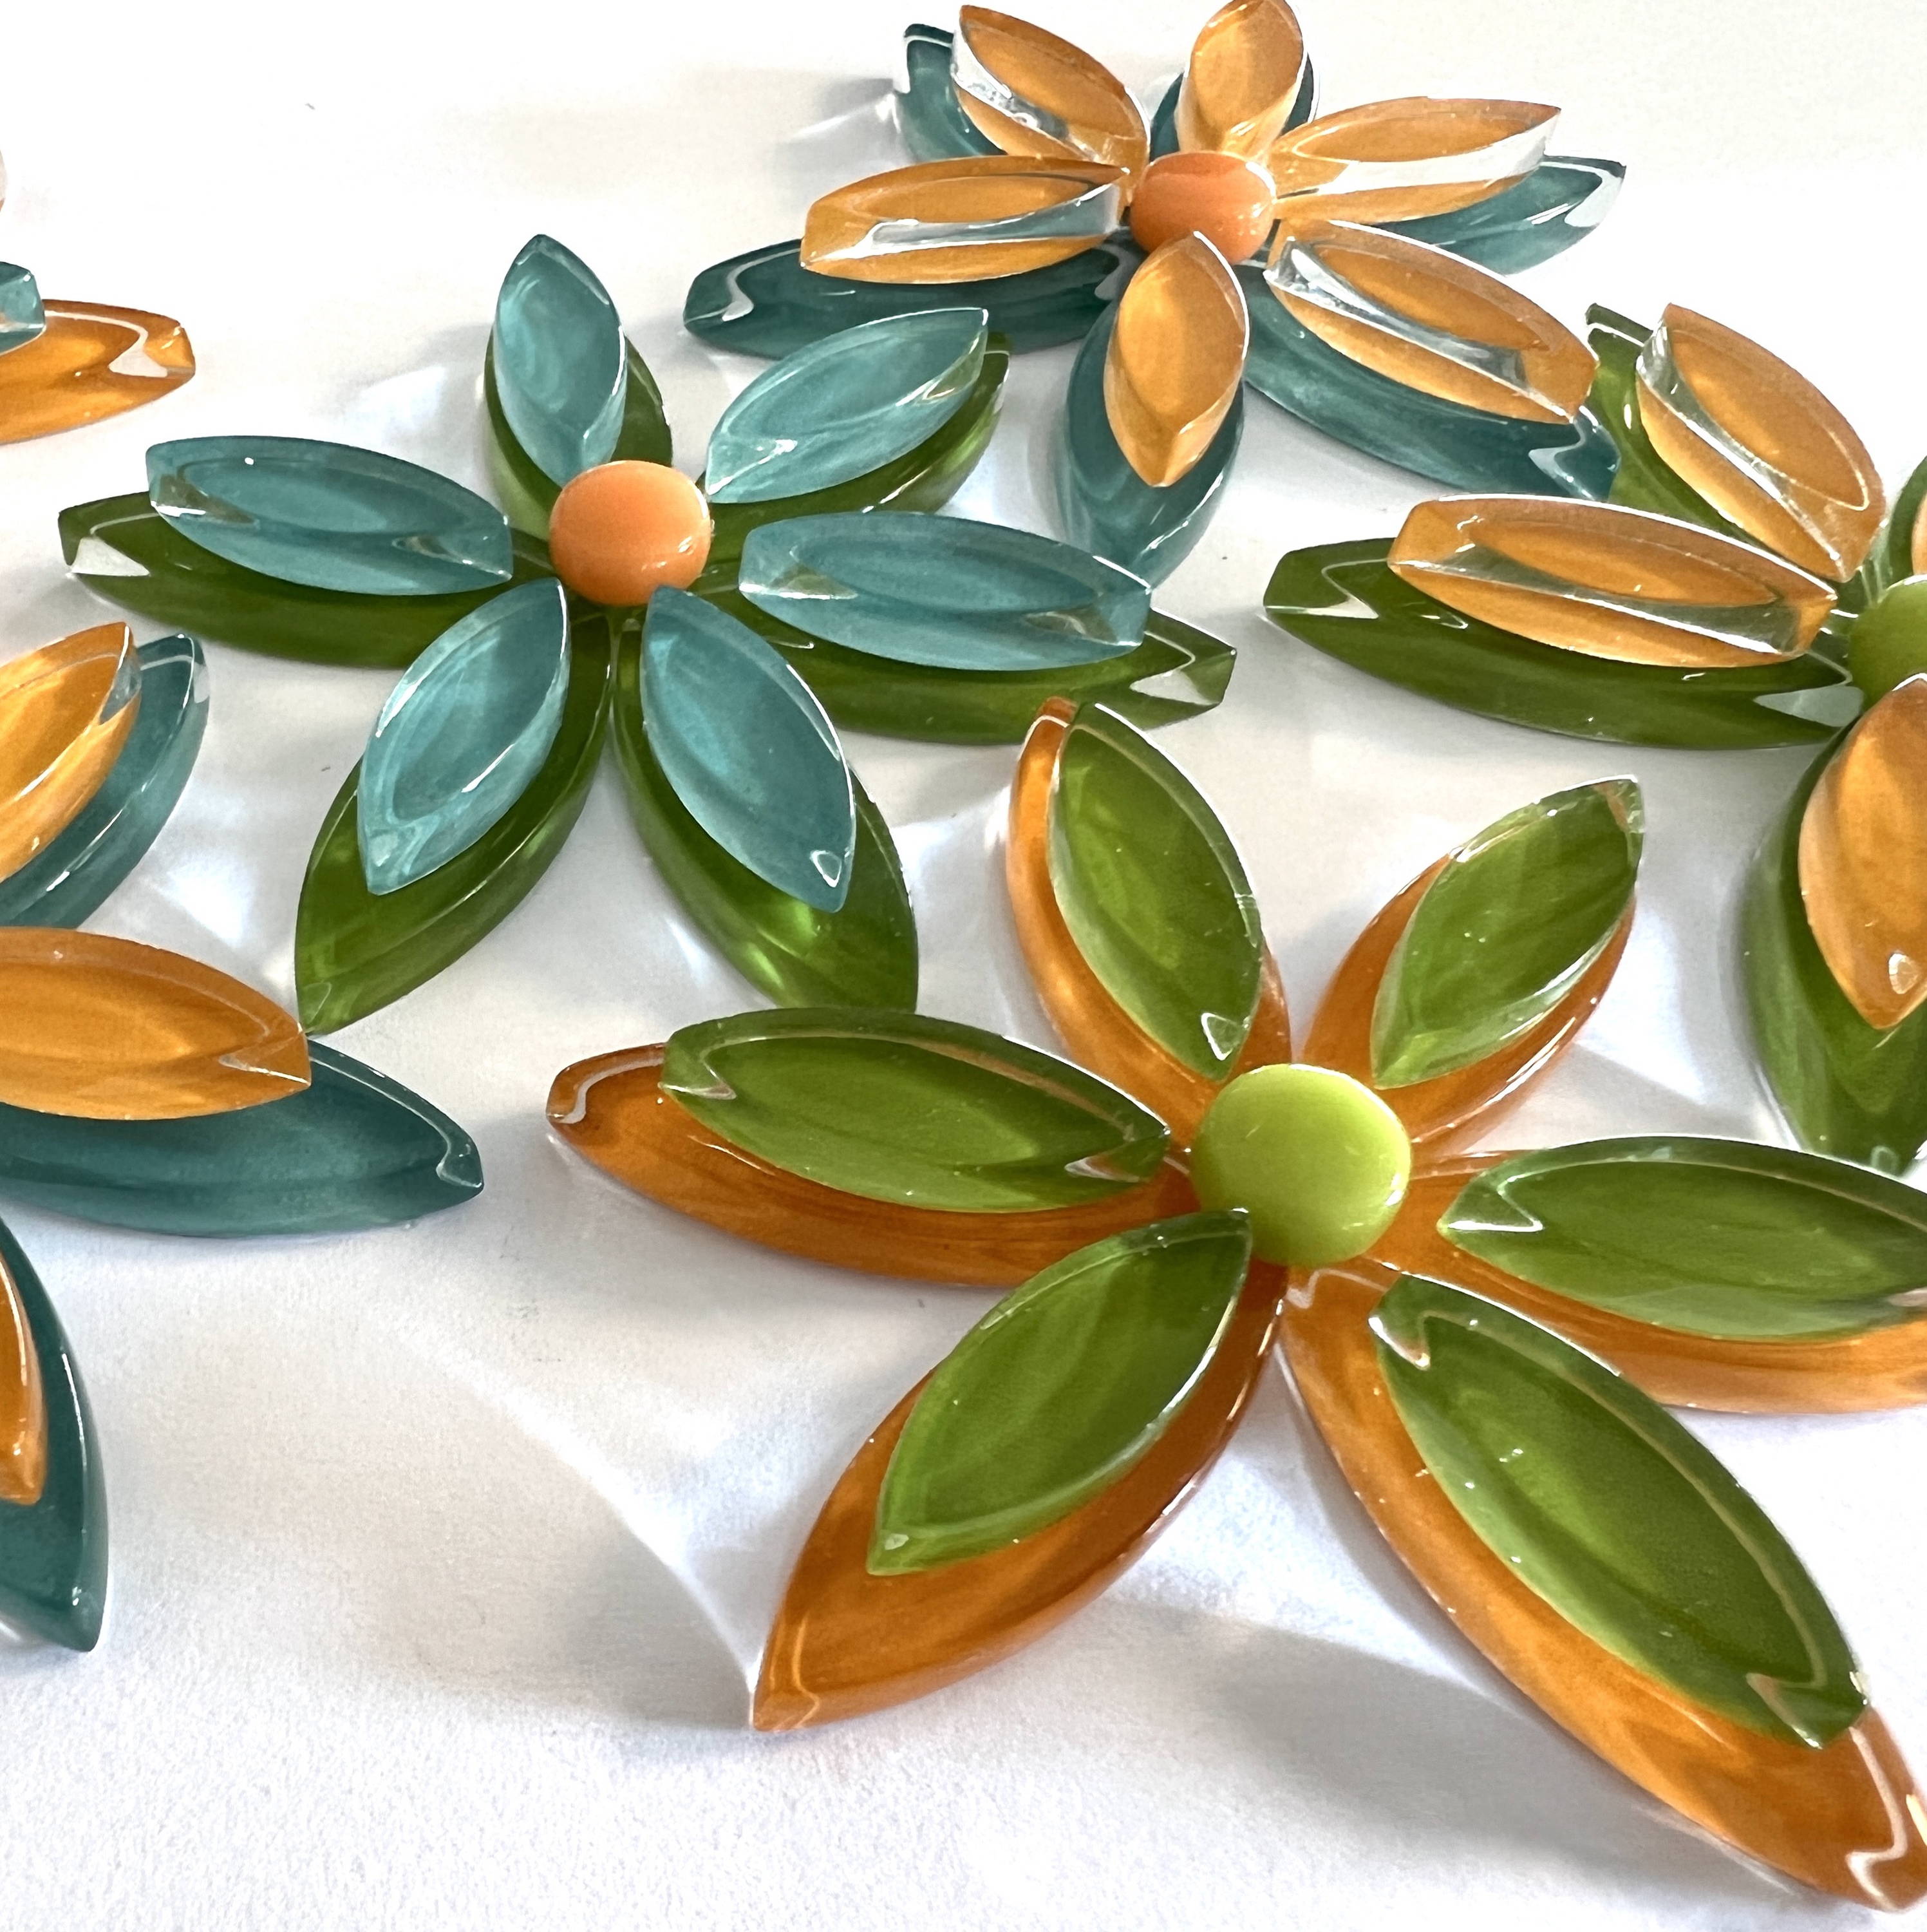
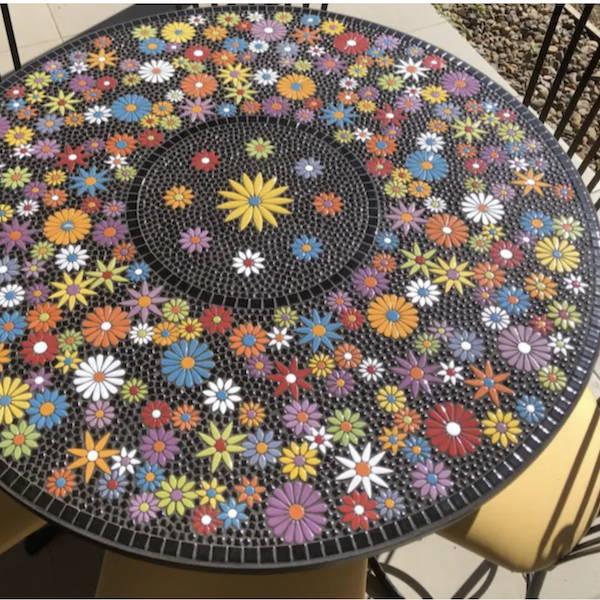
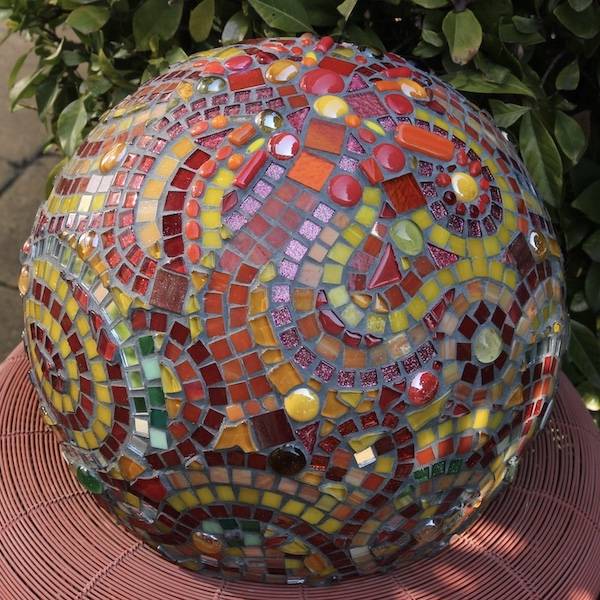
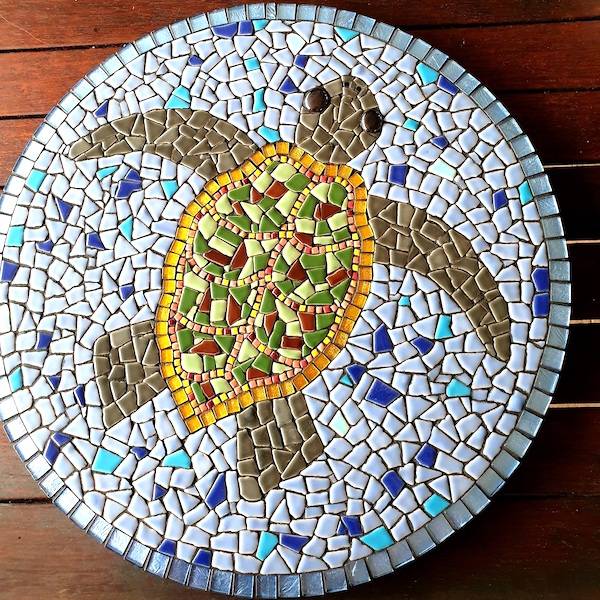
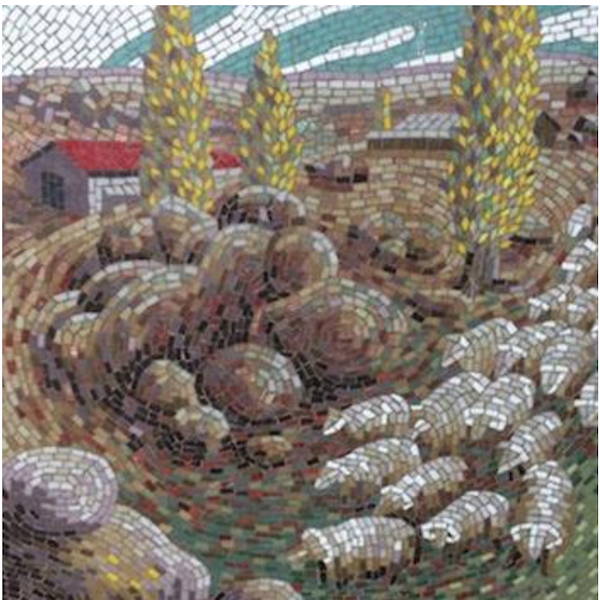
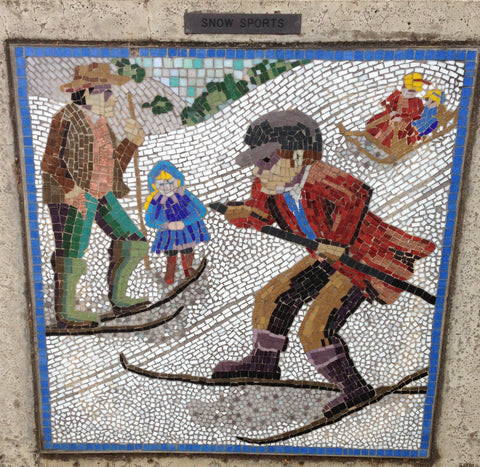
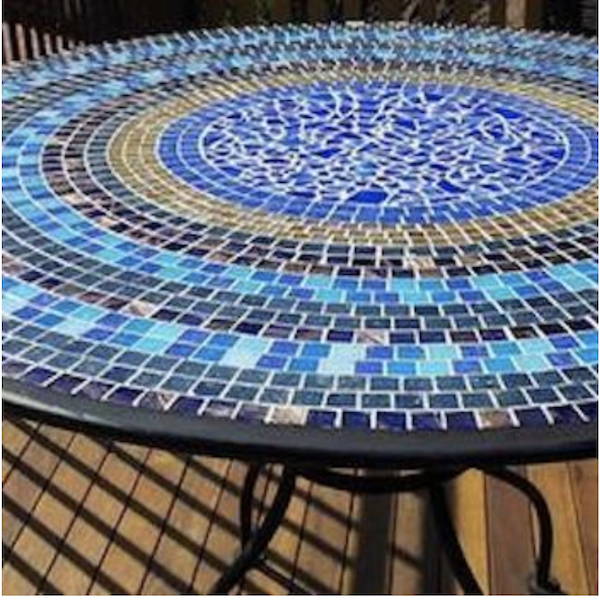
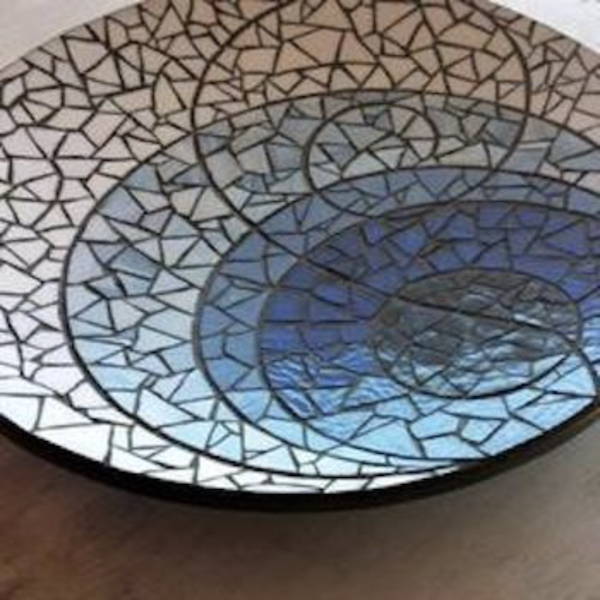
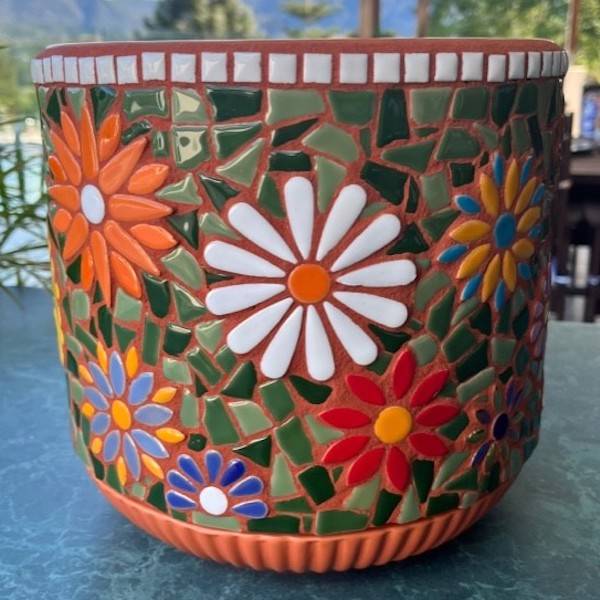
Julianne Austin made the gorgeous featured mosaic.