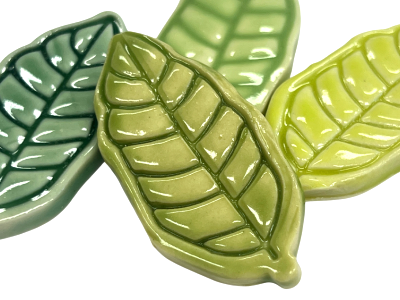
img img img img

Mon, Jan 20, 2014

How To Make A Mosaic Stepping Stone

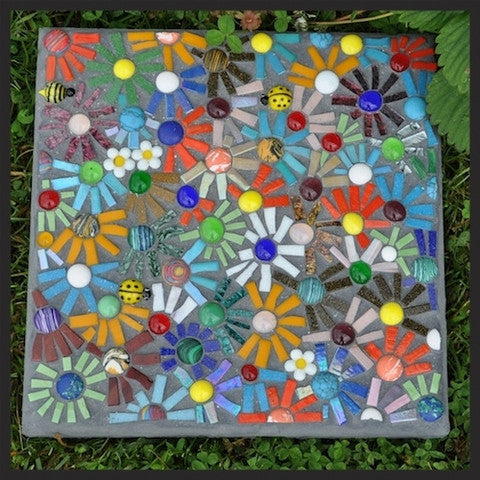
I often get asked how to make a mosaic stepping stone, so in today's 'How to Mosaic' I'm detailing the process involved. There are two techniques for that can be used; these are the indirect and direct method of mosaics. The indirect method involves embedding the tiles into the stepping stone, whereas the direct method involves adhering the tiles to the top. The direct method is the one I will be focusing on today.

To give you a better idea, below is a photo of a mosaic stepping stone I made a few years ago using the direct method. Sadly the beautiful glass shapes pictured are no longer available (just in case you are interested in them!).


How to Make A Mosaic Stepping Stone


Materials Required:

  • Mosaic tiles
  • Tile cutter or wheeled nippers (depending on if you are using ceramic or glass tiles)
  • Garden paver 
  • Waterproof cement based adhesive
  • Sealer - You can use grout additive as the sealer
  • Grout + grout additive (improves the flexibility of the grout)
  • Tools & supplies 
  • ​Mixing adhesive – Container & implement for mixing
  • Applying adhesive – Paint brush or palette knife
  • Grouting – Container for mixing grout, implement for mixing grout, container for water, sponge or cloth, gloves.

Instructions:

  1. Prepare your paver by sealing it. This is necessary as pavers are porous which if not sealed would result in the grout to dry and potentially crack.
  2. Plan your design & transfer onto paver. The outline of the design is adequate for making a mosaic.
  3. Pre-cut mosaic tiles
  4. Spread adhesive onto mosaic base with either a paint brush or palette knife, you are creating a bed of adhesive which the tiles are then stuck into. Apply adhesive in small sections as if the adhesive dries out it will need to be removed and reapplied.
  5. Place mosaic tiles into the adhesive
  6. Allow the adhesive to cure for 24 hours prior to grouting
  7. Remove any excess adhesive from the top of the tiles. Any adhesive level with the tiles will show through the grout so it needs to be removed. A sharp thin implement will be required.
  8. Grout the mosaic, see the ‘Beginners Guide to Grouting’. We recommend adding grout additive to the grout
  9. in a ratio to water of 50/50.

Legal Disclaimer: No warranty is implied by these instructions. Use at your
own risk. The Mosaic Store and its proprietors are not responsible for the
results of any actions taken on the basis of this information, or for any
omission in the advice. Please wear appropriate safety equipment when
cutting mosaic materials and using grouts and adhesives. Always follow
manufacturers instructions, which take precedence over instructions
contained within this project. Keep out of reach of children.

NEW ARRIVALS

VIEW ALL
img

Colour Mix Gloss Glass Tiles 1cm

$5.50
VIEW ALL
img

Iridised Mix Crystal Glass Mosaic Tiles 1cm

$5.25
VIEW ALL
img

Light Green Glass Leaf Beads

$4.99
VIEW ALL
img

Green Glass Leaf Beads

$4.99
VIEW ALL