1300 320 392


There is a simple satisfaction in taking an object destined for a landfill and up-cycling it into a beautiful piece of mosaic art. This project walks you through the steps involved in taking an old bowl and up-cycling it through mosaics. This is an excellent beginner's project with the limited cutting of tiles.
Materials
- A ceramic bowl
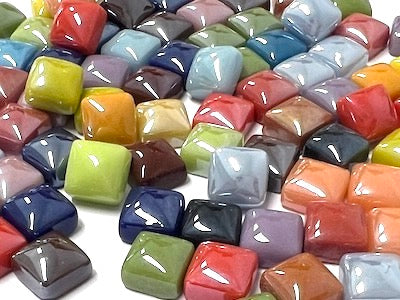
- A selection of 2cm Venetian and 2cm Iridised Glass tiles
- Cement based adhesive
- Slate grey grout
- Two-wheeled nippers
- A clean-up tool (for removing excess adhesive before grouting)
- Grout clean-up supplies - a container of water, sponge & cloth to buff the mosaic
- A permanent marker for drawing guidelines on bowl
DIRECTIONS