1300 320 392


The Memory Board project has a special place in my heart. My daughter is leaving home next month to attend university. Like many parents, I'm reflecting on where the time went and trying to savour all the memories. Since my children were born, I've collected little letters that they wrote to me, artworks from school and precious hand prints; it's all been tucked away in a rather large memory box. I pulled the memory box out the other week; so many memories that should be on display, not hidden away in the garage collecting dust. That was the start of my memory board project. It was a fantastic journey, going through the memory box, photocopying the memories, making the tiles then putting it all together into a mosaic.
I've outlined the steps below of how I created the memory board so that you can do the same. Celebrate life's important milestones with a memory board. It might be a wedding, a special birthday, or the birth of your child or grandchild. To make it easy, I've created a kit containing the tiles and supplies you need to make your own.
We have two different kit options available:
- Memory Board Kit (Deluxe) - This kit contains the premium board used to make this project and measures 40x50cm in size.
- Memory Board Kit (Standard) - This kit contains a 6mm thick MDF board and measures 30 x 40cm in size.
MATERIALS / SUPPLIES
- Rectangular Mosaic Base - 40 x 50 cm
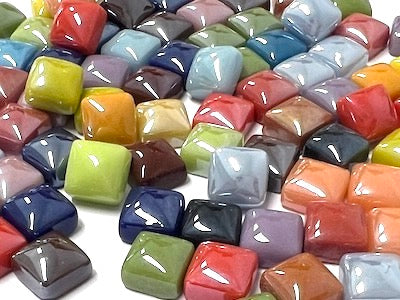
- Clear Glass Tiles - 5x5cm x 9 packets
- Adhesive - Sullivans PVA
- Black Grout
- Photocopies of your memories
- Black paint
- Rotary Wheel Nipper - to cut the tiles
- Scissors, Craft Knife
- Grouting - Gloves Containers, Wet Wipes, Rags
STEPS