1300 320 392
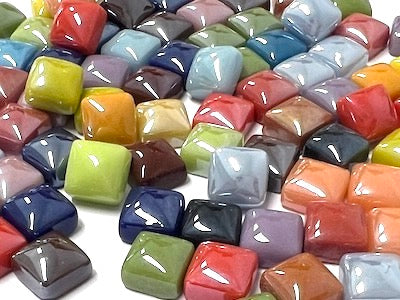
Colour Mix Gloss Glass Tiles 1cm
$5.50
VIEW ALL


Thu, Jul 16, 2015
Mosaic Birdbaths are an extremely popular project; they are a lovely way to add your own art to your backyard. This article will take you step by step through the process of making a birdbath and give you a few tips on the way.
Choice of Materials
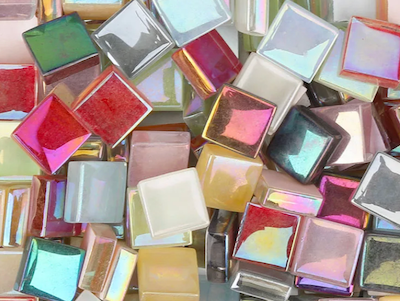
You need to choice materials that are suitable for the environment in which they are going to be situated. As the bowl of the birdbath will be submerged in water you will need to make sure the tiles are non-porous. When a tile is porous, water can get inside it and freeze which will result it in cracking. Glass tiles are a good choice for birdbath projects are they are non-porous. Porous ceramic tiles and stone aren't a good choice, particularly if you live in a frost prone region. If you are uncertain about what materials to choose, make sure you read the product description or just enquiry about their suitability.
How Many Tiles Will I Need
Not being very mathematically minded I try to break the calculation down to really basic terms. The top of the bowl is basically a circle and the base or pedestal of the birdbath is a rectangle that is joined end to end.
Calculating the bowl - You can use our 'Mosaic Tile Calculator' to give you the number of tiles you will need to cover a circle. As you will be mosaicing a concave surface you will need to add an allowance to the calculation for this additional surface area. I generally add a percentage; say 10% to the calculation. I'll leave it up to you to determine what factor this will be based on your project, remember to factor in some wastage as well. If you are going to mosaic the underside of the bowl you will need to double your calculation.
Pedestal - If you think of the pedestal as a rectangle that is joined end to end, then the calculation is pretty simple. Again just enter your measurements into our 'Mosaic Tile Calculator'.
It is good practice to add a margin of error to your estimate, say 5 to 10%. This takes into account any tile wastage and provides a margin of error. It is better to have more tiles than you need than be a few tiles short at the end of your project. Suppliers can sell out of tiles or the colour / finish of the tile might change slightly between different batches, planning what you need in advance could save future frustration.
Getting Your Design Onto Your Birdbath
When you are transferring your design onto the birdbath use a pencil to draw your outlines. If you are not happy with the results rub them out and re-do it, this is your chance to get your design right. When you are happy with the design you can then go over it with a permanent marker. If your not a good drawer and would like a few ideas about how to get your design onto the birdbath, them have a look at these articles:
Transferring the Design onto your Mosaic Base
How to Create Mosaic Designs Simply Even If You Can't Draw
How to Prepare the Birdbath
Terracotta and cement birdbaths are great bases because they are weather resistant. They are however porous so they need to be sealed to prevent the adhesive and grout from drying out. To prepare the base you need to make sure that it has been cleaned thoroughly, this is especially important if you are using an old birdbath. To seal coat it with 3-4 coats of sealer, allowing the sealer to dry between coats. I use grout additive as the sealer, which is great because you can get two uses out of the one product. Allow the sealer to dry for 24 hours before beginning to adhere the tiles.
What Adhesive Should I Use
Different people have different ideas about what adhesive is suitable for what project. I like and recommend using a waterproof cement based adhesive on mosaic birdbath projects.
To stop the adhesive from drying out work in sections at a time. Don't let the adhesive dry on the base, as you will have to remove it later. Try covering your adhesive with a slightly damp cloth if it is drying out too quickly in your mixing bowl.
Laying the Tiles
Lay your tiles into a bed of cement based adhesive, be generous to ensure that they are well adhered. As birds will hopefully be enjoying your birdbath you will need to make sure that there are no sharp edges protruding from the mosaic. The other day I looked at a technique for laying your tiles smoothly, which may assist. If you do find yourself in a situation where there are sharp edges on the mosaic you could try rubbing them down gently with a rubbing stone.
Once you have finished laying the tiles allow the adhesive to cure (normally 24 hours, check manufactures instructions) prior to grouting.
Grouting Time
I've spoken many times about grouting in this blog so I'm not going to go into any detail here. If you are in need of additional information, click here to go to our 'Beginners Guide to Grouting'.
Just one additional point I'd like to add however, mixing a 'grout additive' to your grout will add flexibility and help prevent cracking. Grout additives can be purchased from your hardware store and are used with cement based grouts.
After completing all of these steps there is nothing else to do but to sit back and enjoy your birdbath.

Mosaic Birdbath by Mary Foley