1300 320 392
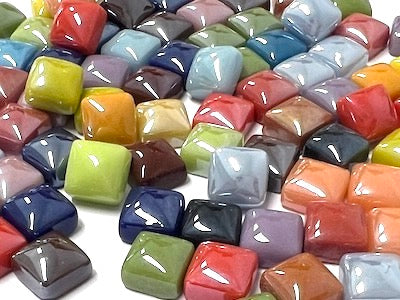
Colour Mix Gloss Glass Tiles 1cm
$5.50
VIEW ALL


Mon, May 11, 2015
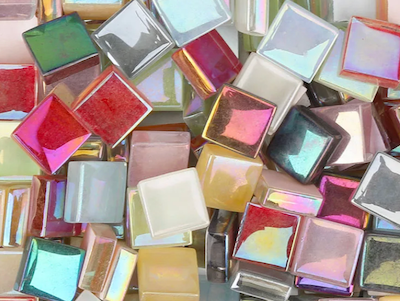
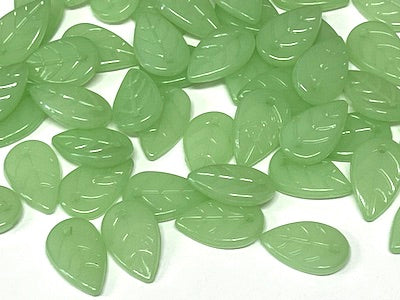
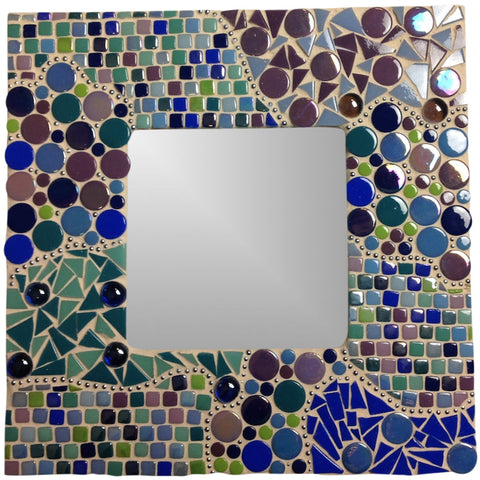
Photo frames & mirrors are a quick and easy mosaic project, perfect for beginners or someone just looking for a simple mosaic project to make. In this project I have featured our newest product range, Recycled Glass Tiles. These tiles are absolutely gorgeous in there vibrantly colours and variety of shapes and sizes.
Materials:
Instructions:
1. Prepare your wooden base
As this is an indoor project, consideration has not been given to waterproofing the base (photo frame or mirror).
Wood is a porous material and as such the photo frame should be sealed before tiling. To seal you can use a mixture of Weldbond adhesive and water, in a ratio of 5 part water to 1 part Weldbond. Apply two coats and allow it to dry between applications.
2. Creating the design
The design has been created through using a variety of glass tiles, both in colour, finish, shape and size. The key to this design is repetition and balance. I've repeated the brickwork tiling, dots and crazy paving sections 3 times each throughout the design. These design segments are them separated using the ball chain, which also adds gorgeous detail to the design.
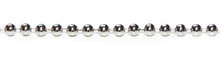
What is ball chain
Ball chain (or chain ball) is a great mosaic materials. When grouted the line of balls protrude through the grout, which is really effective in creating lines or segmenting areas as we have done. It an be purchased from hardware stores, if using it outside make sure it is stainless steel or galvanised to prevent rusting.
When applying the tiles you can either paint the adhesive directly onto the photo frame or paint it onto the back of each tile. The quickest way is to apply the adhesive directly to the base, when doing this apply the adhesive to small sections to prevent it from drying out. You will need to allow 24 hours for the adhesive to cure before grouting. Once the adhesive has dried run your hand over the tiles to ensure all of them are firmly attached before grouting.
3. Time to Grout
I have used Ivory grout on this project. A dark coloured grout could hid the darker tiles whereas the lighter coloured grout provides a good contrast and allows all of the tiles and design to stand out.
For detailed grouting instructions click here.
Legal Disclaimer: No warranty is implied by these instructions. Use at your own risk. The Mosaic Store and its proprietors are not responsible for the results of any actions taken on the basis of this information, nor for any omission in the advice. Please wear appropriate safety equipment when cutting mosaic materials and using grouts and adhesives. Keep out of reach of children.